Microprocessor module, Removing the microprocessor module – Dell Inspiron 8200 User Manual
Page 8
Back to Contents Page
Microprocessor Module
Dell™ Inspiron™ 8200
Removing the Microprocessor Module
1.
Follow the instructions in "
Preparing to Work Inside the Computer
."
2.
Remove the
keyboard
.
3.
Remove the
hinge cover
.
4.
Remove the
microprocessor thermal-cooling assembly
.
5.
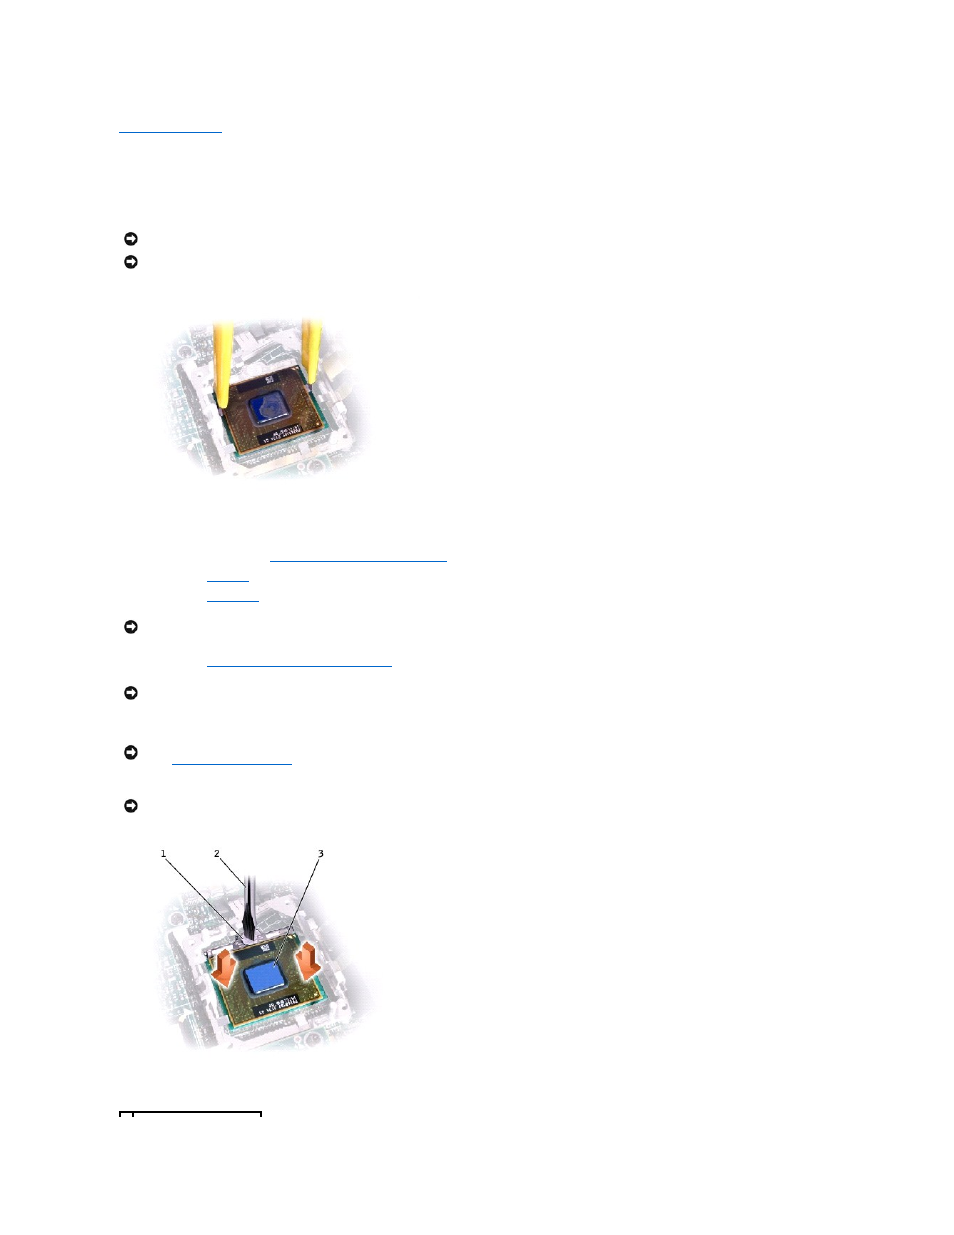
Remove the microprocessor module.
Microprocessor Cam Screw (Example)
NOTICE:
Disconnect the computer and attached devices from electrical outlets and remove any installed batteries.
NOTICE:
To avoid ESD, ground yourself by using a wrist grounding strap or by periodically touching unpainted metal on the computer.
NOTICE:
To ensure maximum cooling for the microprocessor, do not touch the heat transfer areas on the microprocessor thermal-cooling assembly. The
oils in your skin reduce the heat transfer capability of the thermal pads.
NOTICE:
When removing the microprocessor module, pull the module straight up. Do not bend the pins.
NOTICE:
To avoid damage to the microprocessor, hold the screwdriver so that it is perpendicular to the microprocessor when loosening the cam screw
NOTICE:
Hold the microprocessor down while turning the cam screw to prevent intermittent contact between the cam screw and microprocessor.