Replacing the inverter – Dell Inspiron One 19 Touch (Late 2009) User Manual
Page 28
Replacing the Inverter
1.
Follow the procedures in
Before You Begin
.
2.
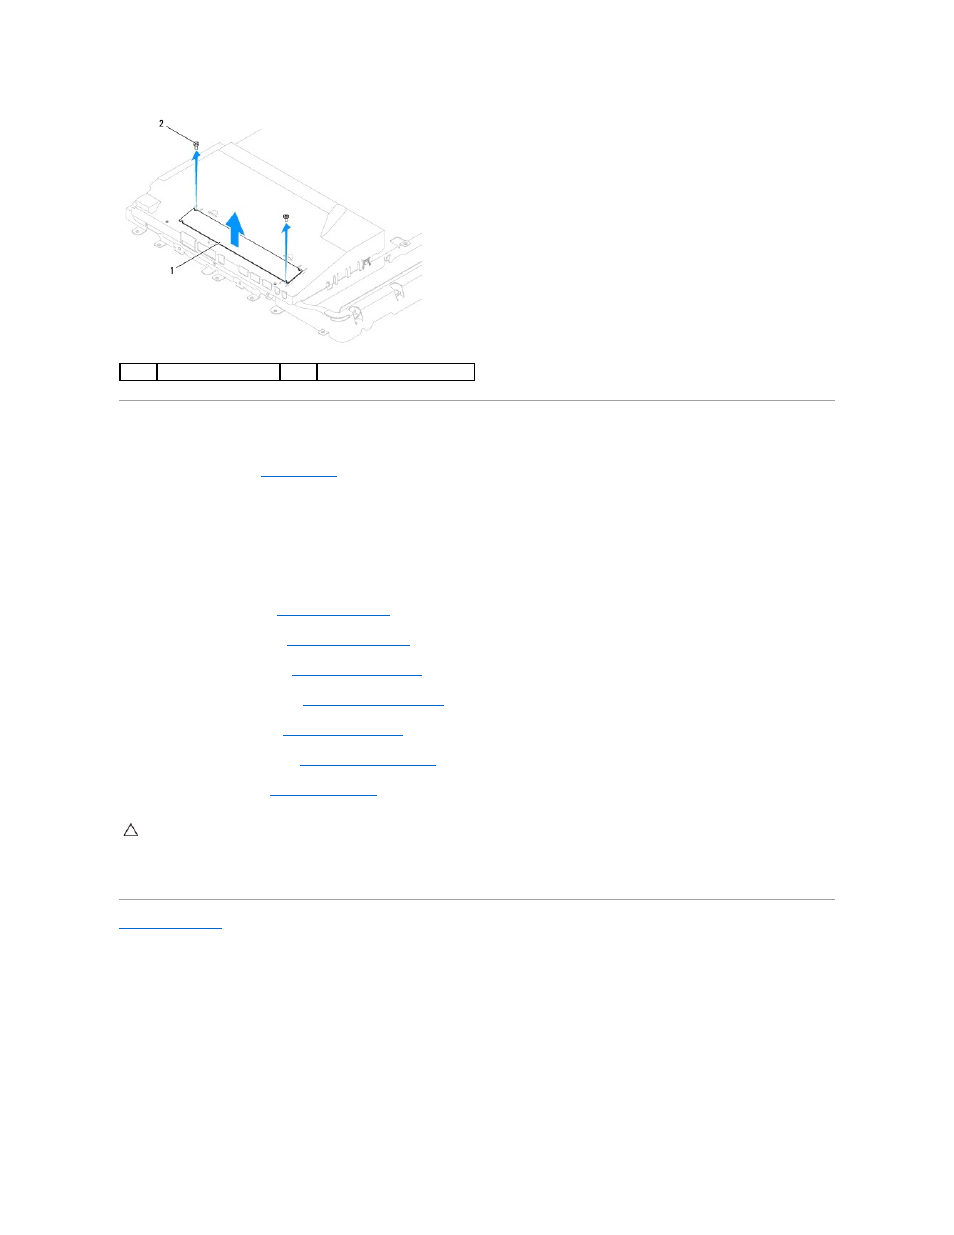
Align the screw holes on the inverter with the screw holes on the system-board shield. Replace the two screws that secure the inverter to the system-
board shield.
3.
Connect the inverter cable and display cables to the connectors on the inverter.
4.
Slide the tabs on the inverter shield into the slots on the system-board shield. Replace the two screws that secure the inverter shield to the system-
board shield.
5.
Replace the back cover (see
Replacing the Back Cover
).
6.
Replace the display bezel (see
Replacing the Display Bezel
).
7.
Replace the speaker cover (see
Replacing the Speaker Cover
).
8.
Replace the decorative cover (see
Replacing the Decorative Cover
).
9.
Replace the optical drive (see
Replacing the Optical Drive
).
10.
Replace the computer stand (see
Replacing the Computer Stand
).
11.
Replace the I/O cover (see
Replacing the I/O Cover
).
12.
Connect your computer and all attached devices to electrical outlets, and turn them on.
Back to Contents Page
1
inverter
2
screws (2)
CAUTION:
Before turning on the computer, replace all screws and ensure that no stray screws remain inside the computer. Failure to do so may
result in damage to the computer.