Dell PowerVault 35F (Fibre Channel Bridge) User Manual
Zzzghoofrp
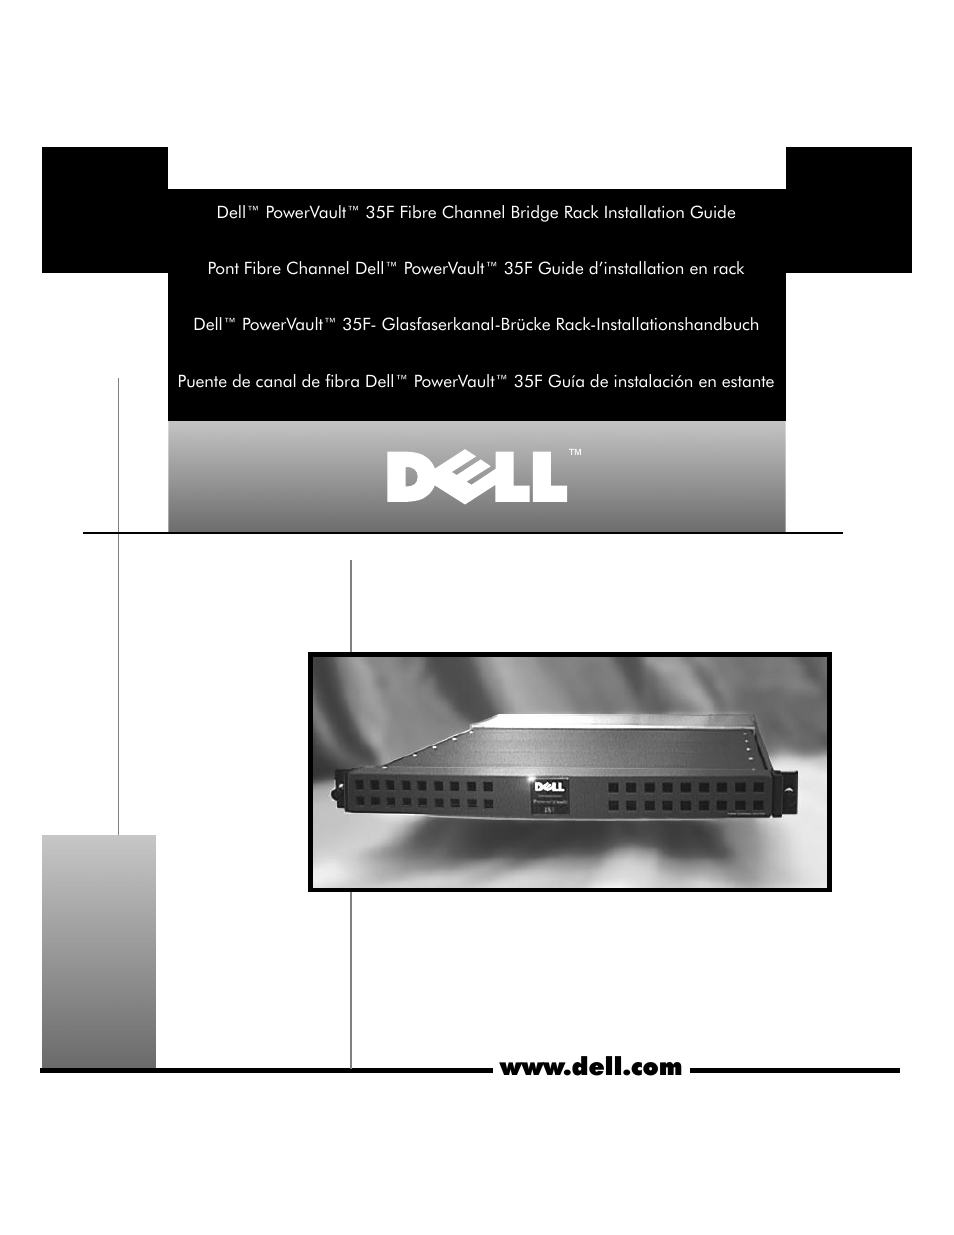
Table of contents
Document Outline
- Dell™ PowerVault™ 35F Fibre Channel Bridge Rack Installation Guide
- Pont Fibre Channel Dell™ PowerVault™ 35F Guide d’installation en rack
- Dell™ PowerVault™ 35F- Glasfaserkanal-Brücke Rack-Installationshandbuch
- Puente de canal de fibra Dell™ PowerVault™ 35F Guía de instalación en estante
- RACK INSTALLATION GUIDE
- ____________________
- Information in this document is subject to change without notice. © 1999 Dell Computer Corporatio...
- Reproduction in any manner whatsoever without the written permission of Dell Computer Corporatio...
- Trademarks used in this text: Dell, the DELL logo, and PowerVault are trademarks of Dell Computer...
- Other trademarks and trade names may be used in this document to refer to either the entities cla...
- March 1999 P/N 9165P Rev. A01
- Dell™ PowerVault™ 35F Fibre Channel Bridge Rack Installation Guide
- Before You Begin
- Installing the Bridge
- 1. Remove the doors from the rack.
- 2. Mount the bridge onto the manifold.
- 3. Install the outer slides.
- 4. Install the bridge in the rack.
- 5. Replace the doors.
- Removing the Doors From the Rack
- 1. Open the latch on the front door (see Figure 1-1).
- Figure 1-1. Opening the Latch on the Door
- 2. Remove the front door as shown in Figure 1-2:
- a. One person should grasp the top of the door to stabilize it. The other person should grasp the...
- b. The person holding the bottom of the door should press the hinge release lever on the bottom h...
- c. The person holding the top of the door should press the hinge release lever on the top hinge a...
- 2. Remove the front door as shown in Figure 1-2:
- Figure 1-2. Removing the Rack Doors
- Mounting the Bridge Onto the Manifold
- Installing the Outer Slides
- Installing the Bridge in the Rack
- Replacing the Doors on the Rack
- 1. Lift the front door into position, and align the hinges with the holes in the rack as shown in...
- 2. Slide the hinges into the holes in the rack until the hinge release levers lock the hinges int...
- 3. Close the door latch by rotating the handle counterclockwise until it stops, push the handle i...
- Pont Fibre Channel Dell™ PowerVault™ 35F
- GUIDE D’INSTALLATION EN RACK
- Remarques, précautions et avertissements
- Pont Fibre Channel Dell™ PowerVault™ 35F Guide d’installation en rack
- Informations importantes relatives à la sécurité
- Consignes de sécurité concernant le montage en rack
- Outil recommandé
- Retrait des portes du rack
- 1. Ouvrez le loquet qui se trouve sur la porte avant (voir la figure2-1).
- Figure 2-1. Ouverture du loquet de la porte
- 2. Retirez la porte avant comme l’illustre la figure2-2 :
- a. Une personne doit saisir le haut de la porte pour la stabiliser. L’autre personne doit saisir ...
- b. La personne tenant le bas de la porte doit appuyer sur le levier de déblocage de la charnière ...
- c. La personne tenant le haut de la porte doit appuyer sur le levier de déblocage de la charnière...
- 2. Retirez la porte avant comme l’illustre la figure2-2 :
- Figure 2-2. Retrait des portes du rack
- Montage du pont sur la rampe
- Installation des glissières externes
- Installation du pont dans le rack
- Remise en place des portes sur le rack
- 1. Soulevez la porte avant pour l’amener en position et alignez les charnières avec les trous du ...
- 2. Faites glisser les charnières dans les trous du rack jusqu’à ce que les leviers de déblocage d...
- 3. Fermez le verrou de la porte en tournant la poignée dans le sens inverse des aiguilles d’une m...
- Dell™ PowerVault™ 35F- Glasfaserkanal-Brücke
- Remarques, précautions et avertissements
- RACK-INSTALLATIONS- HANDBUCH
- Hinweise, Vorsichtsmaßnahmen und Warnungen
- Dell™ PowerVault™ 35F- Glasfaserkanal-Brücke Rack-Installationshandbuch
- Wichtige Sicherheitsinformationen
- Sicherheitsrichtlinien für den Rack-Einbau
- Empfohlene Werkzeuge
- Türen des Racks entfernen
- 1. Die Verriegelung an der Vordertür entriegeln (siehe Abbildung 3-1).
- Abbildung 3-1. Tür entriegeln
- 2. Die Vordertür wie folgt entfernen (siehe Abbildung 3-2):
- a. Eine Person sollte die Oberseite der Tür fassen und festhalten. Die zweite Person sollte das U...
- b. Die Person, die das Unterteil festhält, sollte auf den Freigabehebel an der unteren Türangel d...
- c. Die Person, die das Oberteil der Tür festhält, sollte auf den Freigabehebel an der oberen Türa...
- 2. Die Vordertür wie folgt entfernen (siehe Abbildung 3-2):
- Abbildung 3-2. Rack-Türen entfernen
- Brücke an der Verteilereinheit anbringen
- 1. Die Verteilereinheit auf eine saubere und flache Oberfläche legen.
- 2. Die Brücke hinter der Verteilereinheit und zwischen den beiden inneren Laufschienen plazieren.
- 3. Die Öffnungen der inneren Laufschienen mit den Öffnungen an der Seite der Brücke ausrichten (s...
- Abbildung 3-3. Die Brücke an der Verteilereinheit anbringen
- ußere Schienen einbauen
- Brücke in das Rack installieren
- Türen des Racks wieder anbringen
- 1. Die Vordertür in ihre korrekte Position heben, und die Türangeln auf die Öffnungen im Rack, wi...
- 2. Die Angeln in die Öffnungen im Rack hineinschieben, bis sie von den Angelfreigabehebeln in der...
- 3. Die Tür schließen und verriegeln, indem der Griff entgegen den Uhrzeigersinn bis zum Anschlag ...
- Puente de canal de fibra Dell™ PowerVault™ 35F
- Hinweise, Vorsichtsmaßnahmen und Warnungen
- GUíA DE INSTALACIÓN EN ESTANTE
- Notas, precauciones y advertencias
- Puente de canal de fibra Dell™ PowerVault™ 35F Guía de instalación en estante
- Información importante de seguridad
- Pautas de seguridad para el montaje en estante
- Herramienta recomendada
- Desmontaje de las puertas del estante
- 1. Abra el pestillo en la puerta anterior (consulte la figura 4-1).
- Figura 4-1. Apertura del pestillo de la puerta
- 2. Desmonte la puerta anterior según se muestra en la figura 4-2:
- a. Una persona debe sujetar la parte superior de la puerta para estabilizarla. La otra persona de...
- b. La persona que está sosteniendo la parte inferior de la puerta debe oprimir la palanca liberad...
- c. La persona que está sosteniendo la parte superior de la puerta debe oprimir la palanca liberad...
- 2. Desmonte la puerta anterior según se muestra en la figura 4-2:
- Figura 4-2. Desmontaje de las puertas del estante
- Montaje del puente en el colector
- 1. Coloque el colector sobre una superficie plana que esté limpia.
- 2. Coloque el puente detrás del colector y entre los dos rieles de deslizadores internos.
- 3. Alinee los orificios de los rieles de deslizadores internos con los orificios en el lado del p...
- Figura 4-3. Montaje del puente en el colector
- Instalación de los deslizadores externos
- Instalación del puente en el estante
- Montaje de las puertas en el estante
- 1. Levante la puerta anterior hacia su posición y alinee las bisagras con los orificios en el est...
- 2. Deslice las bisagras dentro de los orificios en el estante hasta que la palancas liberadoras d...
- 3. Cierre el pestillo de la puerta girando la manija en contra de las manecillas del reloj hasta ...
- Notas, precauciones y advertencias