Appendix d: pci card installation – Bio-Rad Gel Doc™ XR+ System User Manual
Page 41
Page 41 of 42
Appendix D: PCI Card Installation
Please follow the instructions below to install the Fire Wire Card into your PC/Mac as the case
might be.
Gel Doc
XR – PC:
a. Install the PCI Fire Wire card in the PC first
b. Start the computer.
c.
In case of a PC Windows XP or 2000 the operating system will recognize the card and
automatically install the appropriate driver for it.
Gel Doc
XR - Mac:
Current Mac systems generally have onboard Fire Wire ports (connectors). The Gel Doc
XR Camera can be plugged directly into any one of these connectors and Bio-Rad Software
interface will be able to communicate with the Camera via this port.
ChemiDoc
XRS- PC:
Installing the PCI Digitizing Card
NOTE
: When installing the PCI Digitizing Card for the ChemiDoc
XRS, please install the
DRIVERS for the Card and the “Quantity One Software” from the software CD first.
Please refer to “Appendix C” for step-by-step instructions for driver installation.
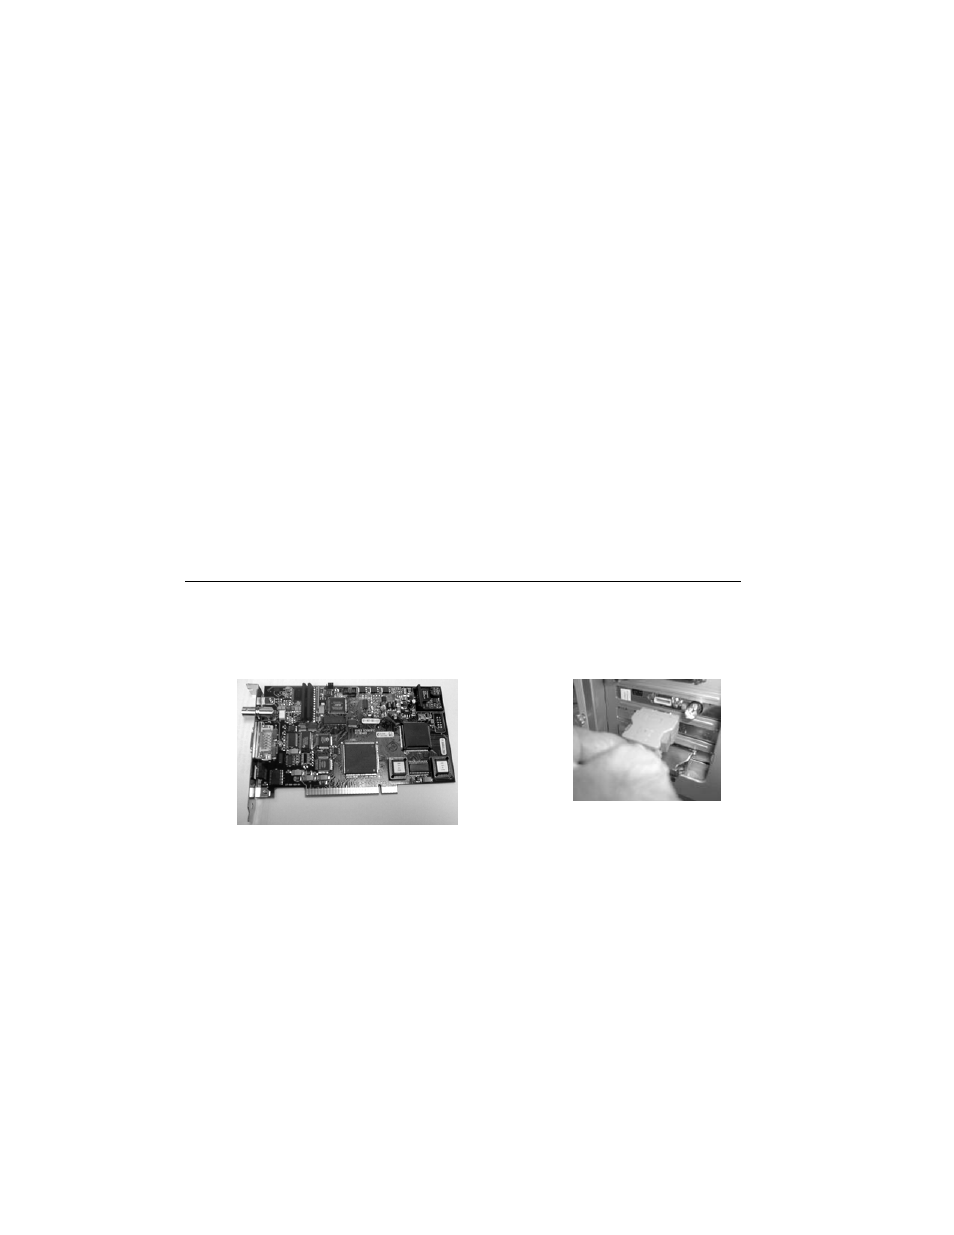
a) Make sure that your computer is turned off. Remove the cover from the computer.
Install the PCI card into one of the PCI slots in the computer (PC/Mac)
b) Close the cover.
PCI Digitizing card for ChemiDoc
XRS
Connect the ChemiDoc
XRS Camera
Controller Cable to the PCI card.
c) In the case of the ChemiDoc
XRS, connect the Camera Controller Cable to the PCI card
as shown in the picture above. Note that the other end of this cable is connected to the
Camera
d) After all connections are made the system is ready for Initialization as described in
section 4, sub section.4.3.2.