Bio-Rad Gel Doc™ XR+ System User Manual
Page 17
Page 17 of 42
Setting Up the Lens:
1. Turn off the power to the enclosure and Camera
2. Disconnect the Camera and lens cables
3. Remove the ChemiDoc
XRS Camera from the bracket.
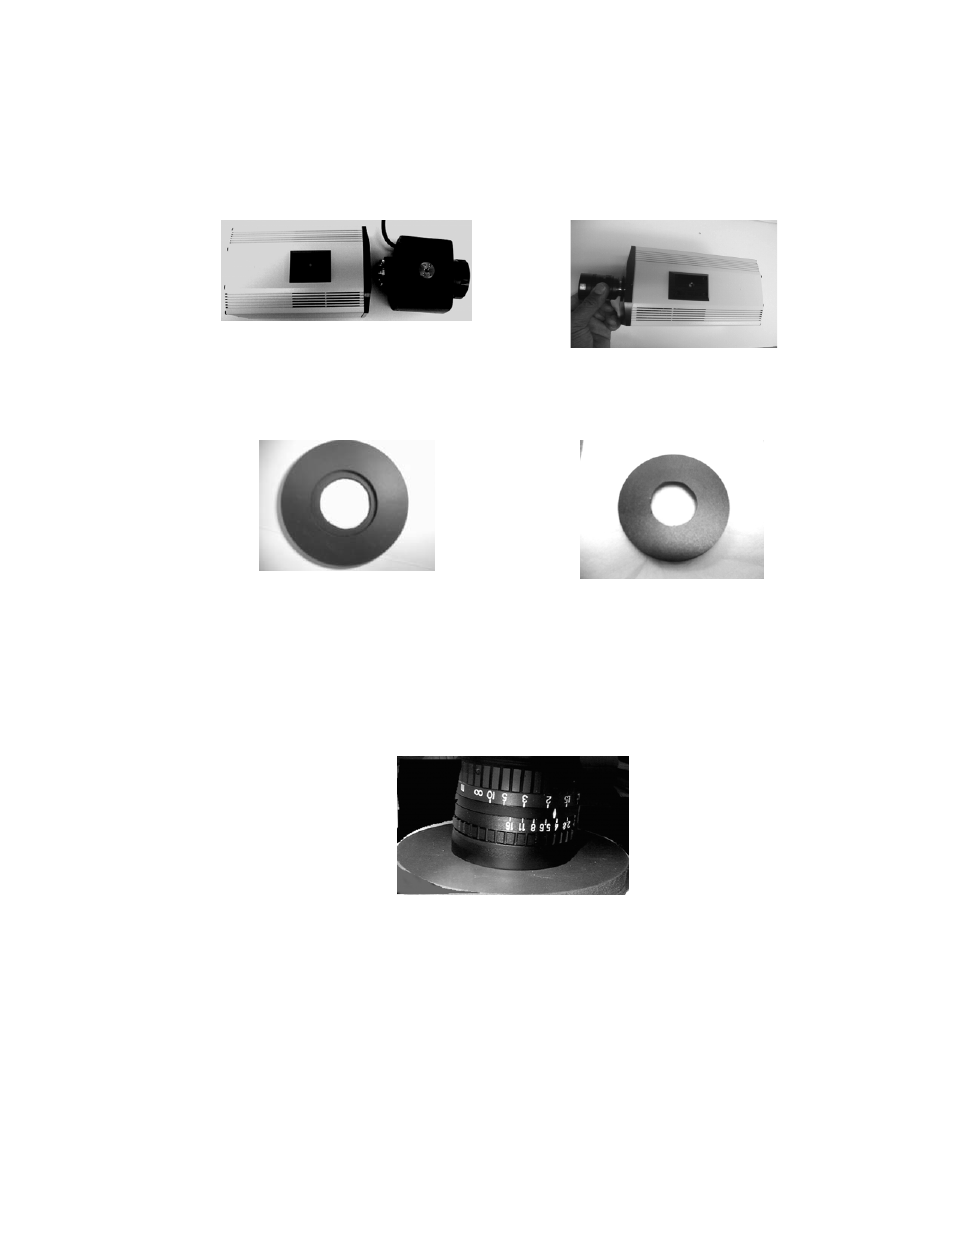
4. Remove the existing Motorized Zoom Lens from the Camera by turning the lens
counterclockwise. Attach the 25 mm or 17 mm lens to the Camera as shown below:
Remove existing Motorized Zoom Lens
Install the Wide Angle Lens
5. The Wide Angle Lenses comes with a Light Seal that is donut shaped. One side is soft and
has a groove around the inner opening. The other is hard. See picture below
Light Seal soft side (Note groove)
Light Seal hard side
6. Position the Light Seal on the top of the hood. Make sure that the “hard side” is against
the top of the enclosure. Secure the Camera (with wide-angle lens attached) to the Camera
bracket with the black washer and the thumbscrew. Before tightening the screw make sure
that the wide-angle lens is positioned in the round slot in the Light Seal (soft side up).
Carefully push the Camera down so that the lens goes into the slot all the way and comes
to a stop. See pictures below:
Make sure that the lens is seated properly in
round slot in the soft side of the Light Seal
7. Adjust the position of the bracket so that the Light Seal and lens are well centered in the
round opening in the Universal Hood II and tighten the screws to secure the Camera tightly
to the hood.
8. The Wide Angle lenses have an Iris and Focus ring that allows users to adjust for optimum
light collection and focal plane. See image on the next page.