Prestart checklist, Field operation – Great Plains PT8030 V1015 Operator Manual User Manual
Page 16
14
Section 2 Operating Instructions
PT6030 and PT8030 Pull-Type Planter 401-032M-B
4/12/05
Great Plains Mfg., Inc.
Section 2
Operating Instructions
This section covers general operating procedures. Experi-
ence, machine familiarity and the following information will
lead to efficient operation and good working habits. Al-
ways operate farm machinery with safety in mind.
Prestart Checklist
1.
Carefully read “Important Safety Information,” be-
ginning on page 1.
2.
Clean any dirt or grease off chains and other moving
parts. Check chains for proper tension and alignment
as shown in Chain Tension, “Maintenance and Lubri-
cation,” page 39.
3.
Check that planter tires are the correct size and prop-
erly inflated as indicated on Tire Inflation Chart, “Ap-
pendix,” page 56.
4.
Check all bolts, pins and fasteners. Torque as speci-
fied on Torque Values Chart, “Appendix,” page 55.
5.
Lubricate planter as indicated under Lubrication,
“Maintenance and Lubrication,” page 44.
6.
Check planter for worn or damaged parts. Repair or
replace before going to the field.
7.
Check that hoppers are free of dirt and debris. Turn
meter-drive shaft by hand to be sure drive shaft and
seed meter turn freely.
Field Operation
1.
Perform all checks listed on Prestart Checklist, this
page.
2.
Hitch planter to a tractor with sufficient horsepower.
Refer to Tractor Requirements, “Specifications and
Capacities,” page 53, and Hitching Planter to Tractor,
“Preparation and Setup,” page 11.
3.
Set and calibrate planting rate as explained under
Planting Rate, “Adjustments,” page 17.
4.
Load seed hoppers with clean seed. Add 1 teaspoon
of graphite to each seed hopper. Replace hopper lids.
5.
Adjust down pressure on row units to match field con-
ditions. Set row units to desired planting depth. Refer
to Row Unit Adjustments, “Adjustments,” page 28.
6.
Check if planter is level. Refer to Leveling Planter,
“Preparation and Setup,” page 12.
7.
Lower planter, pull forward and begin planting.
8.
Always raise planter for field turns. Meters will stop
automatically as you raise planters.
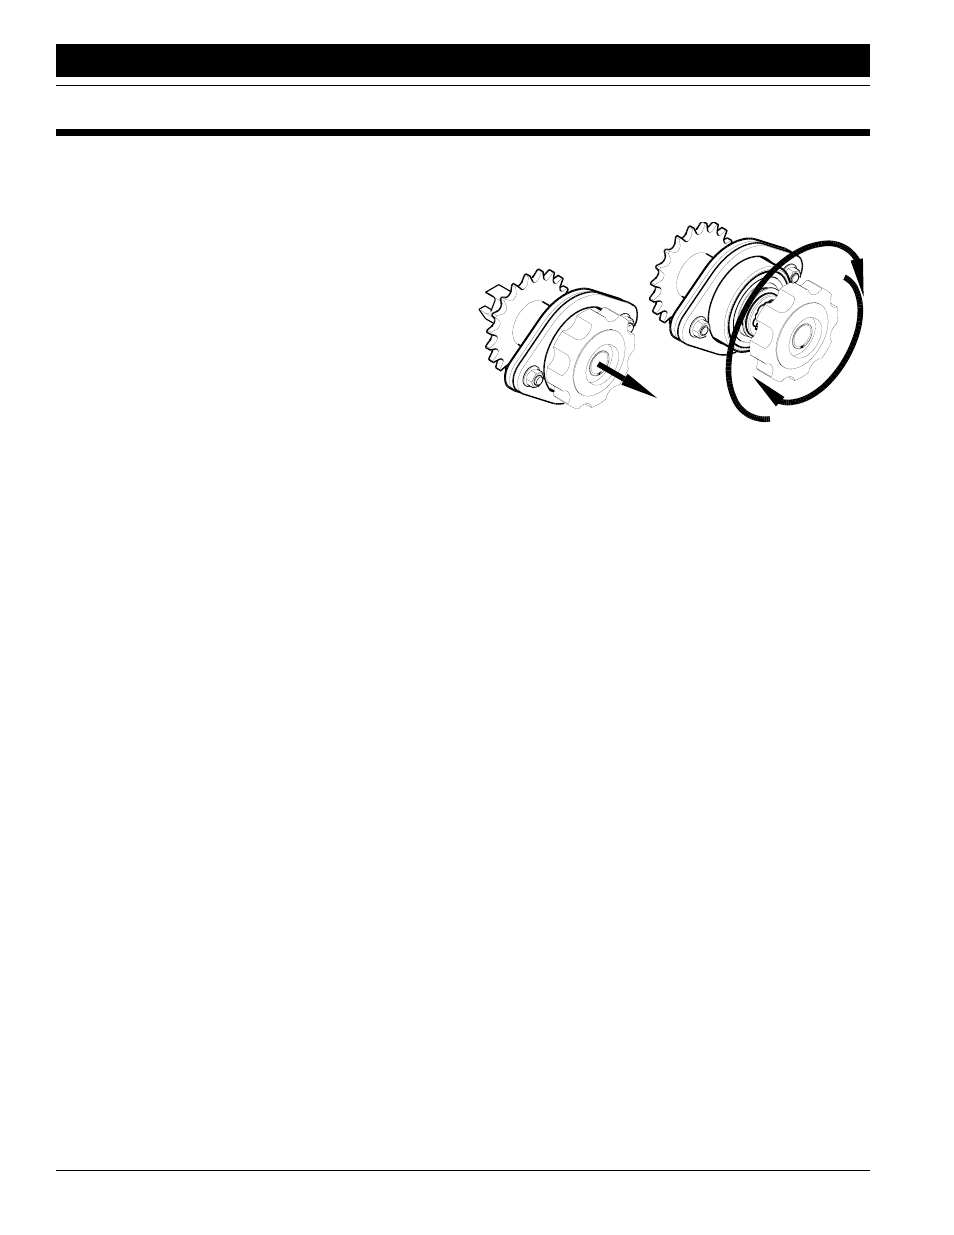
Meter Clutches
To disengage seed- and chemical-hopper clutches, pull
and rotate knobs until meters are disengaged. See Figure
2-1.
17887
Figure 2-1
Meter Clutch
To engage clutches, pull and rotate knobs until meters
reengage.
Row Unit Operation
Never back up with row units in ground. If you do, check all
openers to be sure none are clogged. Always lift planter
out of ground when turning at row ends and for other
short-radius turns.
For information on planting-depth and down-pressure
adjustments, refer to Row Unit Adjustments, “Adjust-
ments,” beginning on page 28.
Chemical Hoppers
The optional chemical hopper comes in two versions: one
chemical meter or two chemical meters with a divider that
separates the hopper into two compartments.
Before filling chemical hoppers, clean any foreign objects
out of hoppers. To remove hopper from row unit, disen-
gage meter clutch and undo over-center latch at front of
hopper. See Figure 2-2.
Set and calibrate chemical-application rate as explained
under Granular Chemical Rates, “Adjustments,” page 21.
Fill chemical hoppers and replace hopper lids before op-
erating planter.
Periodically clean dirt and foreign objects out of chemical
hoppers.