Tweco 200 Ultra-Cut User Manual
200 ultra-cut, Operating manual, Plasma cutting system
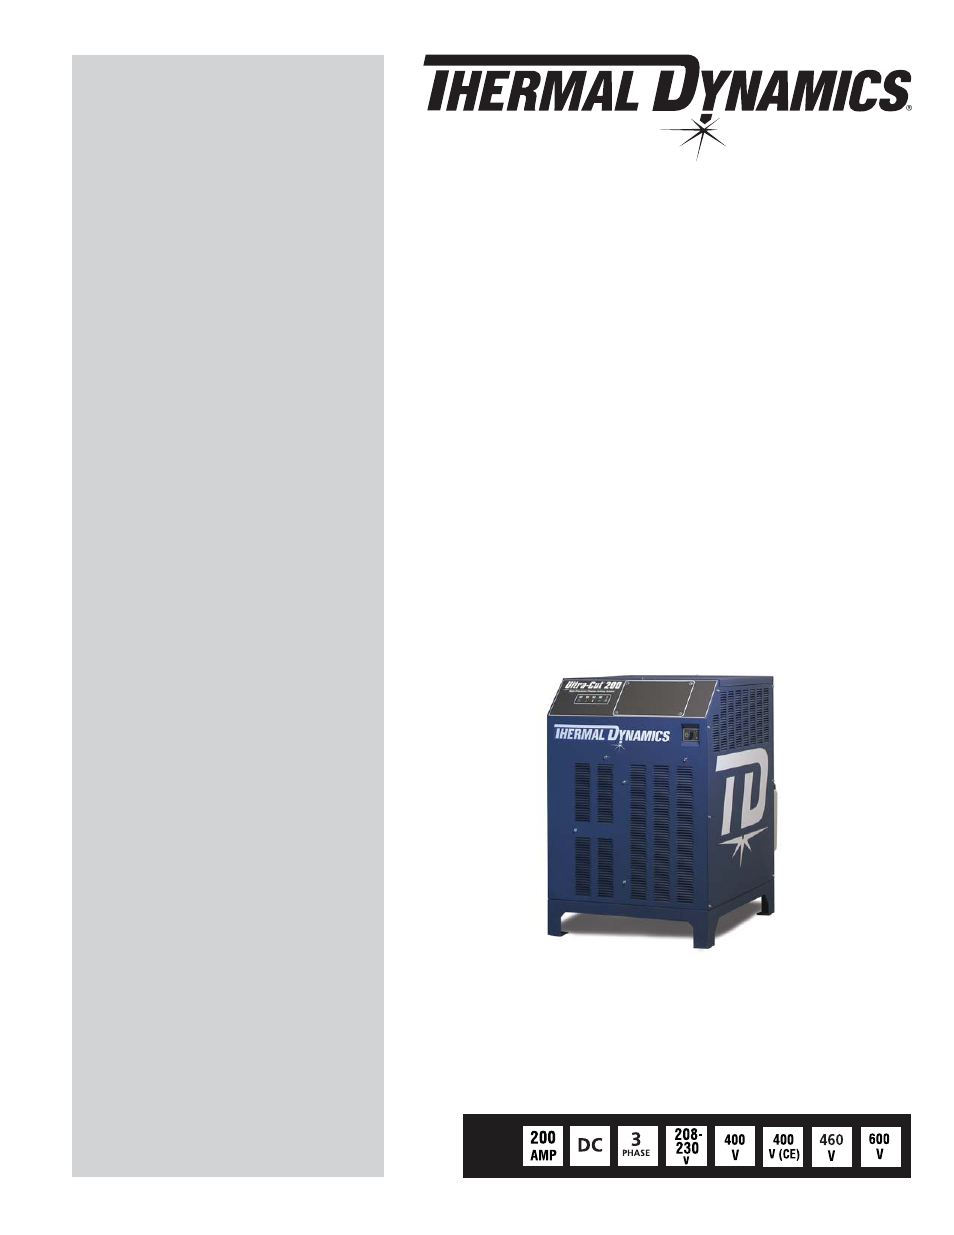
Table of contents
Document Outline
- SECTION 1: GENERAL INFORMATION
- 1.01 Notes, Cautions and Warnings
- 1.02 Important Safety Precautions
- 1.03 Publications
- 1.04 Note, Attention et Avertissement
- 1.05 Precautions De Securite Importantes
- 1.06 Documents De Reference
- 1.07 Declaration of Conformity
- 1.08 Statement of Warranty
- SECTION 2: SPECIFICATIONS
- 2.01 General Description Of The System
- 2.02 Plasma Power Supply
- 2.03 Remote Arc Starter
- 2.04 Gas Control Module
- 2.05 Precision Plasma Cutting Torch
- 2.06 Specifications & Electrical Requirements
- 2.07 System Component Layout
- 2.08 Power Supply Dimensions
- 2.09 Power Supply Rear Panel Features
- 2.10 Gas Requirements
- 2.11 Gas Applications
- 2.12 XTTM-300 Torch Specifications
- SECTION 3: INSTALLATION
- 3.01 Installation Requirements
- 3.02 System Layout
- 3.03 Cables & Leads Identification
- 3.04 Lift the Power Supply
- 3.05 Remove the Connections Cover
- 3.06 Ground Connections
- 3.07 Connect Work Cable and Pilot and Negative Leads
- 3.08 Connect Coolant Leads
- 3.09 Connect Control Cables for CNC, Remote Arc Starter, and GCM
- 3.10 Connect Fiber Optic Cable
- 3.11 Set Switches on the Command - Control Module (Type 2 Module)
- 3.12 Height Control Connections
- 3.13 Gas Control Module Installation
- 3.14 Fiber Optic Cable Installation
- 3.15 Gas Control Module: Control, Input, and Output Connections
- 3.16 Install Remote Arc Starter
- 3.17 Original & XTL Torch Valve Installation
- 3.18 Connecting Torch
- 3.19 Install Consumable Torch Parts
- 3.20 Complete the Installation
- SECTION 4: OPERATION
- 4.01 Power Supply Control Panel
- 4.02 Start-Up Sequence
- 4.03 Gas Control Module Operation
- 4.04 First Time Operation Matching Gas Control to Lead Length
- 4.05 Sequence Of Operation
- 4.06 Gas Selection
- 4.07 Power Supply Status Codes
- 4.08 Remote Arc Starter: Service Chart
- 4.09 Remote Arc Starter: Spark Gap Adjustment
- SECTION 5: MAINTENANCE
- 5.01 Periodic Checks
- 5.02 External Coolant Filter Cleaning Procedure
- 5.03 Internal Coolant Filter Cleaning Procedure
- 5.04 Coolant Replacement Procedure
- SECTION 6: REPLACEMENT ASSEMBLIES & PARTS
- 6.01 Main Component / System Replacement
- 6.02 System Layout
- 6.03 Leads and Cables
- 6.04 Recommended Gas Supply Hose
- 6.05 Power Supply External Replacement Parts
- 6.06 Power Supply Replacement Parts - Right Side
- 6.07 Power Supply Replacement Parts - Right Side
- 6.08 Power Supply Replacement Parts - Right Side
- 6.09 Power Supply Replacement Parts - Front Panel
- 6.10 Power Supply Replacement Parts - Front Panel
- 6.11 Power Supply Replacement Parts - Right Side
- 6.12 Power Supply Replacement Parts - Rear Panel
- 6.13 Power Supply Replacement Parts - Right Side
- 6.14 Power Supply Replacement Parts
- 6.15 Power Supply Replacement Parts - Right Side
- 6.16 Power Supply Replacement Parts
- 6.17 Power Supply Replacement Parts - Right Side
- 6.18 Gas Control Module (GCM-2010) Replacement Parts
- 6.19 Gas Control Module (GCM-2010) Replacement Parts
- 6.20 Remote Arc Starter (RAS-1000) Replacement Parts
- 6.21 Remote Arc Starter (RAS-1000) Replacement Parts
- 6.22 Command & Control Module - Replacement Parts
- 6.23 XTL Torch Valve Assembly External Replacement Parts
- 6.24 XTL Torch Valve Assembly Internal Replacement Parts
- SECTION 7: TORCH MAINTENANCE
- 7.01 Consumable Removal
- 7.02 O-Ring Lubrication
- 7.03 Parts Wear
- 7.04 Torch Consumables Installation
- 7.05 Coolant Leak Trouble-Shooting
- APPENDIX 1: Remote Arc Starter Schematic
- APPENDIX 2: Gas Control and Torch Valve Schematic
- APPENDIX 3: Gas Control Module
- APPENDIX 4: Gas Control Module PCB Layout
- APPENDIX 5: Gas Control Display Interface PCB Layout
- APPENDIX 6: CCM CPU PCB Layout
- APPENDIX 7: CCM Input / Output PCB Layout
- APPENDIX 8: CNC - Control Module PCB Connections
- CNC functions.
- CNC Input / Output Descriptions
- Simplified CNC Circuit.
- CNC Connections.
- APPENDIX 9: Schematic: 230/460V Unit w/ Chopper Pilot w/ Diode
- APPENDIX 9: Schematic: 230/460V Unit w/ Chopper Pilot w/ Diode Continued
- APPENDIX 10: Schematic: CCC 400V Unit w/ Chopper Pilot
- APPENDIX 10: Schematic: CCC 400V Unit w/ Chopper Pilot Continued
- APPENDIX 11: Schematic: CE 400V Unit w/ Chopper Pilot
- APPENDIX 11: Schematic: CE 400V Unit w/ Chopper Pilot Continued
- APPENDIX 12: Schematic: CSA 600V Unit w/ Chopper Pilot
- APPENDIX 12: Schematic: CSA 600V Unit w/ Chopper Pilot Continued
- APPENDIX 13: PUBLICATION HISTORY