Step four - installing the sensor – tekmar 086 Humidity & Temperature Sensor User Manual
Page 3
© 2012
086_D - 08/12
3 of 8
A Watts Water Technologies Company
Step Four - Installing the Sensor
Once the drywall has been installed, locate the sensor wire behind the drywall
using your notes from Step Three.
1”
(25.5 mm)
Hole Saw
1”
(25.5 mm)
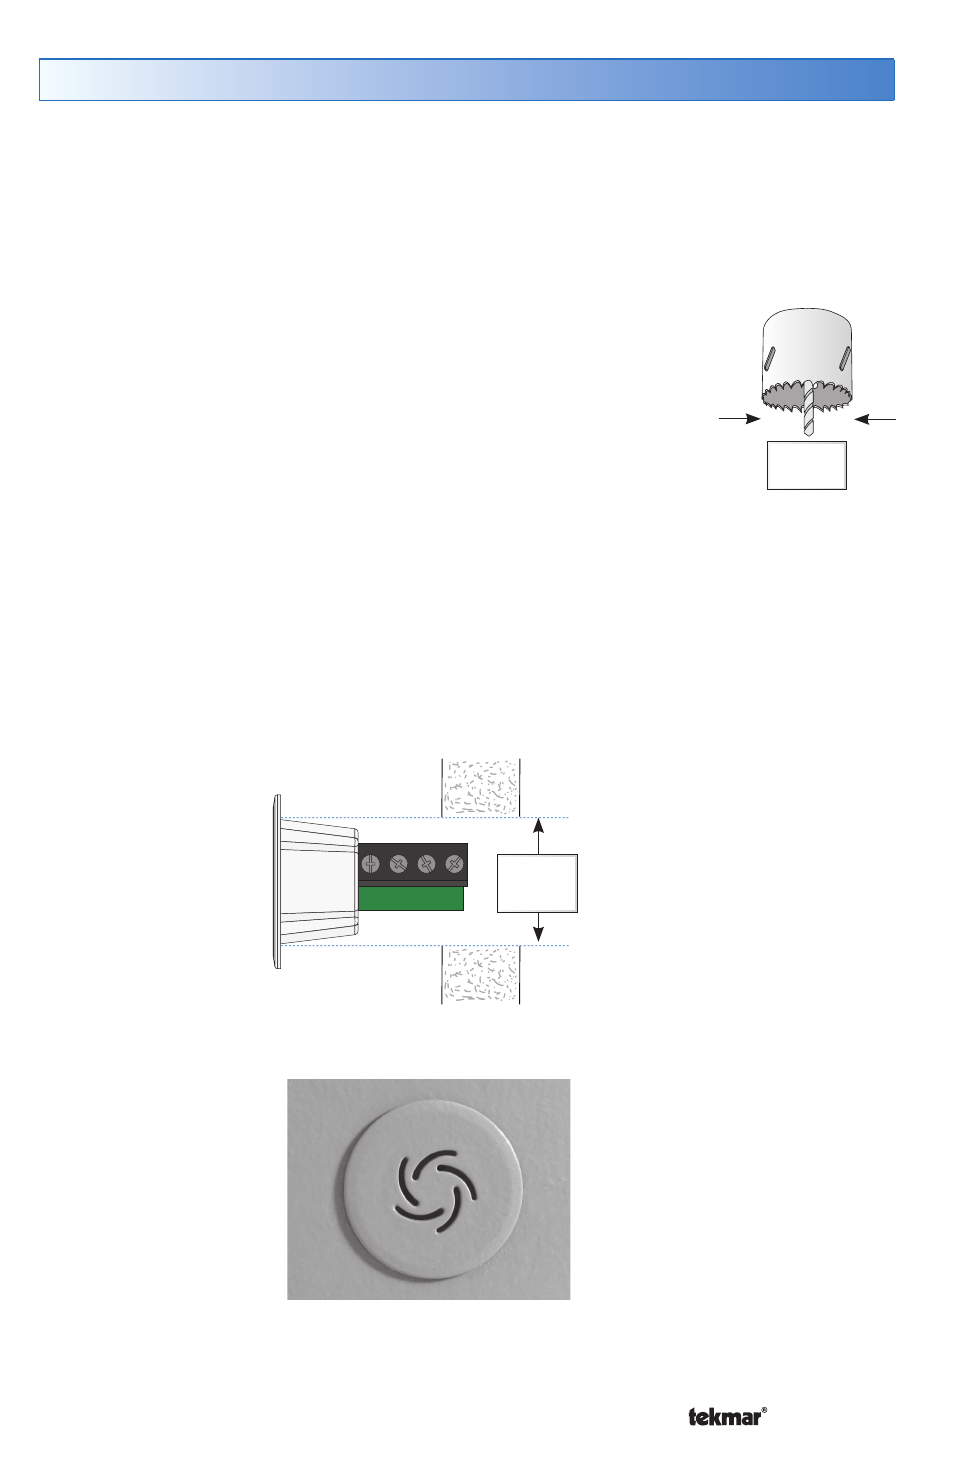
Near Flush Mount
----------------------------------------------------
----------------------------------------------------
A. Using a hole-saw to drill a 1” (25.5 mm) hole at the location
of the sensor wire. Do not drill hole directly over stud.
B. Paint the wall.
C. Remove front disc sticker from the sensor.
D. The front disc of the sensor may be carefully hand painted.
The slotted grill holes must be kept open and free of paint.
Do not use a paint roller. Avoid allowing paint to enter the slotted
holes on the front disc of the sensor as permanent damage to
the sensor may result.
E. Pull the excess wire through the hole.
F. Follow the directions in Step Five - Wiring the Sensor.
G. Once wired, feed the excess wire back into the hole and
hand press the sensor until the back of the disk touches the
wall. The sensor is held in place by the taper of the enclosure
(no fasteners required).
Photo of actual 086 near flush mount installed