E-flite Power 10 Brushless Outrunner Motor, 1100Kv User Manual
Page 3
4.
Slide the shaft through the motor. It may be necessary to use a small hammer to lightly tap the shaft. It is very important that you do not bend the shaft in this process
so use extreme caution to assure this does not happen.
5.
Re-install the donut washer against the bearing. Do not skip this step.
6.
Re-install the shaft collar back against the washer and bearing.
7.
Retighten all setscrews making sure you line up with the flat spot on the shaft.
Replacement shafts are available separately. Order EFLM40101 for a Power 10 BL Outrunner shaft.
Safety Precautions:
This is a sophisticated hobby product and not a toy. It must be operated with caution and common sense and requires some basic mechanical ability. Failure to operate this
product in a safe and responsible manner could result in injury or damage to the product or other property. This product is not intended for use by children without direct
adult supervision. The Outrunner motor case is a rotating part so use extreme caution. Please read the warning information included with your propellers for safety
information related to the operation of motors with propellers. Failure to comply with these warnings and/or improper use of propellers may result in serious injury.
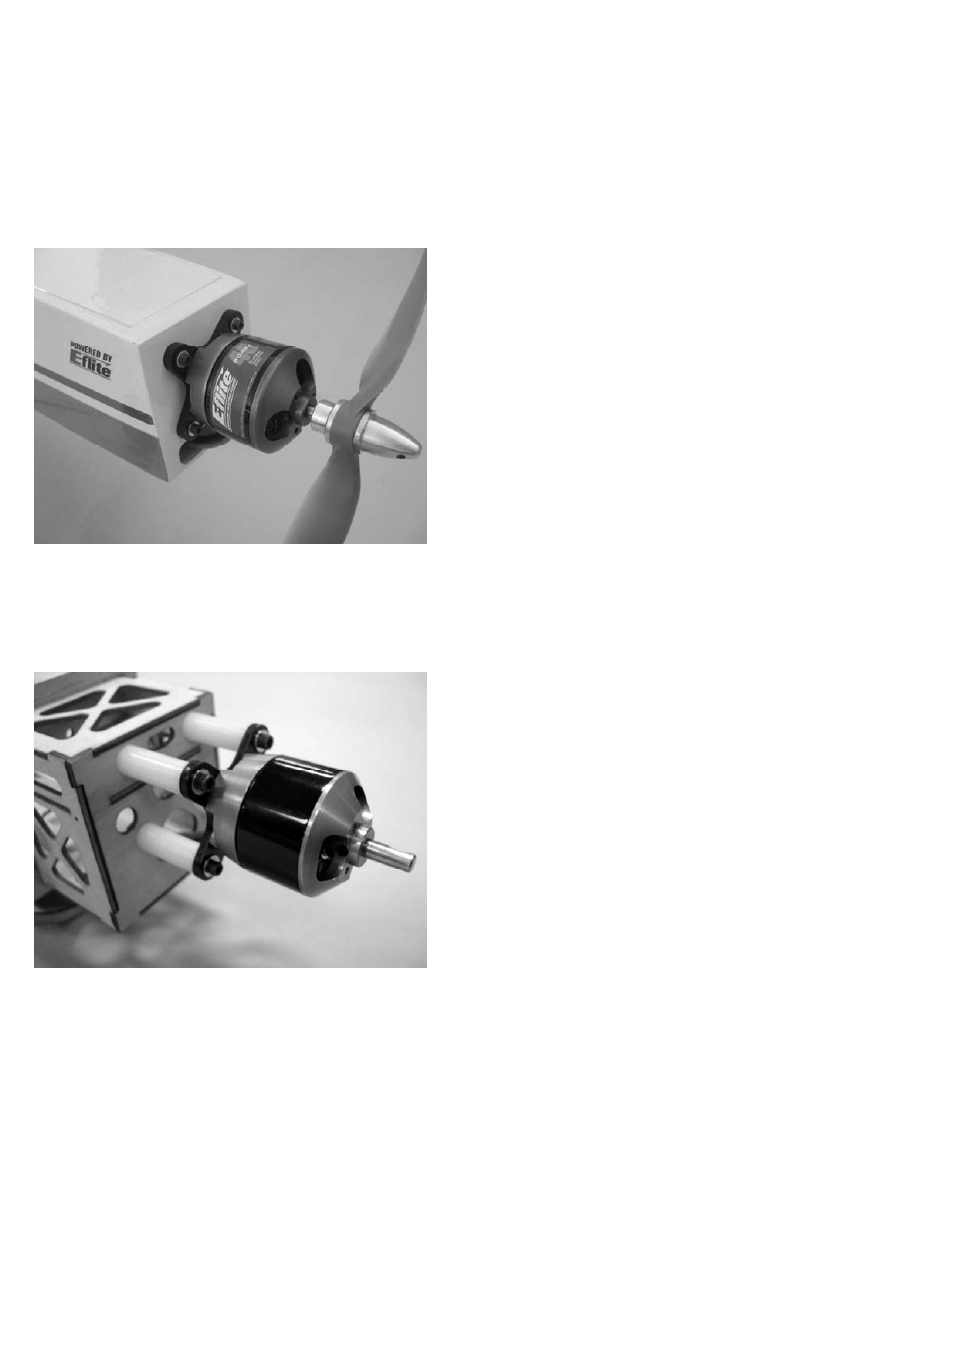
Installation:
NOTE: Photo shows typical installation of motor and x-mount directly to the outside of the firewall. There are other options available including mounting the motor inside the
fuselage (requires reversing the shaft direction) or extending the motor further forward using aftermarket mount extensions when using cowls.
1.
You can first trial fit the aluminum x-mount against the front of the firewall and use a Sharpie® to mark the locations of four holes and drill appropriate size hole to fit
the blind nuts provided. Always be sure to maintain the proper thrust line and account for adequate prop/spinner clearance.
2.
Attach aluminum x-mount to the outrunner motor using the four flat head (countersunk) screws provided with the motor.
3.
Install four blind nuts on the inside of the firewall.
4.
Attached the aluminum x-mount and motor to the outside of the firewall using the four socket head cap screws and washers.
NOTE: Photo above shows installation using nylon motor standoffs.
1.
Attach the aluminum x-mount to the back of your motor with the flat head machine screws included with your motor.
2.
Choose a standoff length that will allow for proper clearance of your propeller once the cowl is attached. You may want to trial fit the cowl to make this determination.
3.
Insert appropriately sized socket head screws and washers into the four outside holes on the x-mount, through the standoffs, and then attached to blind nuts in the
firewall.
Limited Warranty Period
Horizon Hobby, Inc. guarantees this product to be free from defects in both material and workmanship for a period of 1 year from the date of purchase.
Limited Warranty
(a) This warranty is limited to the original Purchaser ("Purchaser") and is not transferable. REPAIR OR REPLACEMENT AS PROVIDED UNDER THIS WARRANTY IS THE
EXCLUSIVE REMEDY OF THE PURCHASER. This warranty covers only those Products purchased from an authorized Horizon dealer. Third party transactions are not covered
by this warranty. Proof of purchase is required for warranty claims. Further, Horizon reserves the right to change or modify this warranty without notice and disclaims all other
warranties, express or implied.
(b) Limitations- HORIZON MAKES NO WARRANTY OR REPRESENTATION, EXPRESS OR IMPLIED, ABOUT NON-INFRINGEMENT, MERCHANTABILITY OR FITNESS FOR
A PARTICULAR PURPOSE OF THE PRODUCT. THE PURCHASER ACKNOWLEDGES THAT THEY ALONE HAVE DETERMINED THAT THE PRODUCT WILL SUITABLY
MEET THE REQUIREMENTS OF THE PURCHASER’S INTENDED USE.
(c) Purchaser Remedy- Horizon's sole obligation hereunder shall be that Horizon will, at its option, (i) repair or (ii) replace, any Product determined by Horizon to be defective. In
the event of a defect, these are the Purchaser's exclusive remedies. Horizon reserves the right to inspect any and all equipment involved in a warranty claim. Repair or
replacement decisions are at the sole discretion of Horizon. This warranty does not cover cosmetic damage or damage due to acts of God, accident, misuse, abuse, negligence,
commercial use, or modification of or to any part of the Product. This warranty does not cover damage due to improper installation, operation, maintenance, or attempted repair by
anyone other than Horizon. Return of any goods by Purchaser must be approved in writing by Horizon before shipment.