Top wing installation – E-flite Rhapsody 25e ARF User Manual
Page 14
14
E-flite Rhapsody 25e ARF Assembly Manual
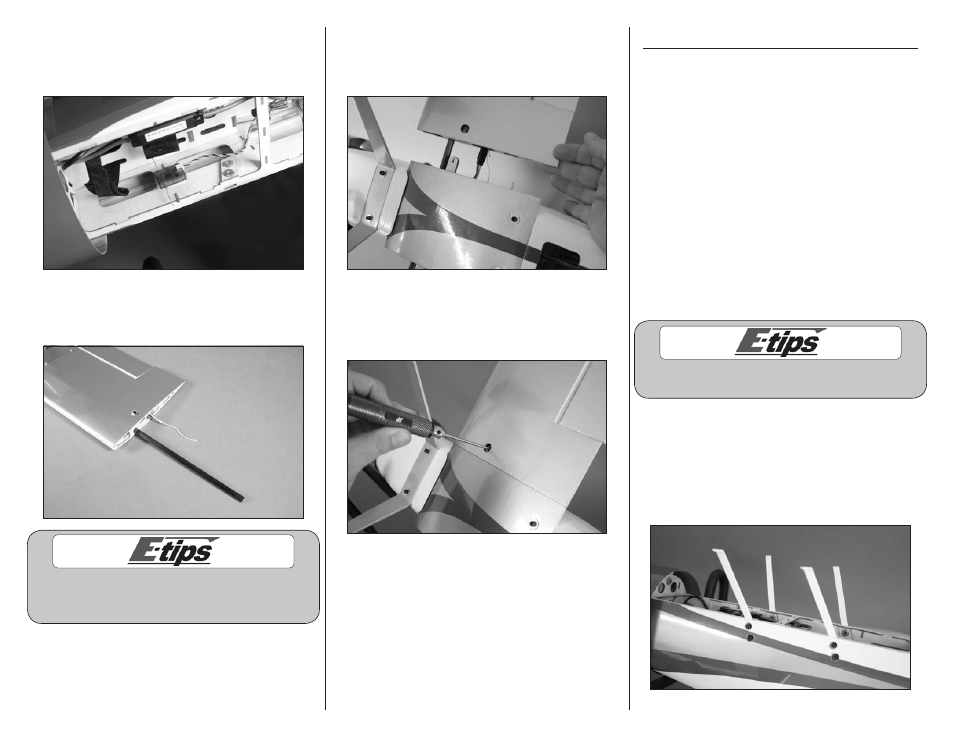
6. Use scissors to cut a piece of hook and loop
tape the size of the remove receiver. Use the tape
to attach the remote receiver to the side of the
fuselage as shown.
7. Slide the short carbon wing tube in the bottom
wing panel. The tube will slide in the socket easily,
so don’t force it farther than it will easily slide.
We left the string tied to the aileron servo lead, but
cut it to a length of 3-inches (76mm) so the lead can
be easily retrieved if it falls back into the wing.
8. Slide the carbon tube and wing panel into the
bottom wing center section. Plug the lead from the
aileron servo into the Y-harness. The panel will fit
tight against the center section when installed.
9. Use a 4-40 x 1/2-inch socket head machine
screw and #4 washer to secure the wing panel to
the center section. Use a 3/32-inch hex wrench to
tighten the screw.
10. Repeat Steps 8 and 9 to attach the remaining
bottom wing panel.
Top Wing Installation
Required Parts
Fuselage assembly #4 washer (22)
Top wing panel (right and left)
Top wing center section
Outer strut fitting (8)
Carbon wing tube, long
Cabane strut decal (4)
Cabane strut, left (2)
Cabane strut, right (2)
Outer strut (right and left)
Nylon clevis (4)
Silicone clevis retainer (4)
2-56 x 6
3
/
4
-inch pushrod (2)
4-40 x 1/4-inch socket head machine screw (8)
4-40 x 3/8-inch socket head machine screw (4)
4-40 x 1/2-inch socket head machine screw (10)
Required Tools and Adhesives
Threadlock
Hex wrench: 3/32-inch
Make sure to use threadlock on all metal-to-
metal fasteners so they don’t vibrate loose.
1. Use eight 4-40 x 1/2-inch socket head machine
screws and eight #4 washers to attach the cabane
struts to the fuselage. Note the left cabane struts
are marked and are located on the left side of the
fuselage as viewed if sitting in the pilot seat. Do
not tighten the screws at this time as they will be
tightened after the wings are installed on the aircraft.