Motor battery installation, Optional pilot installation – E-flite Leader 480 User Manual
Page 22
22
E-flite Leader 480 ARF Assembly Manual
Motor Battery Installation
Required parts
Fuselage assembly Motor battery
Hook and loop strap (not included) (2)
Hook and loop tape (not included)
1. Secure the motor battery in the fuselage using two
hook and loop straps (not included). We recommend
using hook and loop tape between the battery and
battery tray to keep the battery from sliding on the
tray during flight.
Make sure not to wrap the hook and loop strap
around any wires or pushrods. Wrapping it
around the steering pushrod will increase the
load on the rudder servo, which could cause
the servo to fail due to the increased loads.
Optional pilot Installation
Required parts
Canopy
Pilot (optional)
Balsa stiffener (2)
Required Tools and Adhesives
Felt-tipped pen
Ruler
Razor saw
Medium CA
Sanding block
Medium grit sandpaper
Hobby knife with #11 blade
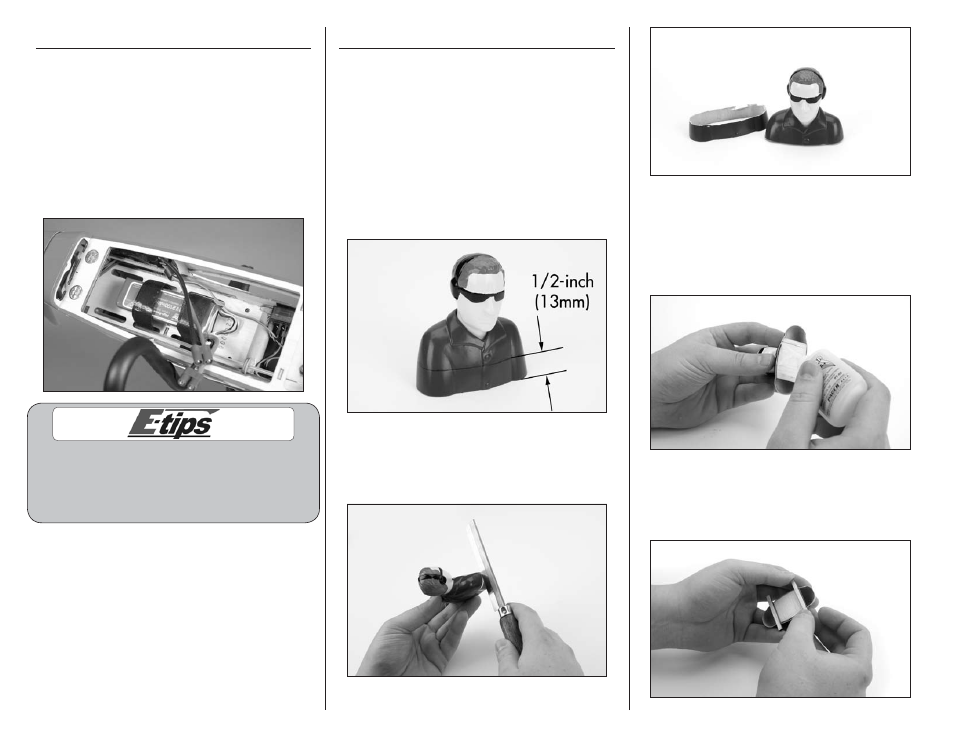
1. Use a felt-tipped pen to mark the pilot 1/2-inch
(13mm) up from the bottom as shown.
2. Use a razor saw to trim the pilot along the line
made in the previous step. Use a sanding block and
medium grit sandpaper to smooth the bottom of the
pilot flat.
3. Remove the balsa plate from the inside of the
portion of the pilot trimmed in the previous step. Fit
the plate into the bottom of the pilot. You may need
to lightly sand the plate to fit. Once fit, use medium
CA to glue the plate in the pilot. Allow the CA to fully
cure before proceeding.
4. Use medium CA to glue the two balsa stiffeners to
the bottom of the pilot. These will keep the pilot from
falling into the canopy, and provide a way to secure
the pilot.