E-flite Tribute FX 3D ARF User Manual
Page 17
1
E-flite Tribute Fx 3D ARF Assembly Manual
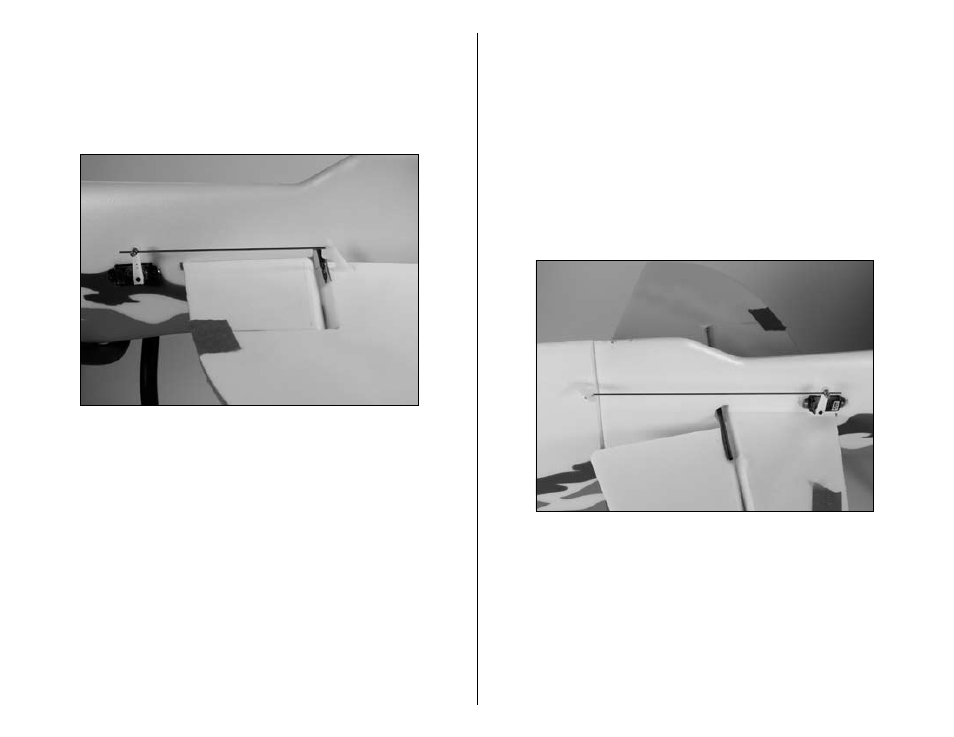
8. Attach the Z-bend of the 5 in (127mm) linkage wire to
the control horn. Slide the linkage wire through the control
connector. Center the elevator and use a 2mm x 4mm
machine screw to secure the linkage. Use side cutters to
remove any excess wire that extends beyond the connector.
Use threadlock on the screw to prevent it from vibrating
loose in flight.
9. Install the rudder servo using hot glue. Make sure the
output of the servo faces toward the rear of the fuselage.
Slide the control horn through the pre-cut slot in the rudder.
The shoulder on the horn rests tight against the rudder.
Slide the control horn backplate down on the control horn
on the opposite side of the rudder. The backplate rests tight
against the rudder. Use foam-safe CA on the backplate to
complete the control horn installation. Attach the Z-bend of
the 6
7
/
8
in (175mm) linkage wire to the control horn. Slide
the linkage wire through the control connector. Center the
rudder and use a 2mm x 4mm machine screw to secure
the linkage. Use threadlock on the screw so it won't vibrate
loose in flight. Use side cutters to remove any excess wire
that extends beyond the connector.