Optional retract installation - bnf/pnp – E-flite Hawker Hurricane 25e PNP User Manual
Page 10
10
E-flite Hurricane 25e PNP/BNF Assembly Manual
EN
Optional Retract Installation - BNF/PNP
Required Parts (included with model)
Wing panel (right and left)
Landing gear door (right and left)
Landing gear mount cover (right and left)
Wheel (2) (removed from fixed gear)
3mm wheel collar with screw (2)
(removed from fixed gear)
3mm x 25mm machine screw (8)
(removed from fixed gear mount)
Transmitter
Receiver battery
Receiver
Required Optional Parts
Retract wire strut (right and left)
Retract cover plate (right and left)
Retract assembly
12-inch (305mm) servo extension (2)
Required Tools and Adhesives
Rotary tool
Cut-off wheel
Vise grip
Phillips screwdriver: #1
Flat file
Hex wrench: 2.5mm
Threadlock
Hobby knife with #11 blade
Drill bit: 3/16-inch (5mm)
Note: We offer a set of pre-bent wire struts
designed specifically for the Hurricane that bolt
directly into the retract units and have all of the
angles preground so it is as simple as installing
the fixed landing gear for those who would
prefer. Please order part number EFL297519.
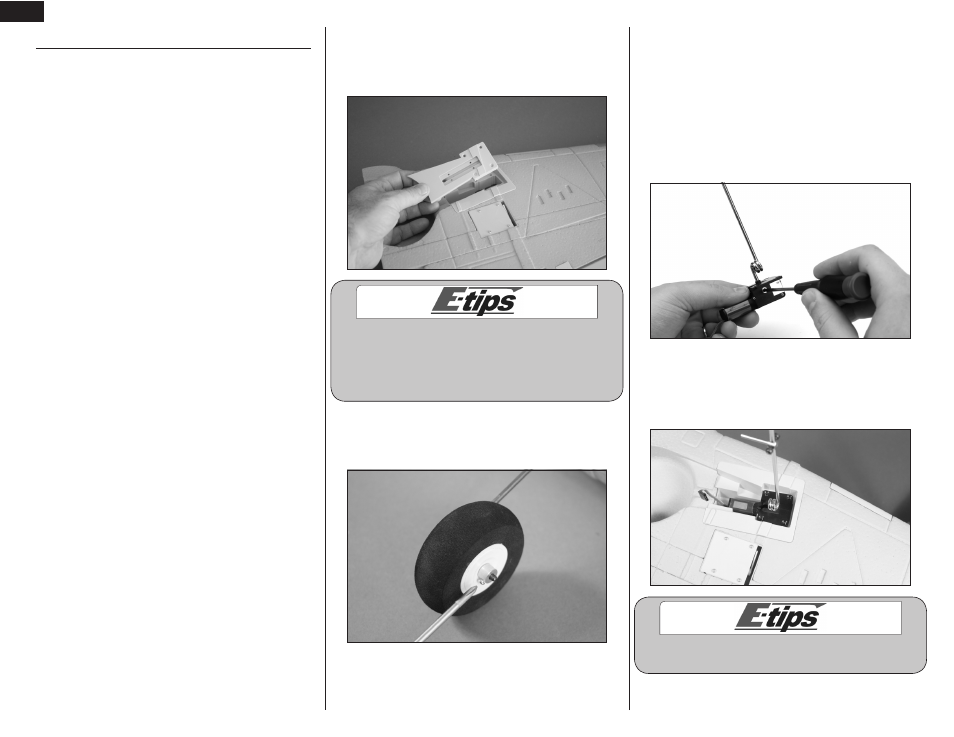
1. Use a #1 Phillips screwdriver to remove the four
3mm x 25mm machine screws that secure the fixed
gear adapter in the wing. Remove the adapter from
the wing.
If you are upgrading from fixed gear to retracts,
you can remove the complete assembly with the
same four screws. Set the fixed gear aside just in
case you have a retract failure. You can always
reinstall the fixed gear to keep your model flying.
2. Use a #1 Phillips screwdriver to loosen the 3mm
x 4mm machine screw that secures the wheel collar.
Remove the wheel and wheel collar at this time.
3. Use the radio system to move the landing gear to
the down position. Loosen the setscrew in the retract
unit so that the gear strut can be removed from the
retract unit. Push the trunnion through the retract
assembly and reinstall in reverse orientation so that
the setscrew will be opposite the pre-ground flat spot
on the gear strut. Position the axle so it is 4
5
/
16
-inch
(109mm) as shown. Lightly tighten the screws in the
axle with a 2.5mm hex wrench at this time, as it will
require positioning in the following steps.
4. Place the retract mechanism in the wing. Check
that the holes align with those in the gear pocket.
Note that installing two screws lightly diagonally
from one another will align the retract unit perfectly.
Always use threadlock on metal-to-metal fasteners
to prevent them from vibrating loose.