BridgeWave AR60X User Manual
Page 21
AR60X Installation Manual
15
58000517, rev B
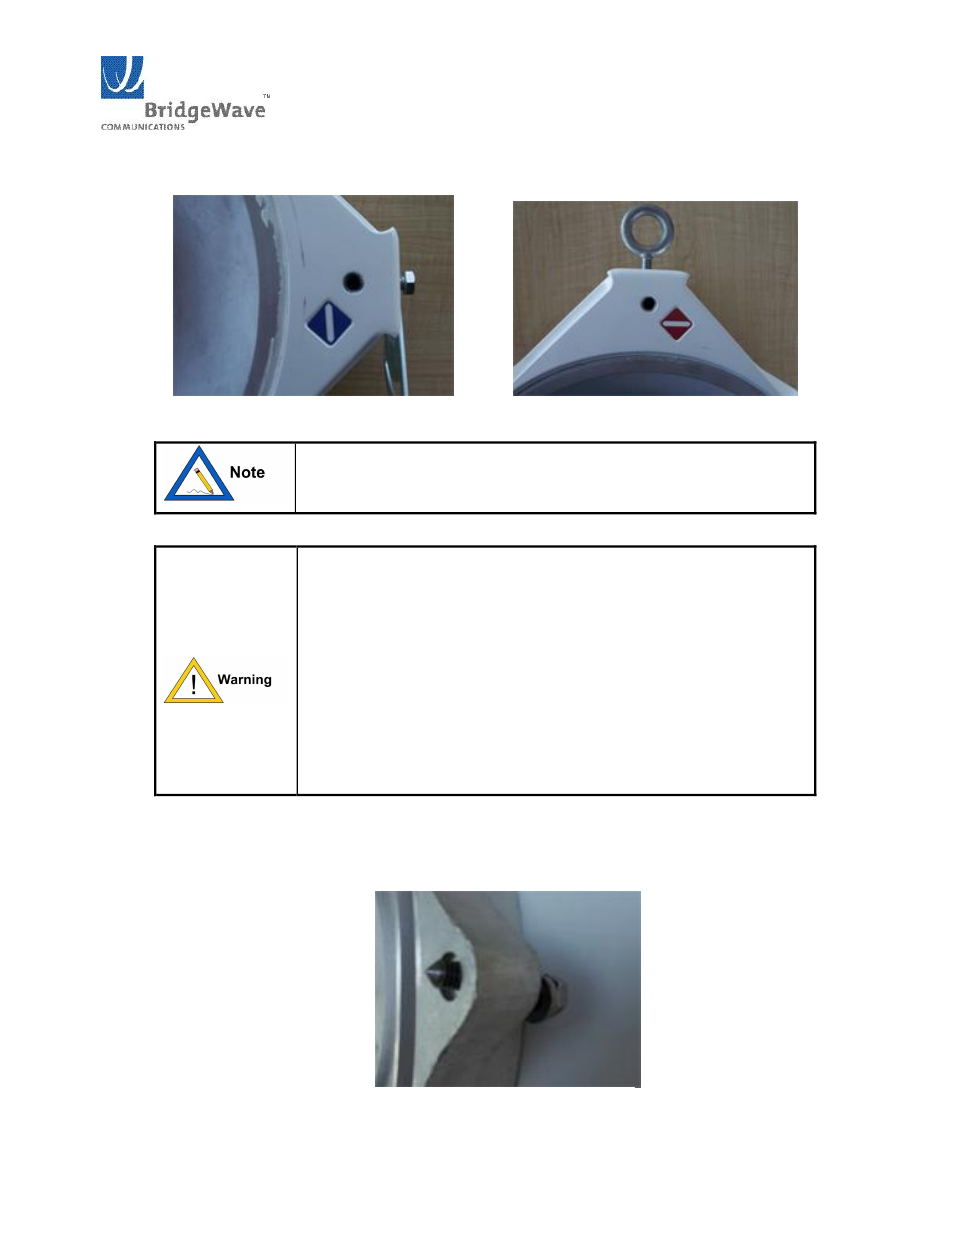
Figure 38: Polarization diamond orientations: vertical (left) and horizontal (right)
The blue color label indicates a high band radio and the red color
label indicates a low band radio
It is critically important during installation to ensure the
radios on each side of the link are in the same polarization
(horizontalhorizontal or verticalvertical). A link that has a
radio on one side of the link set in the horizontal polarization
and the other side of the link set in the vertical polarization
will not operate properly.
It is also critically important that a highband radio is paired with
a lowband radio to ensure the system will operate properly. Prior
to installation check each radio to verify one is a highband and
the other is a lowband version. The label on the radio will
indicate the band (blue for high or red for low).
6. Verify that the four (4) captive 3/816 bolts with lock and flat washer are in place. A ½ inch
openend wrench is required to tighten them. It is important that all four screws are tightened
evenly (hand tight, 1 to 2 turns each and finally until the lock washer is flattened)
Figure 39 Captive radio bolt detail