Importing the demo data – Rockwell Automation Emonitor with an Oracle Multi-User Database User Manual
Page 15
2
•
I
NSTALLING
THE
DATABASE
COMPONENTS
11
•
•
•
• •
Importing the demo data
1. After running the table creation scripts, you must run Efwdbu32.exe to import the data
into the tables. This data is required for the software to run. Efwdbu32.exe is located
in the program directory after you install Emonitor. The default for Emonitor is
C:\Program Files\Rockwell Software\Emonitor
Select Start > Program Files > Rockwell Software > Emonitor > Utilities >
Emonitor Import-Export Utility.
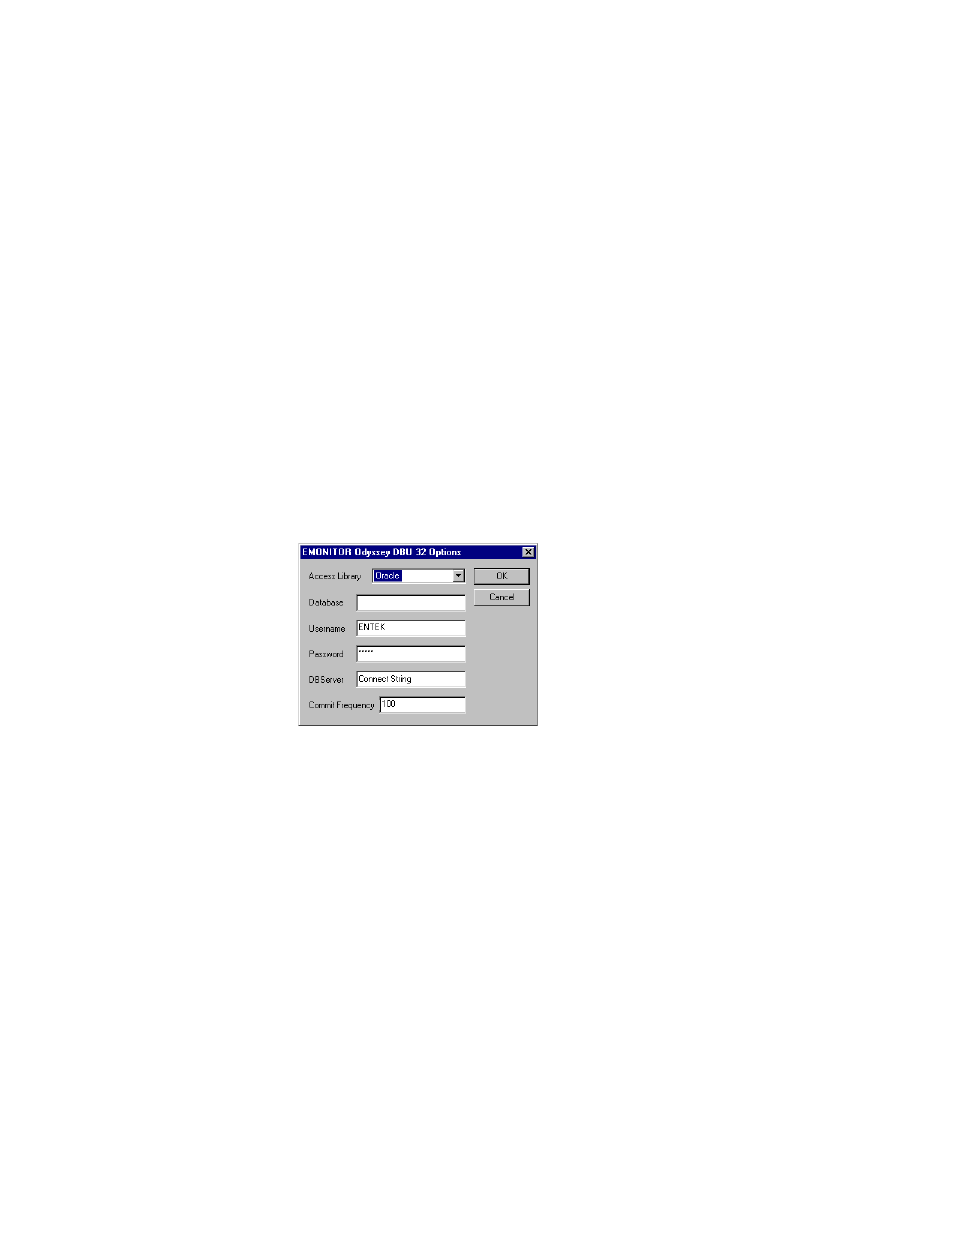
2. From the Options menu, choose Import. Choose the following settings for each field.
Leave the Database field blank.
For Username, enter the Entek username.
For Password, enter the password for the Entek username.
For DBServer, enter the connect string for the database.
3. From the File menu, choose Import Database. Select the entek.dbu file created with
the script and choose Open. The import process takes some time, please be patient.
4. After the Entek data has been imported, change the options for the econfig database.
From the Options menu, choose Import. Change the Username to Econfig and enter
the Econfig password.
5. Repeat the import process for the econfig.dbu file created with the cfgora.sql script.
From the File menu, choose Import Database. Select the econfig.dbu file created
with the script and choose Open.