Camera setup – UVP ChemiDoc-It 2 Imagers User Manual
Page 9
GelDoc-It
2
and ChemiDoc-It
2
Imagers
9
Additional and replacement emission filters are available through UVP. Refer to the Replacement
Parts and Accessories section of this manual for ordering information.
Camera Setup
High sensitivity, scientific-grade CCD cameras are designed for use with UVP’s GelDoc-It
2
and ChemiDoc-it
2
Imagers. This section covers the components and steps required to install UVP’s cameras. The following
cameras are covered in this manual (refer to the packing list for the camera included with your specific
system):
GelCam 310 (GelDoc-It
2
)
BioChemi 510 (ChemiDoc-It
2
)
OptiChemi 610 (ChemiDoc-It
2
)
MegaCam 810 (ChemiDoc-It
2
)
GelCam 310 Camera
Specifications
GelCam 310
Type
CCD, Monochrome
Resolution
1600 x 1200
Bit Depth
16-bit
PC Interface
USB
GelCam 310 Camera with Manual Lens
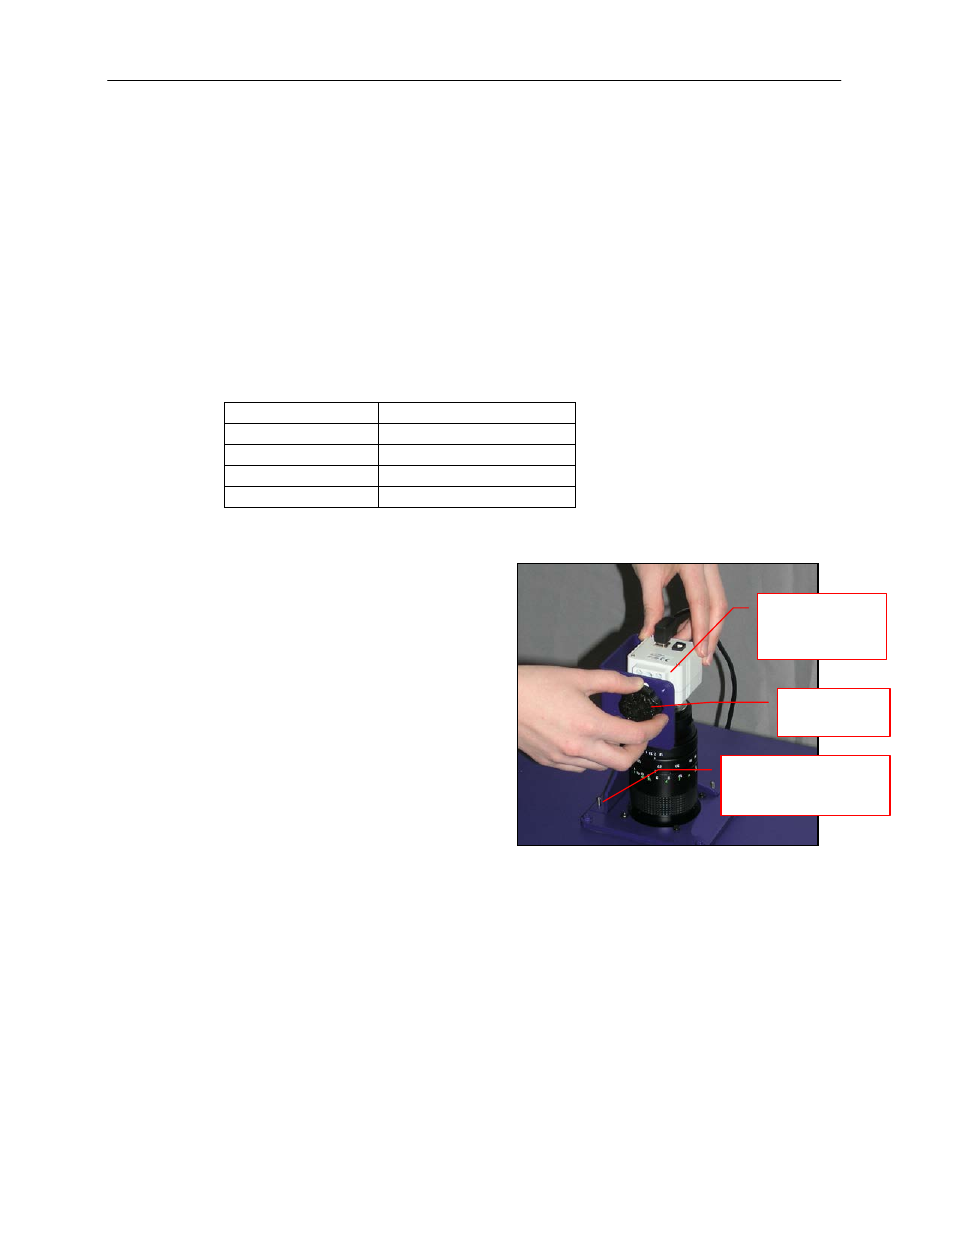
The GelCam 310 camera, zoom lens and diopter
are assembled at the UVP factory. (Note:
Camera may be a different size or color than
shown)
1. Remove the cap from the lens (if in place).
2. Using the four brass thumb screws provided,
secure the bracket to the base on the
darkroom.
3. Slide the camera and lens assembly into the
camera bracket. Slide the lens through the
center hole in the black rubber gasket. The
gasket forms a seal around the lens.
4. Insert and tighten the black thumb screw in
the central hole of the camera to secure the
camera to the bracket.
5. Plug the camera cable into the top of the
camera but do not plug the other end of the
USB cable into the computer until
VisionWorksLS software has been installed.
Tighten brass thumb
screws to secure the
bracket to the base
Camera and
manual lens
assembly
Black thumb
screw