STEMCO Aeris SmartSense Upgrade Kit User Manual
Page 2
Part# 571-1001
SmartSense Installation
Page 2
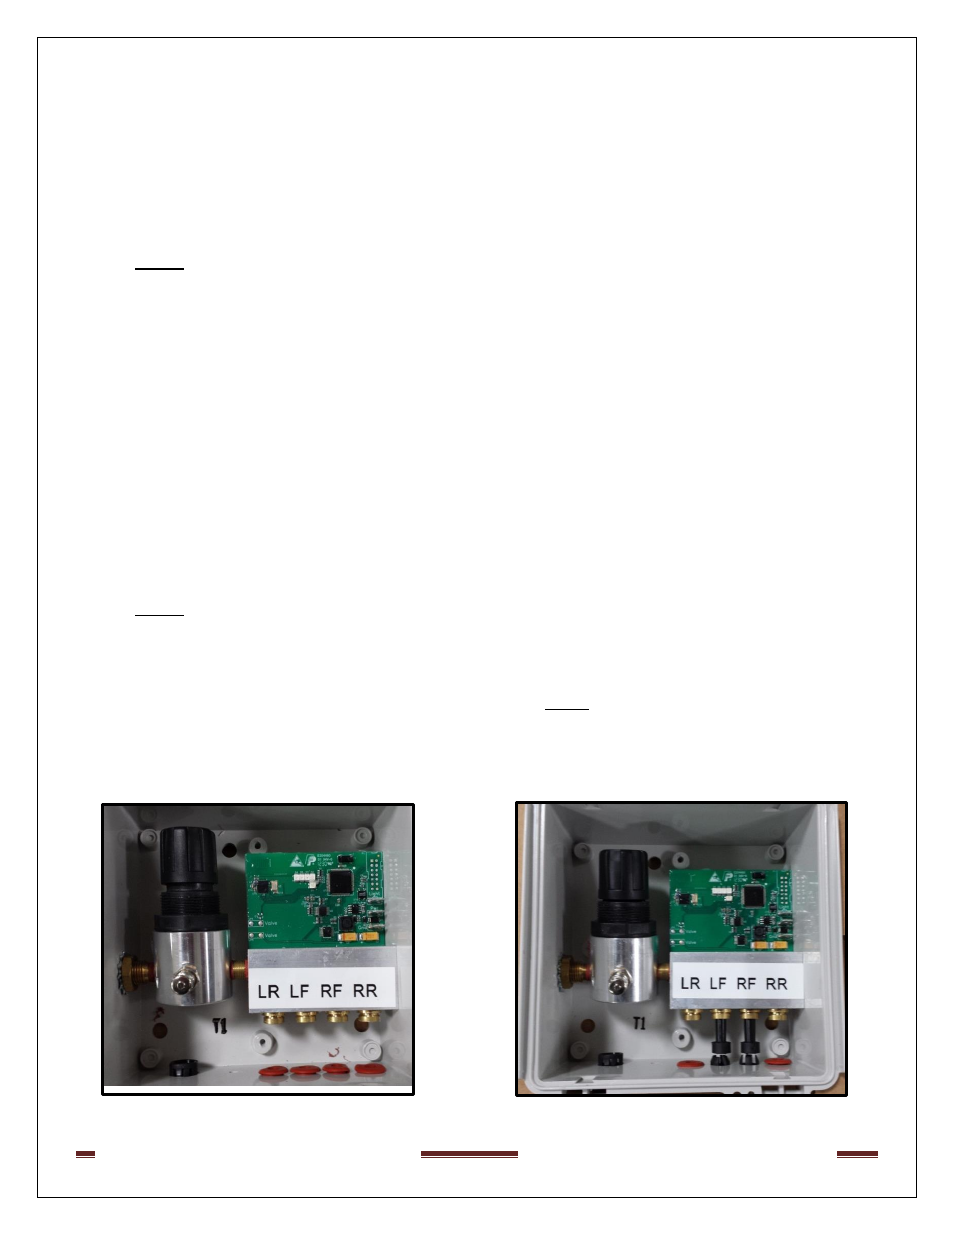
Figure 1
Dual Axle Control box
Figure 2
Single Axle Control box
2. Install new airlines from control box to axle entry points: Splice each airline, one at a time:
a. Remove the existing ‘tees’ from airlines and any protective coverings, such as a split-
seam wire loom. Discard the pieces of tubing that are not attached to the axle.
NOTE! Working with one airline at a time will prevent confusion as to which wheel end is
connected and where it should be connected in the SmartSense control box.
b. After choosing a wheel end, cut the airline (that exits the axle) at a point where the
DOT union splice can be readily secured using tie wraps.
c. Cut the tubing with a tubing cutter to produce a clean, square cut.
d. Push one of the DOT unions firmly onto the tubing.
e. To complete the tubing run back to the SmartSense control box, insert the end
(freshly cut) of the new roll of tubing firmly into the other end of the union. Route the
tubing so that it can be easily secured to the trailer’s undercarriage and will not rub.
f. Estimate how long the tubing must be to go through the grommet on the bottom of
the control box and into the correct port of the manifold. Cut the tubing, making a
clean, square cut.
NOTE! Each port on the manifold corresponds to a specific wheel end. The ports are labeled per
wheel end: LR = Left Rear, LF = Left Front, etc., where ‘left’ is driver’s side and ‘right’ is passenger
side (or curb-side). See Fig. 1 and Fig. 2
g. Push the tubing through the grommet and firmly into the correct port connector.
h. Repeat this procedure for each wheel end.
i. Replace any wire loom tubing protection, being sure to securely fasten the tubing
runs to the trailer’s frame other secure location on the trailer suspension.