Operation – Multiquip SP2S20H User Manual
Page 32
page 32 — Sp2S20h paVeMeNT SaW • operaTioN MaNual — reV. #1 (02/17/12)
OperatiOn
2. To reorient a pointer position, loosen the screw
that secures the pointer bar to the shaft, adjust as
necessary, and retighten the screw.
CuTTiNg
1. When cutting, determine the required cutting depth
and use an appropriately sized blade. Deep sawing is
wasteful to the life of the blade.
2. The preferred method of sawing is to step cut in
increments of 51 mm (2 inches). Step cutting provides
the optimum opportunity for the blade to cut fast and
last longest.
WaTer SySTeM
1. Connect hose from water source (on-board water tank
or external water source) to the hose fitting connection
(Figure 3) of the saw. The source pressure should be
approximately 30-40 psi.
2. Ensure the vinyl water tubes are properly inserted into
the blade guard holes and are clear of any obstructions.
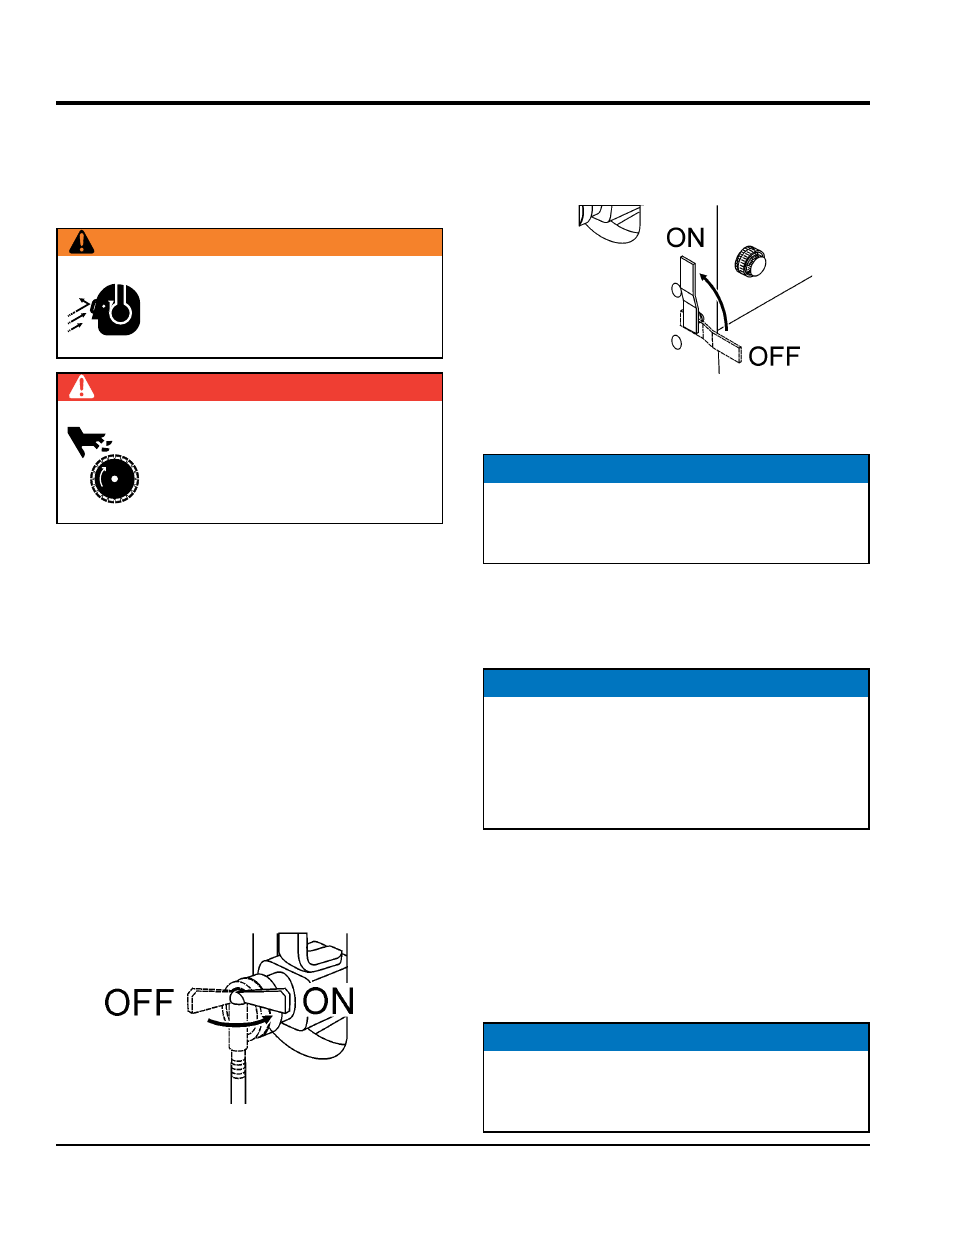
3. Turn water source on (Figure 32).
Figure 32. On-board Water Tank ON/OFF Valve
WarNiNg
The operator must wear the appropriate
protective equipment and clothing while
engaged in sawing. Failure to do so can result
in
SeriouS iNjury.
DaNger
Do NoT operate this machine without the
Blade Guard or V-belt Guards in place. While
the blade is spinning,
Do NoT place hands,
feet, or other body parts near the blade to
avoid
SeriouS iNjury or DeaTh.
4. Open the water system valve on the left side of the
console by moving the lever to the ON position (Figure
33) and ensure the water is flowing equally to both
sides of the diamond blade.
Figure 33. Water System ON/OFF Valve
5. Align the saw along the cut line utilizing the front pointer.
6. Slowly lower the diamond blade onto the cut line by
cranking the Raise/Lower handle clockwise. When the
handle can no longer be turned, the blade will be at
its full rated depth.
7. Follow steps 1 to 4 of the Traveling During Cutting
section.
8. The rotation of the blade creates a tendency for the
saw to slightly pull in a particular direction. To ensure
a straight line of sawing, apply pressure against the
appropriate side of the handle bar as you slowly
advance the saw forward.
NOTICE
alWayS saw in a straight line only. Serious damage
to the blade or saw may occur if the saw is twisted or
forced to cut radius shapes
NOTICE
If the water supply to your blade is interrupted,
STop
cutting immediately to prevent damage to your blade
and/or saw.
If the engine stalls for any reason during cutting, raise
the blade out of the cut before restarting.
NOTICE
alWayS saw in a straight line only. Serious damage
to the blade or saw may occur if the saw is twisted or
forced to cut radius shapes