Mast – Landoll CPP7-03 through CPP12-03 Chisel Plow User Manual
Page 11
ASSEMBLY
2-3
Mast
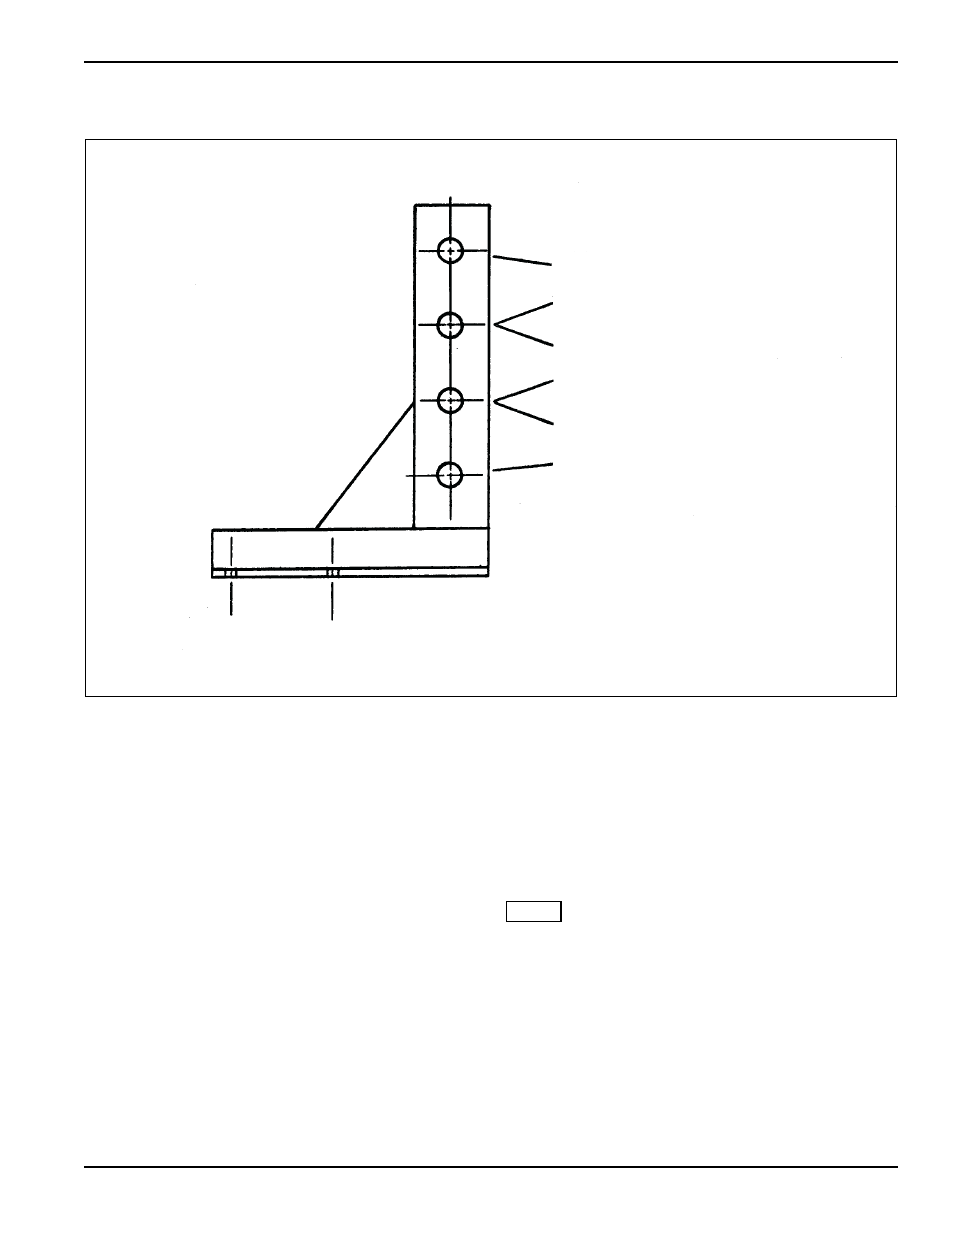
Figure 2-2: Mast
The rigid mounted shanks are shipped assembled to the
shank clamps. To mount these on the chisel plow,
remove the 3/4” bolt and nut from the front of the
assembly.
Slide the assembly onto the tooth bar and replace the
bolt and nut. See Figure 2-3 for assembly and location of
shanks.
To mount the shank to the clamp, first remove the nut
from the 3/4 x 3-1/2” bolt and remove the bolt from the
shank holder and from the U-bolt clip.
Loosen the two nuts on the small U-bolt so that the shank
can slide between the plate and the shank holder.
Remove the two locknuts from the long U-bolt and
remove the plate and spring caps.
Slide the shank between the legs of the small U-bolt and
between the plate and the shank holder and also
between the legs of the long U-bolt. Insert the 3/4” bolt
through the shank holder, the shank and the U-bolt clip.
Assemble the spring caps, the plate and the two locknuts
on the long U-bolt making sure the U-bolt is positioned
correctly in the U-bolt clip.
Tighten all nuts. Mount the assembly to the toothbar.
Torque the 3/4” nuts to 200 ft. lbs.
For field operation, the spring bolts should be tightened
so that one inch of thread is exposed as shown in Figure
2-3.
For chisel plowing tougher ground you may want to clamp
the spring tighter.
NOTE
When this is done, the shank and tooth will not pass over
as great as obstruction.
Category III Free Link - 26” Shanks
Category II Free Link - 26” Shank
Category III Free Link - 32” Shank
Category III Quick Coupler - 26” Shank
Category II Quick Coupler - 26” Shank
Category III Quick Coupler - 32” Shank
Category II Free Link - 32” Shank
Category II Quick Coupler - 32” Shank