Brother TD4100N User Manual
Page 19
13
STEP
1
STEP
2
STEP
3
Die cut label
Continuous length label
If the media does not load properly, trim off some of the media to produce straight
edge and repeat this loading procedure.
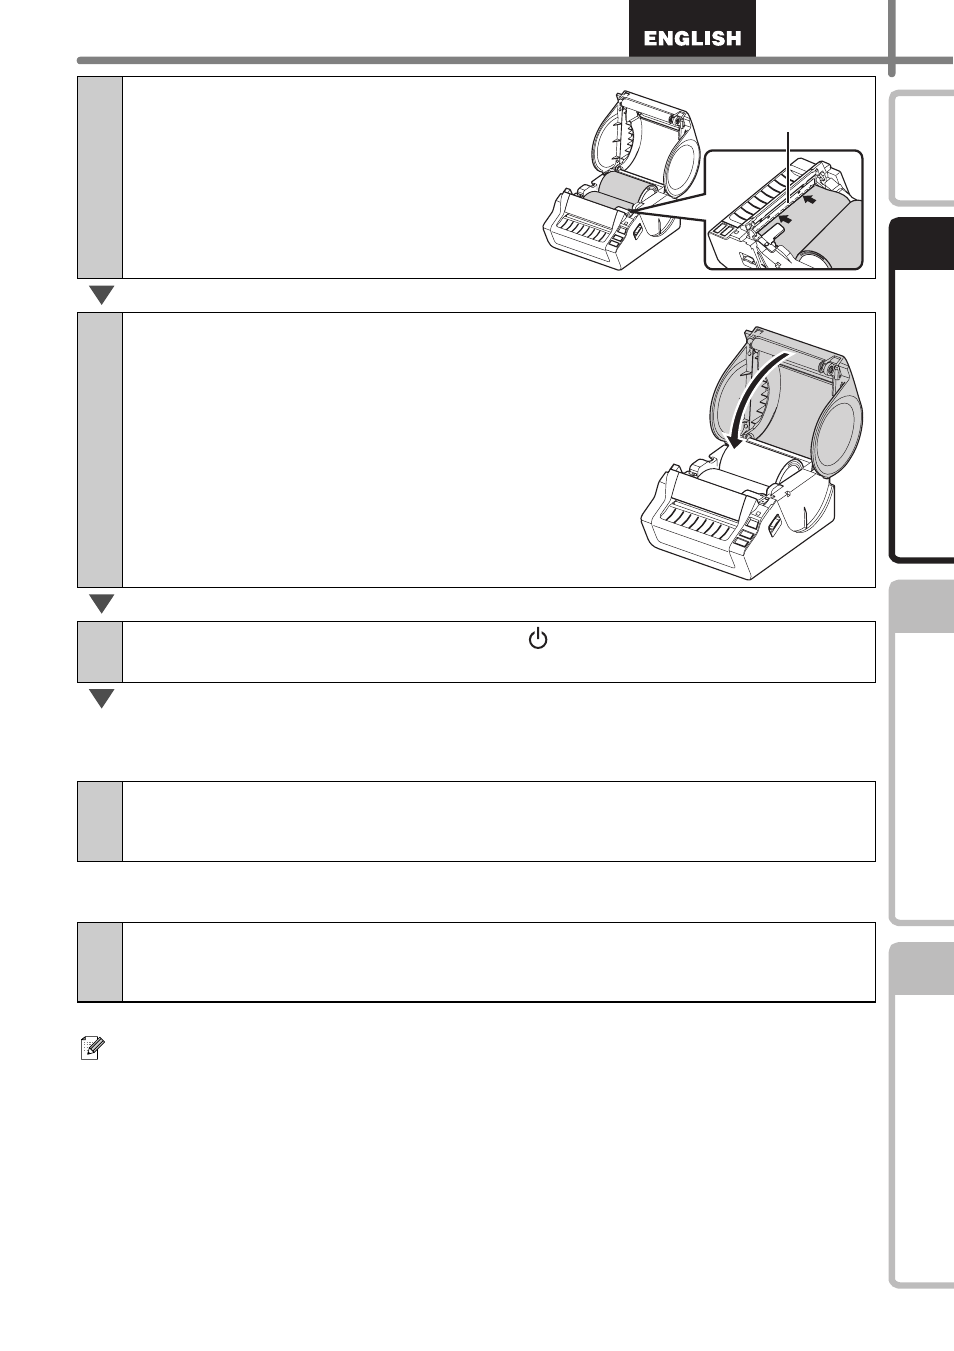
5
Position the end of the RD roll to
touch the black plastic cutter guard.
6
Close the RD Roll compartment cover.
7
Press and hold the ON/OFF button ( ) to turn the TD-4000/4100N
on.
8
Press the Feed button.
The printer will position the label to the correct starting position.
You are now ready to print.
8
Press the Feed button twice and the Cut button.
The printer will position the label to the correct starting position.
You are now ready to print.
Black plastic
cutter guard