Sheet2 – Gamber-Johnson 7160-0431 User Manual
Page 2
Sedan:
1. Remove the stock tunnel plate by removing the 6 bolts.
2. The harness on the right side of the YAW sensor (located on the transmission tunnel) may
impede box installation. For ease of installation, pull up on harness to disconnect the push
fastener attaching the harness to the transmission tunnel.
3. The rear mounting points may be hidden under the flooring. Carefully cut the flooring as
shown to expose the mounting points (Fig 1).
Fig 1 - Rear Mounting Bracket, Carpet Cut to Revel Threaded Inserts
4. Slide console box into place.
5. Attach console to transmission tunnel using OEM hardware.
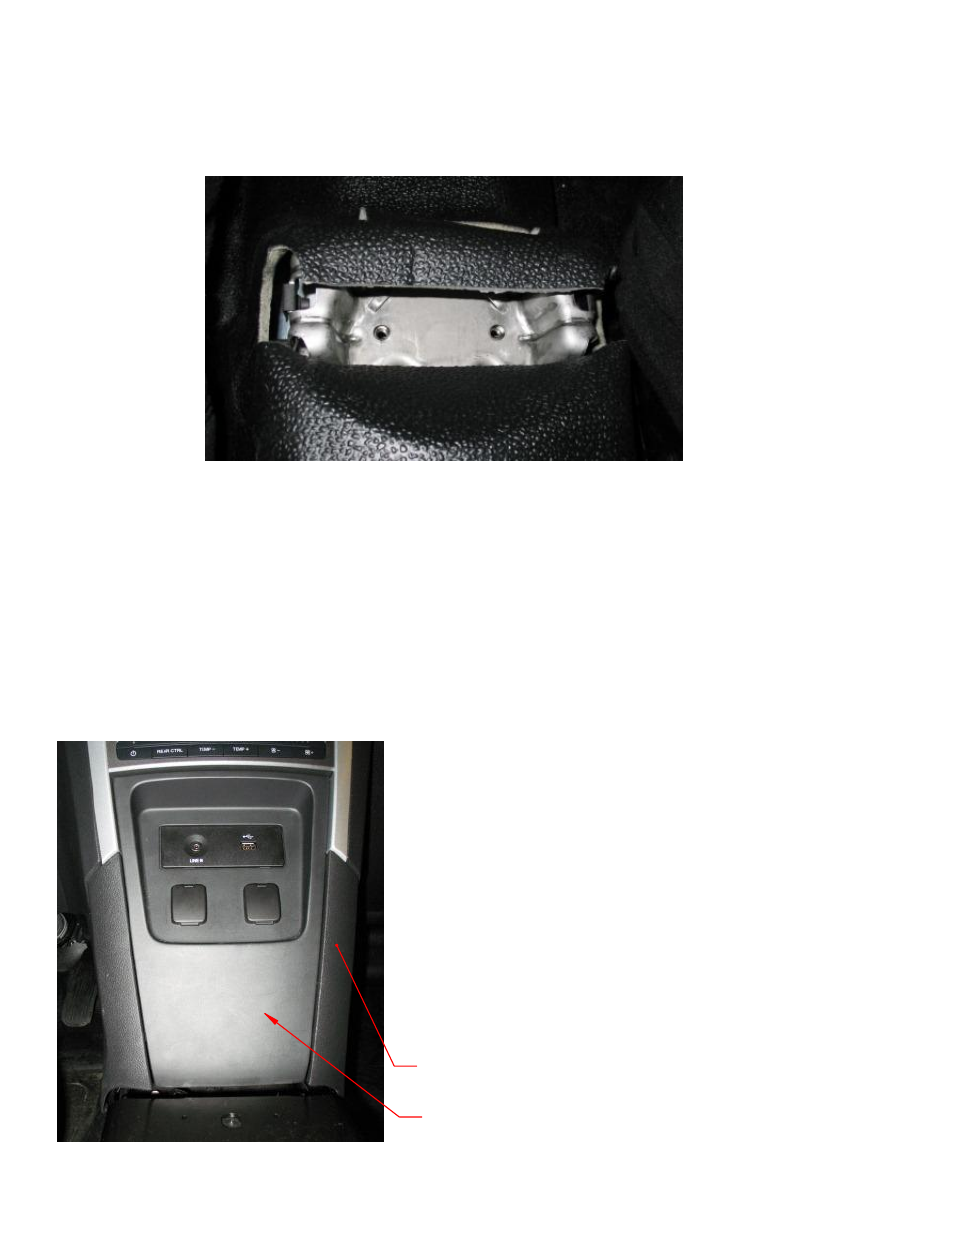
Utility:
1. Remove the lower dash trim panels on either side of the dash (Fig 2).
2. Remove the stock tunnel plate by removing the 6 bolts.
3. Remove the USB/Audio/12v jack Trim Panel (Fig 2) and disconnect the USB, Audio and 12v
cables.
4. The harness on the right side of the YAW sensor (located on the transmission tunnel) may
impede box installation. For ease of installation, pull up on harness to disconnect the push
fastener attaching the harness to the transmission tunnel.
Fig 2 - Utility Lower Dash
Lower Dash
Trim Panel
USB/Audio
Trim Panel
5. Remove the Top Plate from the console box.
6. Slide the console box into place.
7. Attach the console to the transmission tunnel using
the OEM hardware.
8. Attach the Lower Dash Trim Panel to the console box
by placing the lower lip of the Trim Panel into the hook
on the bottom of the console box (Fig 3).
9. Attach the top of the Lower Dash Trim Panel to the
console box using the supplied Trim Hooks (Fig 3). Note
that the left Trim Hook has an "L" cut out of it. It may
be easier to remove the Top Plate when installing the
Lower Dash Trim Panels.
10. Snap the Lower Dash Panels back into place.
2/3