Gamber-Johnson 7160-0409 User Manual
Page 3
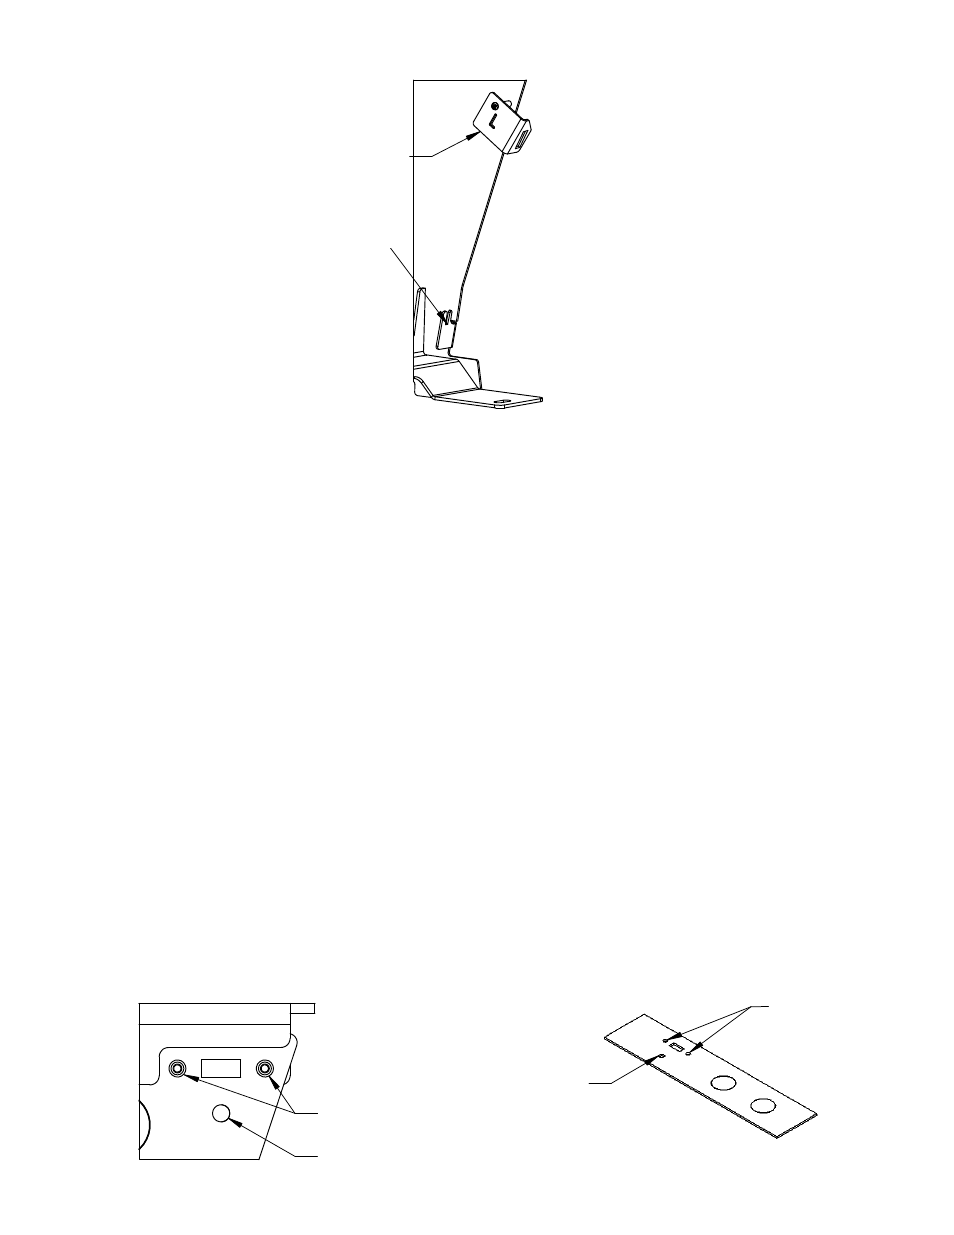
Hooked into Console Box
Lower Dash Trim Panel
Left Trim Hook
Fig 4 - Installing Lower Dash
Trim Panels
Audio Cable
USB Cable
7120-0579
7160-0431
USB Cable
Audio Cable
the connections inside the console secure.
Sedan and Utility:
Install the armrest (7160-0409 & 7160-0411) into the tube and adjust to the desired
height/orientation then tighten the bolt under the armrest. Note: Armrest is not included with
7160-0410 or 7160-0412 but can be ordered separetly. The armrest mounting bracket can be
flipped over to lower the armrest if desired or if used with a Printer Armrest.
The cup holder (MCS-INTCUP) can be placed anywhere along the horizontal length of the box.
Note: The cup holder is not included with 7160-0410 or 7160-0412 but can be ordered separetly.
The Top Plate and Center Brace on both console boxes are designed to be removable to aid in
installation and cable routing. If either item is removed Gamber-Johnson recommends
reinstalling the screws with a drop of Blue 242 Loctite to prevent loosening.
Both boxes have knockouts for 12v accessory outlets (7160-0063). To install simply punch out
the desired knockout and install the 12v outlet. The 12v outlet will need to be hardwired into
the vehicles power system. An additional 12v accessory outlet can be purchased for the second
knockout if desired.
7120-0579 & 7160-0431 Accessories:
On the Utility vehicle, the USB and Audio jacks can be relocated to the side of the console box
using kit #7120-0579 or to a Filler Panel #7160-0431 mounted in the Console Box. To install the
Audio Cable, screw the threaded jack into the threads on the side of the box or on the Filler
Panel and then connect the plug to the vehicles audio jack. To install the USB cable, use the
screws provided with the cable to screw the bulkhead connector to the threaded inserts in the
side of the box or on the Filler Panel and then connect the plug to the vehicles USB port. It may
be desirable to reinforce the connections with electrical tape or shrink wrap in order to keep
3/3