Installing a lens, Colour frames and accessories, N o t e – ETC Source Four CE MultiPAR User Manual
Page 7
English
Source Four MultiPAR CE 7
Installing a lens
Never operate the Source Four MultiPAR CE without a lens in place.
Change lenses if they become cracked or badly scratched
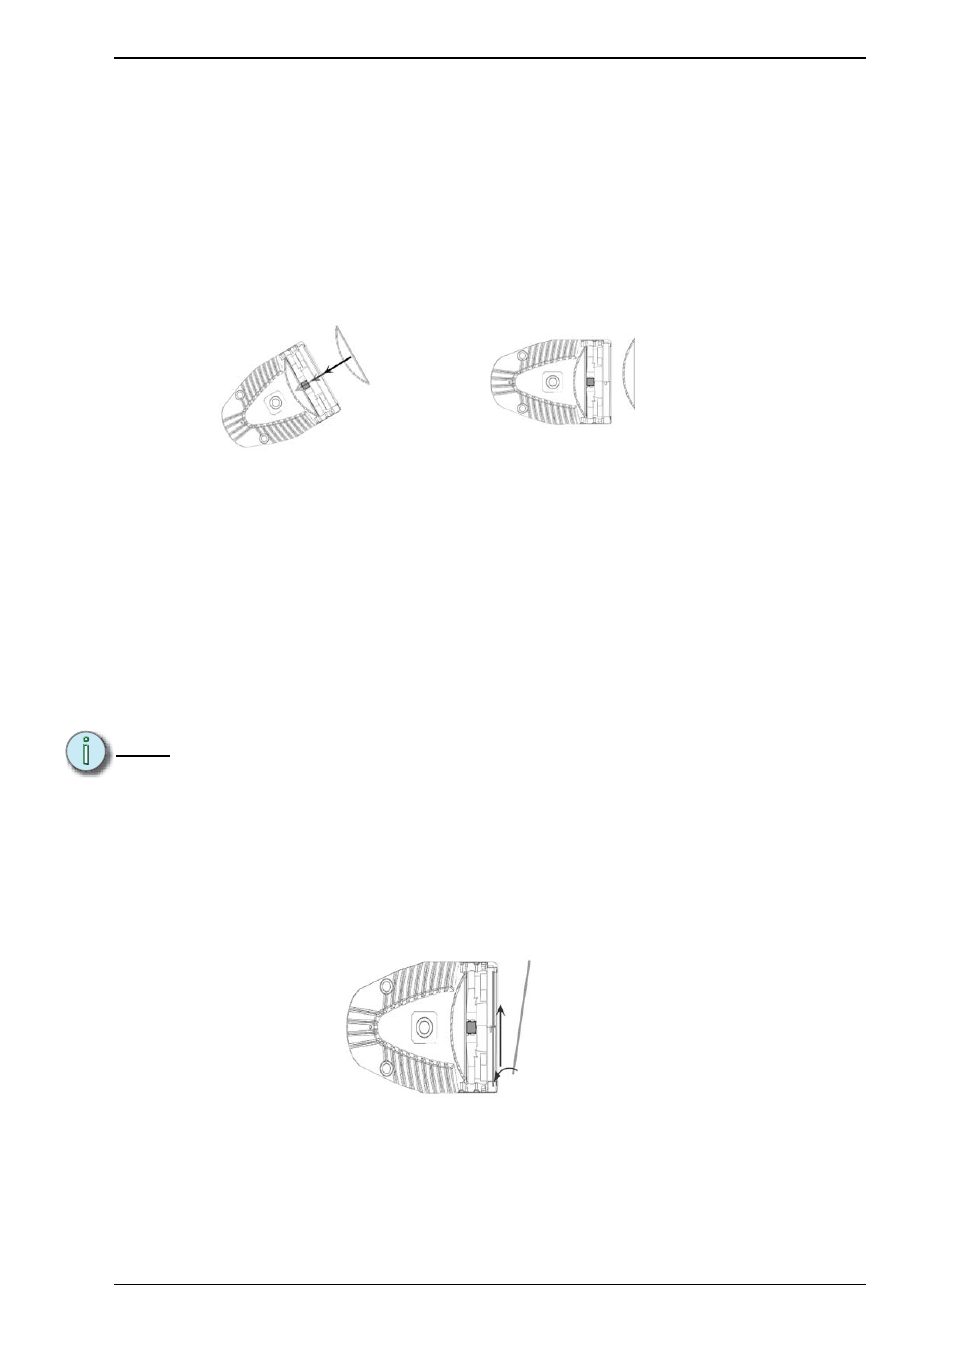
1.
Position the fixture with the front of the unit (the lens side) facing you, and tilted up slightly (
Figure 3
).
2.
Hold the lens by the edge, and position it so the convex side faces the back of the fixture (
). Installing
the lens with the convex side out will not impair the optics, but it will make removing the lens more difficult.
3.
From the top of the fixture, slide the lens behind one of the lens clips and into the cast metal lens channel.
4.
Gently push the top of the lens inward until it snaps behind the other lens clip
Colour frames and accessories
The Source Four MultiPAR CE does not use colour frame clips. However, both sides of the fixtures have a bent
sheet metal retainer to hold the gel frames in place. One side of the fixture has a piece of spring steel that serves
as a gel frame spring. The spring steel pushes the gel frame into the Source Four MultiPAR CE. ETC identifies
the side of the Source Four MultiPAR CE that holds the colour frame as the colour frame retaining channel.
N o t e :
Use only colour frames or accessories with 17 cm inside diameter.
1.
Insert the colour frame or accessory by pressing it against the spring. (
2.
Once the edge of the frame has cleared the retaining channel, allow the edge of the frame to spring into the
channel, thereby securing it.
3.
Make certain the color frame is secured in the Source Four MultiPar CE opening by the spring clip before
operating.
Figure 3
Figure 4
Figure 5