Environmental Express AutoBlock Plus User Manual
Page 6
AutoBlock Plus Operation Manual and Instructions
6 800.745.8218/843.881.6560
1.0 INSTALLING THE AUTOBLOCK
1.1 Ventilation (if unit is purchased with the fume hood)
1.1.1 The AutoBlock exhaust is located on the top right portion of the unit. Install a 4" diameter
acid-resistant duct and clamp to the exhaust outlet. Vent using state & federal guidelines.
1.1.2 When connecting ductwork, verify zero to negative pressure to prevent backflow. The length
of the duct should not exceed 25'. Vent the duct to the outside of the laboratory building or plumb
into the existing ductwork.
1.1.3 If the fume hood is not purchased with the unit the AutoBlock must be placed in a fume
hood for proper ventilation.
1. 2 Reagent Lines
1.2.1 Cut appropriate lengths of 1/16" PTFE reagent tubing, not to exceed 5' lengths. The ends
need to be a square-cut face.
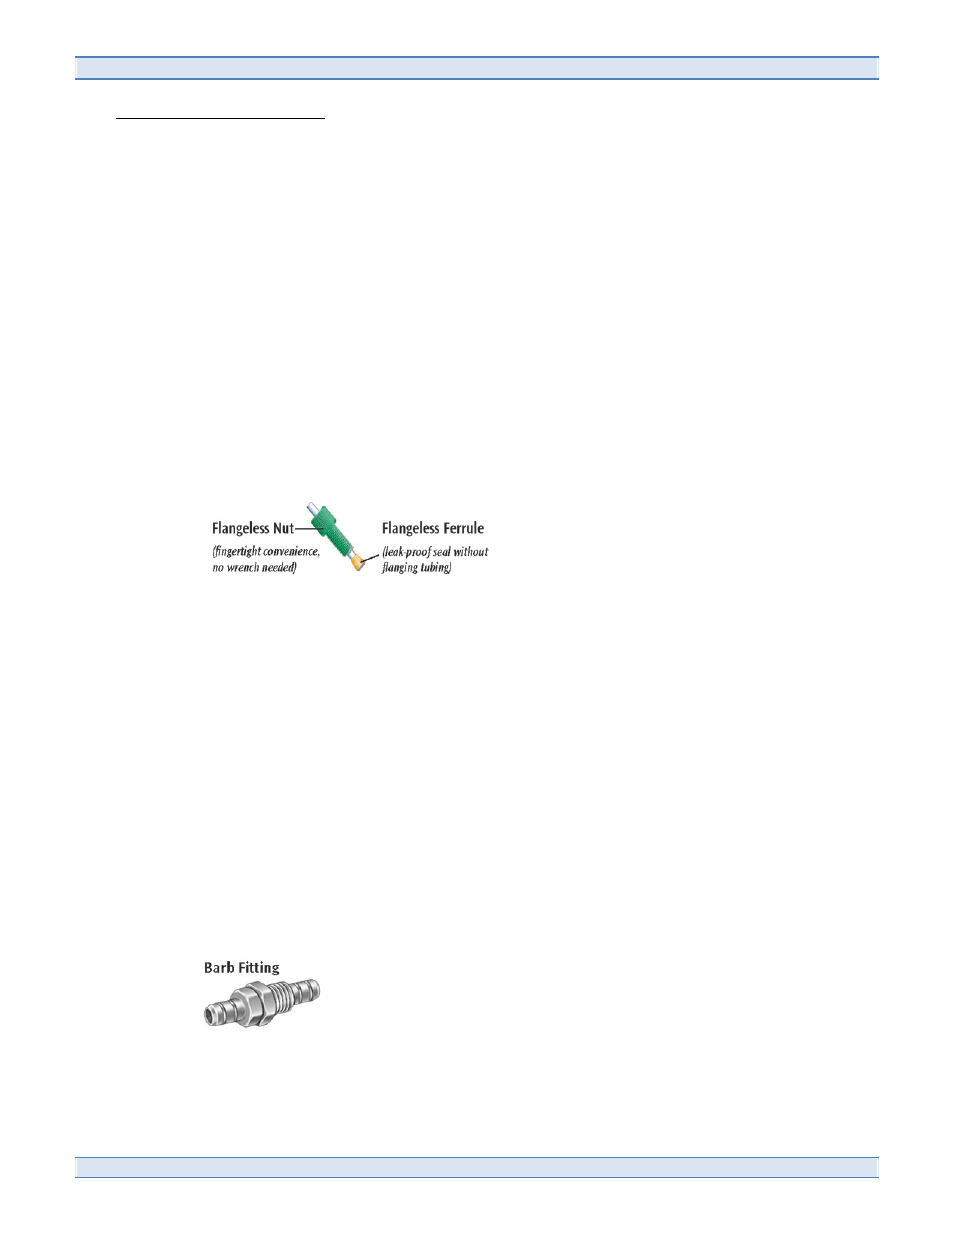
1.2.2 Slide the flangeless nut over the tubing with the nut threads facing the tubing end.
1.2.3 Slide the flangeless ferrule over the tubing with the tapered portion of the ferrule facing
towards the nut. The large diameter of the ferrule should be pushed to the end of the tubing.
1.2.4 AutoBlock reagent ports are located on both sides of the unit. Ports 1-5 are located on the
left side while ports 6-10 are located on the right.
1.2.5 Insert the tubing with the flangeless ferrule into the receiving port until it bottoms. While
holding the tubing tighten the flangeless nut finger tight. The tubing should not be able to move in
the port.
1.2.6 Repeat for all desired ports.
NOTE: PORTS #1 AND #6 MUST ALWAYS REMAIN DI WATER!!
1.3 Drain Line & Carboy
1.3.1 Remove the ½" barb fitting from the bag of supplied parts.
1.3.2 Remove the nut from the fitting.