Normal operation, Programming mode 1, Programming mode 2 – Auto Meter 5690 User Manual
Page 2
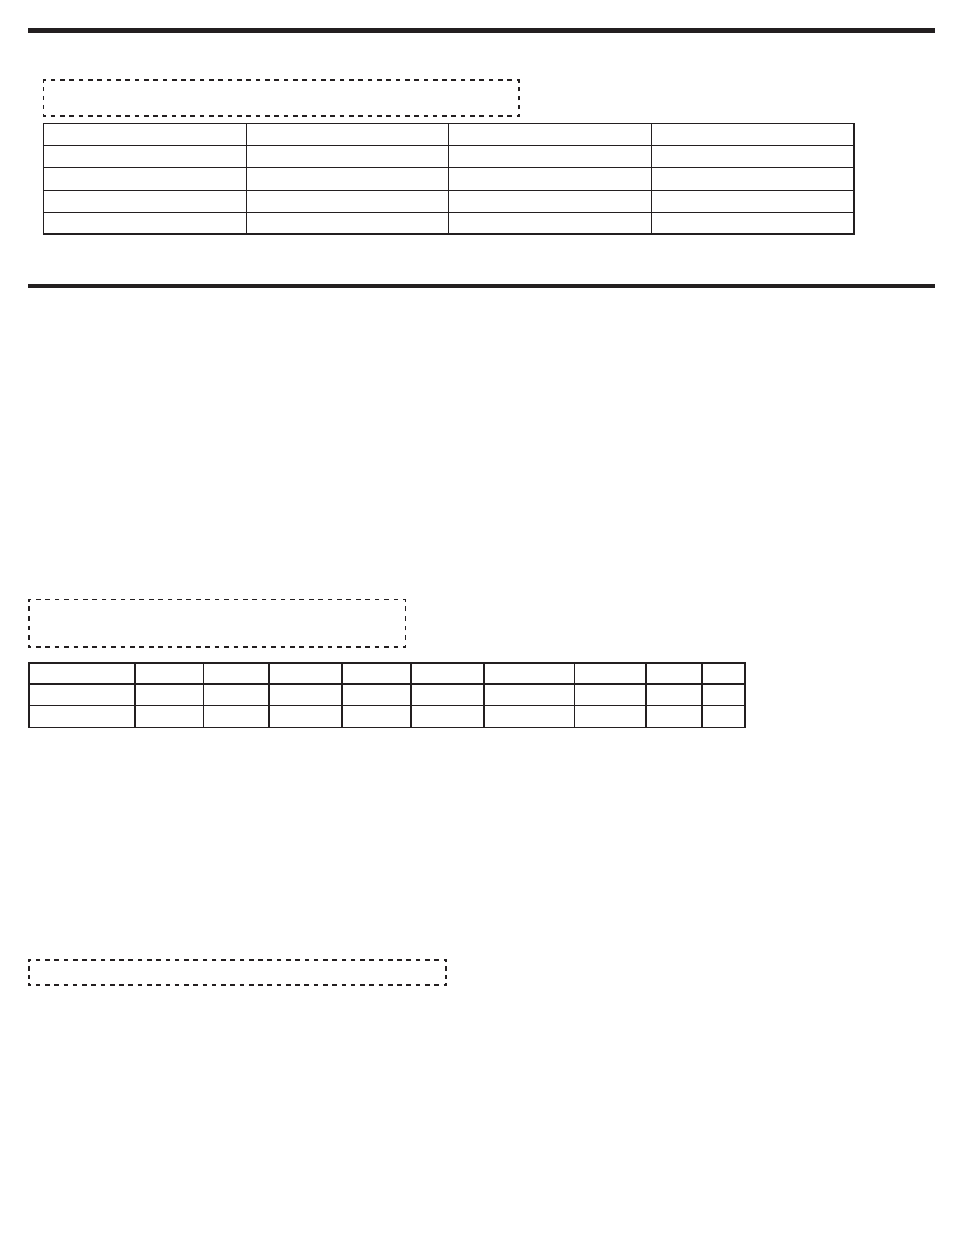
NOTE: This table uses example values in the RPM RANGE and BACKLIGHT
COLOR columns. These values are user selectable.
The Dimming mode is selected upon the entry to this mode. When this mode is entered, the voltage on the white wire is measured. If the voltage is above 1 volt,
dimming is enabled, and the back light brightness will be proportional, following the voltage on the white wire. If the white wire is not connected, or the voltage is
below 1volt, dimming is disabled, and the back light will be at full brightness 100% of the time.
Normal Operation
The Elite Street tach uses the dial backlight as a shift light indicator. The RPM of the engine will indicate one of the following ranges:
RPM RANGE
BACKLIGHT COLOR
BACKLIGHT MODE
COMMENTS
0-6,000
Green
Normal
Programming Mode 1
6,000-7,000
Yellow
Warning
Programming Mode 2
7,000-8,000
Red
Shift
Programming Mode 3
8,000
Flashing Red
Over-Rev
Programming Mode 4
These RPM ranges, the colors for each mode, the Pulses-Per-Rev (PPR), and Dimming Enable/Disable can be modified using the three buttons in
the dial of the tach. These user selectable values are accessible from one of four programming modes.
• Press all three buttons simultaneously. The pointer will move to the RPM that indicates the current PPR and back light will begin flashing once per second.
Release all three buttons.
• Use the ‘+’ (right) button and the ‘-’ (left) button to move the pointer to the RPM that represents the desired PPR (see chart below).
• Press and release the ENTER (middle) button to capture and store the PPR. The back light will begin flashing twice per second.
• Use the ‘+’ (right) button and the ‘-’ (left) button to cycle through the seven back light colors.
• With the desired normal back light color active, press and release the ENTER (middle) button to capture and save the changes. If the there are no button
presses for four seconds, the tach will return to normal tach mode without saving any changes.
• To display Warning RPM, press and release the ‘+’ (right) button:
• The pointer will display current Warning RPM, with the Backlight displaying the Warning color, for 4 seconds.
• To Edit Warning RPM, while the pointer and Backlight are displaying the Warning set point and color:
- Pulse Per Rev (PPR), Normal Backlight Color and Dimming Enable/Disable.
Programming Mode 1
Warning RPM and Backlight Color:
Programming Mode 2
To display and edit the current PPR and Normal Backlight color:
• Use the ‘+’ (right) button to increase the pointer position and the ‘-’ (left) button to decrease the pointer position until the pointer indicates the desired RPM. If
the there are no button presses for four seconds, the tach will return to normal tach mode
without saving the RPM change.
• Press and release the ENTER (middle) button to capture and save the new Warning RPM. The Backlight will begin flashing twice per second. If the there are
no button presses for four seconds, the tach will return to normal tach mode,
saving the Warning RPM point.
• While the backlight is flashing, use the ‘+’ (right) button and or the ‘-’ (left) button to advance through the seven color choices for the Warning Backlight. If the
there are no button presses for four seconds, the tach will return to normal tach mode
without saving any color changes.
• With the desired Warning back light color active, press and release the ENTER (middle) button to
save the Warning Backlight color and RPM.
NOTE: Warning Point RPM cannot be set above the Shift Point RPM.
NOTE: The pointer is used to indicate the PPR (Pulse Per Rev)
setting in the tach per the following table:
ENGINE
Most 2 cyl.
Most 4 cyl.
Most 6 cyl.
Most 8 cyl.
PPR
0.5
1
1.5
2
2.5
3
4
5
6
DIAL RPM
500
1000
1500
2000
2500
3000
4000
5000
6000
*
Default Factory Setting
*