Snorkel MX19-sn20000-20599CE User Manual
Page 15
Maintenance
060570-028 MX15 / MX19 - Operation Manual
Page 13
B
A T T E R Y
M
A I N T E N A N C E
W A R N I N G
!
!
Hazard of explosive gas mixture. Keep sparks, flame, and smoking material away from batteries.
Always wear safety glasses when working near batteries.
Battery fluid is highly corrosive. Thoroughly rinse away any spilled fluid with clean water.
Always replace batteries with UpRight batteries or manufacturer approved replacements weighing
26,3 kg (58 lbs.) each.
• Check the battery fluid level daily, especially if the work platform is being used in a warm, dry climate.
• If electrolyte level is lower than 10 mm (
3
/
8
in.) above the plates add distilled water only. DO NOT use
tap water with high mineral content, as it will shorten battery life.
• Keep the terminals and tops of the batteries clean.
• Refer to the Service Manual to extend battery life and for complete service instructions.
B
ATTERY
C
HARGING
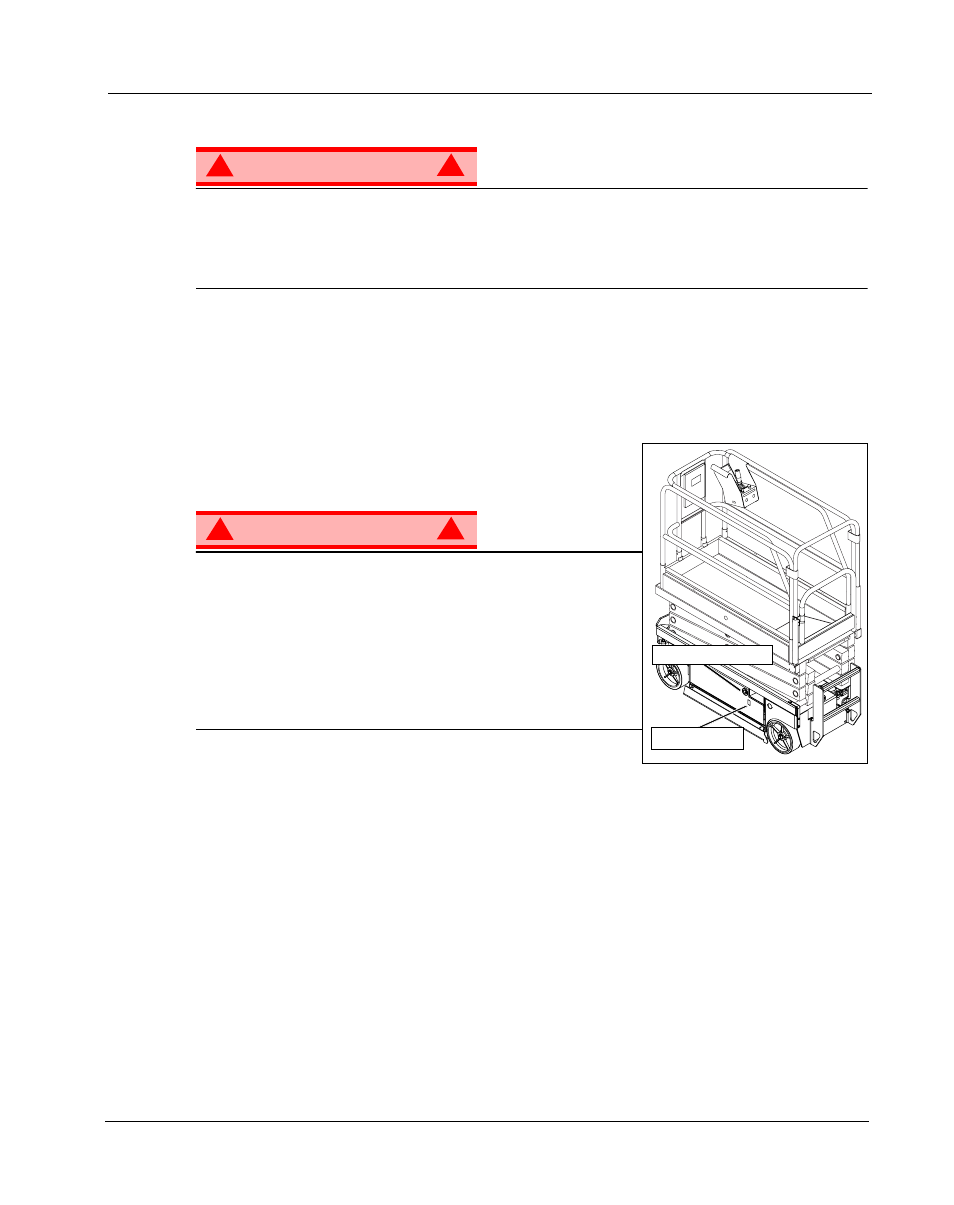
Figure 11: Battery Charger
Charge the batteries at the end of each work shift or sooner if the
batteries have been discharged.
W A R N I N G
!
!
Charge the batteries in a well ventilated area.
Do not charge the batteries when the work platform is near a source
of sparks or flames.
Permanent damage to the batteries will result if the batteries are not
immediately recharged after discharging.
Never leave the battery charger operating for more than two days.
Never disconnect the cables from the batteries when the charger is
operating.
Keep the charger dry.
1. Check the battery fluid level. If the battery fluid level is lower than
10 mm (
3
/
8
in.) above the plates add distilled water only.
2. Connect an appropriate extension cord to charger outlet plug in Left Module Door. Plug the extension
cord into a properly grounded outlet of proper voltage and frequency.
3. The charger turns on automatically after a short delay. There are three LED’s to indicate the state of
charge cycle.
• The first LED will blink until the batteries reach 50% state of charge, and then it will stop blinking and
stay ON.
• The second LED will blink until the batteries reach 75% state of charge, and then it will stop blinking
and stay ON.
• The third LED will blink until the batteries reach 100% state of charge, and then it will stop blinking and
stay ON.
• When the batteries are fully charged, all three LED’s will stay ON. The battery charger will automati-
cally turn off a short time after the batteries reach full charge.
NOTE: The battery charger circuit must be used with a GFI (Ground Fault Interrupt) outlet.
NOTE: DO NOT operate the machine while the charger is plugged in.
LED Indicator
Charger Outlet Plug