Apple Aperture 1.5 (New Features) User Manual
Page 16
16
3
Adjust the area over which the chroma blur effect is applied by doing one of the following:
 The default value for the Radius slider and value slider is determined by the camera
used to create the RAW image file. Drag the Radius slider to the right to increase the
radius of the area over which the chroma blur effect is applied during the RAW
decoding process, and drag the Radius slider back to the left to reduce it.
 Click the left or right arrow in the Radius value slider to adjust the radius by
increments of one-tenth of a pixel, or drag in the value field.
 Double-click the number in the Radius value slider, then enter a value from 0.10 to
10.00 and press Return.
A value of 0.10 applies the least amount of chroma blur during the RAW decoding
process. A value greater than 0.10 increases the chroma blur effect during the RAW
decoding process.
Turning On Automatic Noise-Compensation Adjustments
Digital image sensors produce noisy images at certain settings (generally high ISO
settings and long exposures). The Mac OS analyzes the noise characteristics of each
camera and uses them to control parameters such as sharpness. You can turn on the
automatic adjustment by selecting the Auto Noise Compensation checkbox.
To turn on the automatic noise-compensation adjustment:
1
Select a RAW image imported with or migrated to Aperture 1.1.
2
In the Adjustments Inspector or Adjustments HUD, select the Auto Noise
Compensation checkbox.
Aperture applies the automatic noise-compensation adjustment.
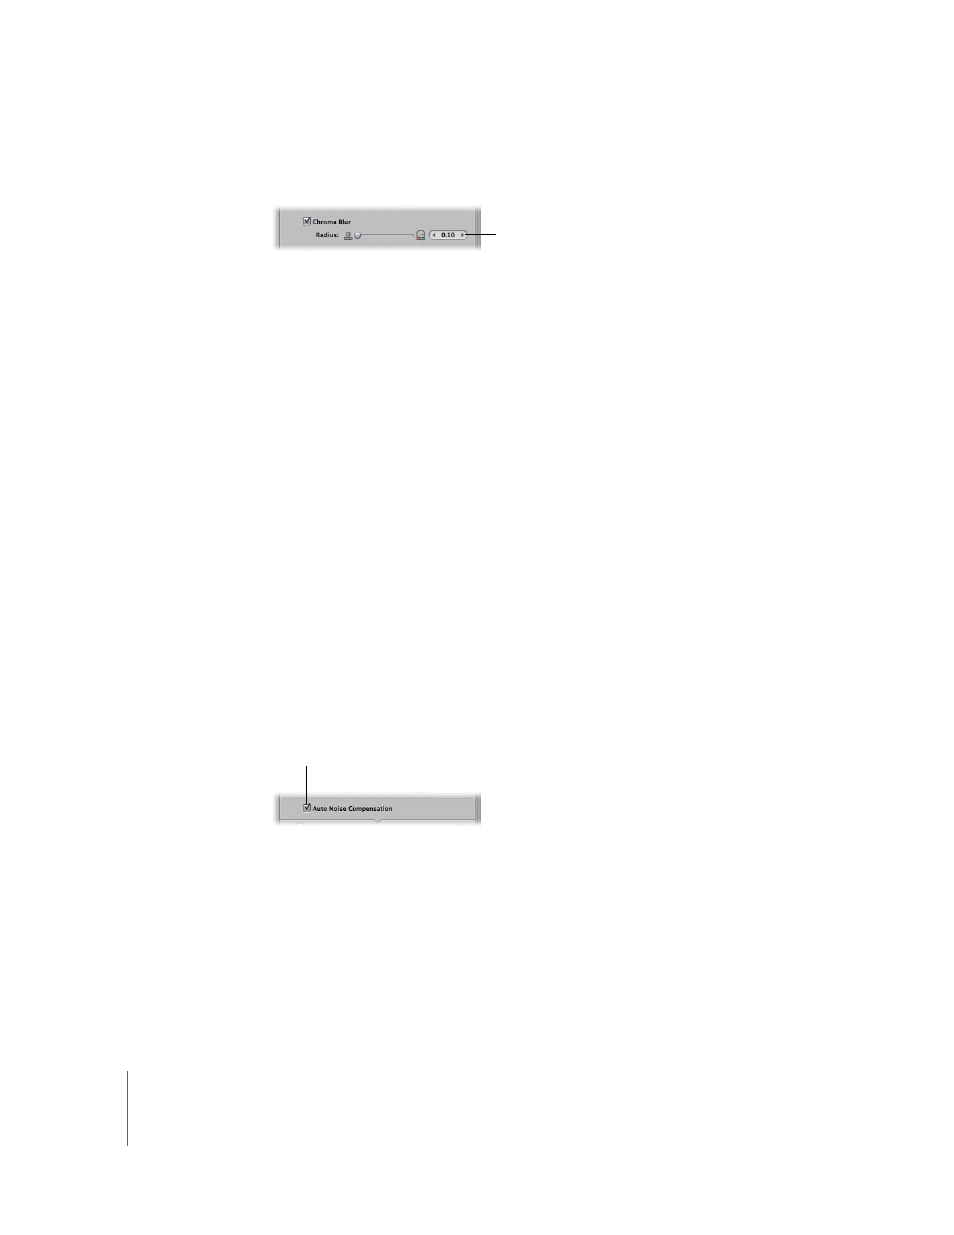
Use the Radius slider and value slider to adjust
the area over which the chroma blur effect is
applied during the RAW decoding process.
Select this checkbox to turn on the
automatic noise adjustment.