Apple Aperture 1.5 (New Features) User Manual
Page 10
10
Migrating a large number of images can be a time-consuming process. Therefore, you
may find it easier to migrate images on an as-needed basis. For example, if you have
five-star selects, you may wish to initially migrate only those images. It does not affect
an image to migrate it more than once; if an image already uses Aperture 1.1 RAW
decoding, migrating it again has no effect.
Migrating a RAW Image Selection
You can choose to migrate all images, migrate only images with adjustments, or
migrate only images without adjustments. You can also migrate images one at a time
using the RAW Fine Tuning controls in the Adjustments Inspector or Adjustments HUD.
For more information about migrating individual images, see “
Individually with the RAW Fine Tuning Controls
Important:
The Migrate Images command cannot be undone. However, you can
return an individual image to Aperture 1.0 RAW decoding using the Version pop-up
menu in the RAW Fine Tuning area of the Adjustments Inspector or Adjustments
HUD. For more information, see “
Migrating Images Individually with the RAW Fine
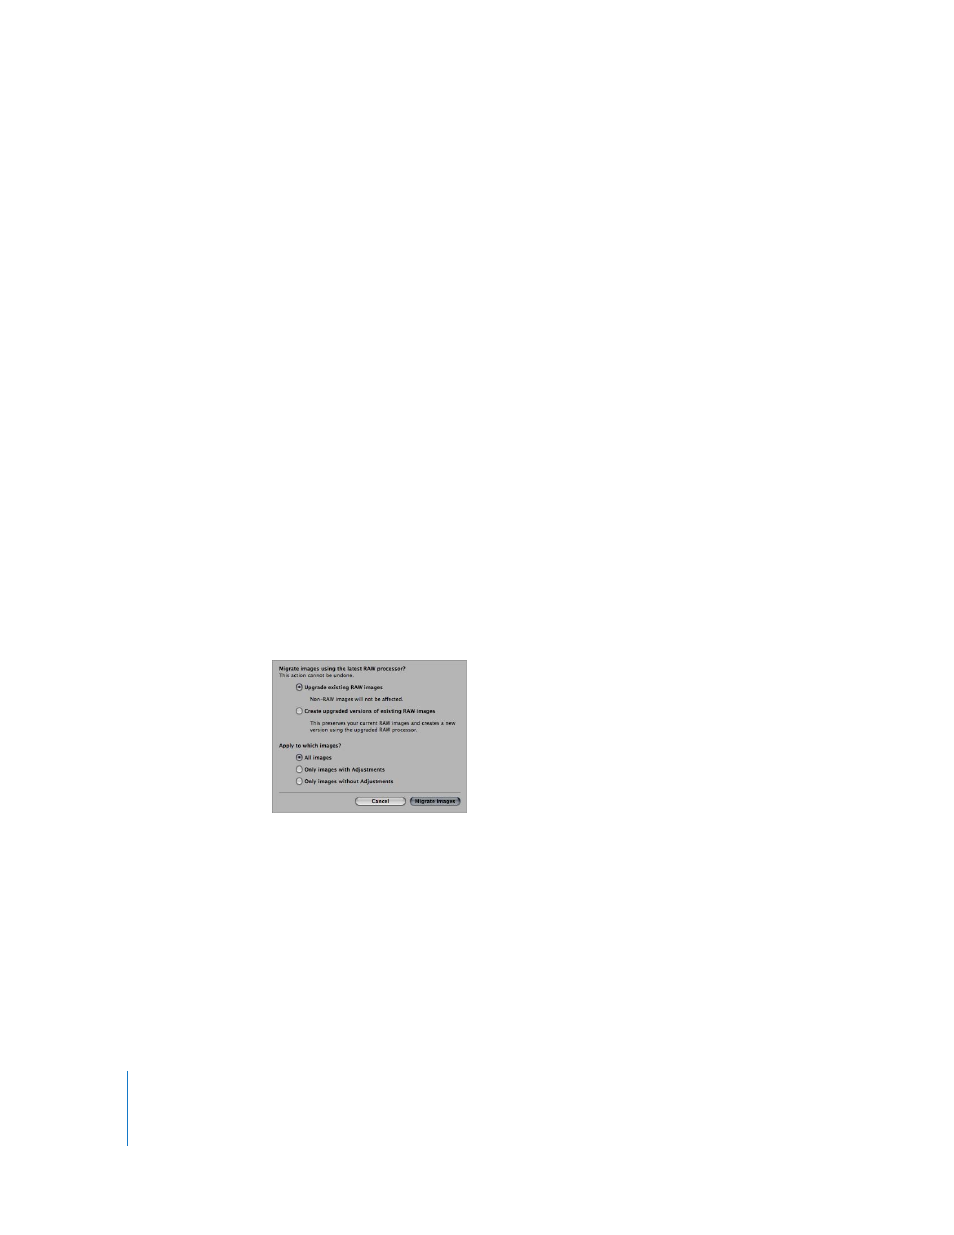
To migrate a selection of RAW images:
1
Select an image or group of images.
2
Choose File > Migrate Images.
3
In the dialog that appears, select the appropriate migration criteria, then click the
Migrate Images button.
The RAW image files are migrated from the Aperture 1.0 RAW decoding process to the
Aperture 1.1 RAW decoding process according to the criteria you specified.
You can also migrate all the images in a selected project, book, web gallery or journal,
Light Table album, album, or Smart Album.