Migrating images, Individually with the raw fine tuning controls, Migrating images individually with the raw fine – Apple Aperture 1.5 (New Features) User Manual
Page 11: Tuning controls
11
To migrate a project or album:
1
In the Projects panel, select a project or album.
2
Choose File > Migrate Images.
3
In the dialog that appears, select the appropriate migration criteria, then click the
Migrate Images button.
All RAW images in the selected project or album are migrated to the Aperture 1.1 RAW
decoding process.
You can also migrate all the RAW images in the Library at once. However, this migration
process may take a long time for large Libraries.
To migrate every RAW image in the Library:
1
In the Projects panel, click the Library disclosure triangle to reveal the Smart Albums
beneath it.
2
Select the Smart Album named All Images.
3
Choose File > Migrate Images.
4
In the dialog that appears, select the appropriate migration criteria, then click the
Migrate Images button.
Every RAW image in the Library is migrated to the Aperture 1.1 RAW decoding process.
Migrating Images Individually with the RAW Fine Tuning Controls
You can migrate RAW images one at a time using the Version pop-up menu.
To migrate a RAW image using the Version pop-up menu:
1
Select a RAW image.
2
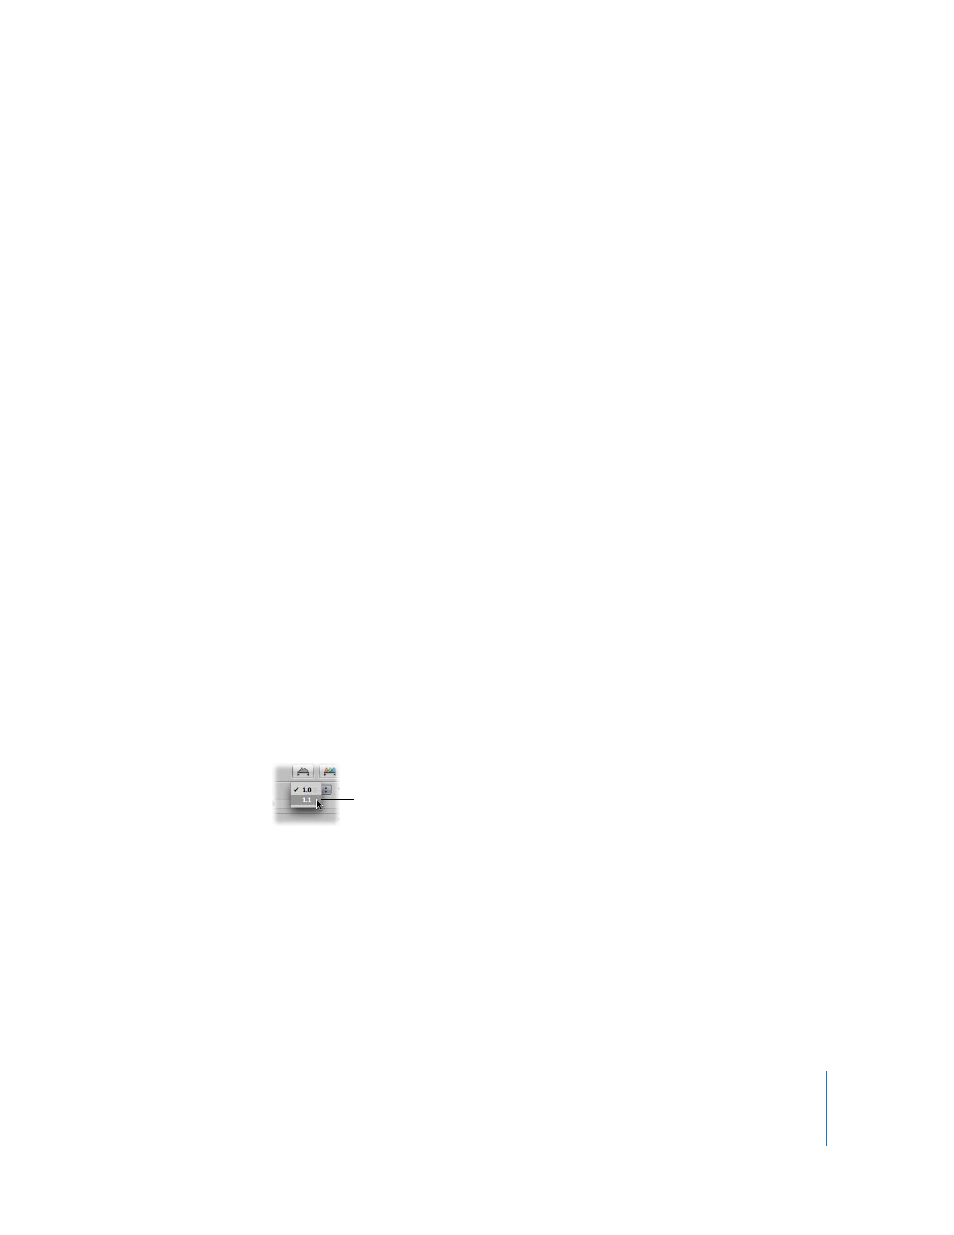
In the Adjustments Inspector or Adjustments HUD, select the RAW Fine Tuning
checkbox, then choose 1.1 from the Version pop-up menu.
The image is redecoded using the Aperture 1.1 RAW decoding process, the image
version is updated, and the RAW Fine Tuning controls become available. For more
information about the new RAW Fine Tuning controls, see the next section.
Choose 1.1 from the Version
pop-up menu.