Getting started, 1 placing the product, 2 connecting to the mains – Philips 10FF2CMW-27B User Manual
Page 10: 3 charging the batteries, 4 turning on your photoframe, 5 initial setup
3.
Getting started
3.1
Placing the product
The PhotoFrame should be placed on a flat
surface and close to a power socket. Keep it
away from high temperatures and high levels of
moisture
3.2
Connecting to the mains
Connect the supplied power cable from
PhotoFrame to a power outlet.
Click
Note:
For safety reason and best stability Philips
recommend to adjust the stand with the angle
defined by the two clicked position. Using other
positions may cause the PhotoFrame to fall and
is under the entire responsibility of the user.
3.3
Charging the batteries
The batteries take approximately 2 hours to
be fully charged, when PhotoFrame is off and5
hours when it is on. Connect the PhotoFrame
to a power outlet as shown above. The internal
battery will start charging and the battery LED
turns blue and flashes.
3.4
Turning on your PhotoFrame
Press the power ON/OFF button.
The power LED will be blue and a slide show
will play.
3.5
Initial Setup
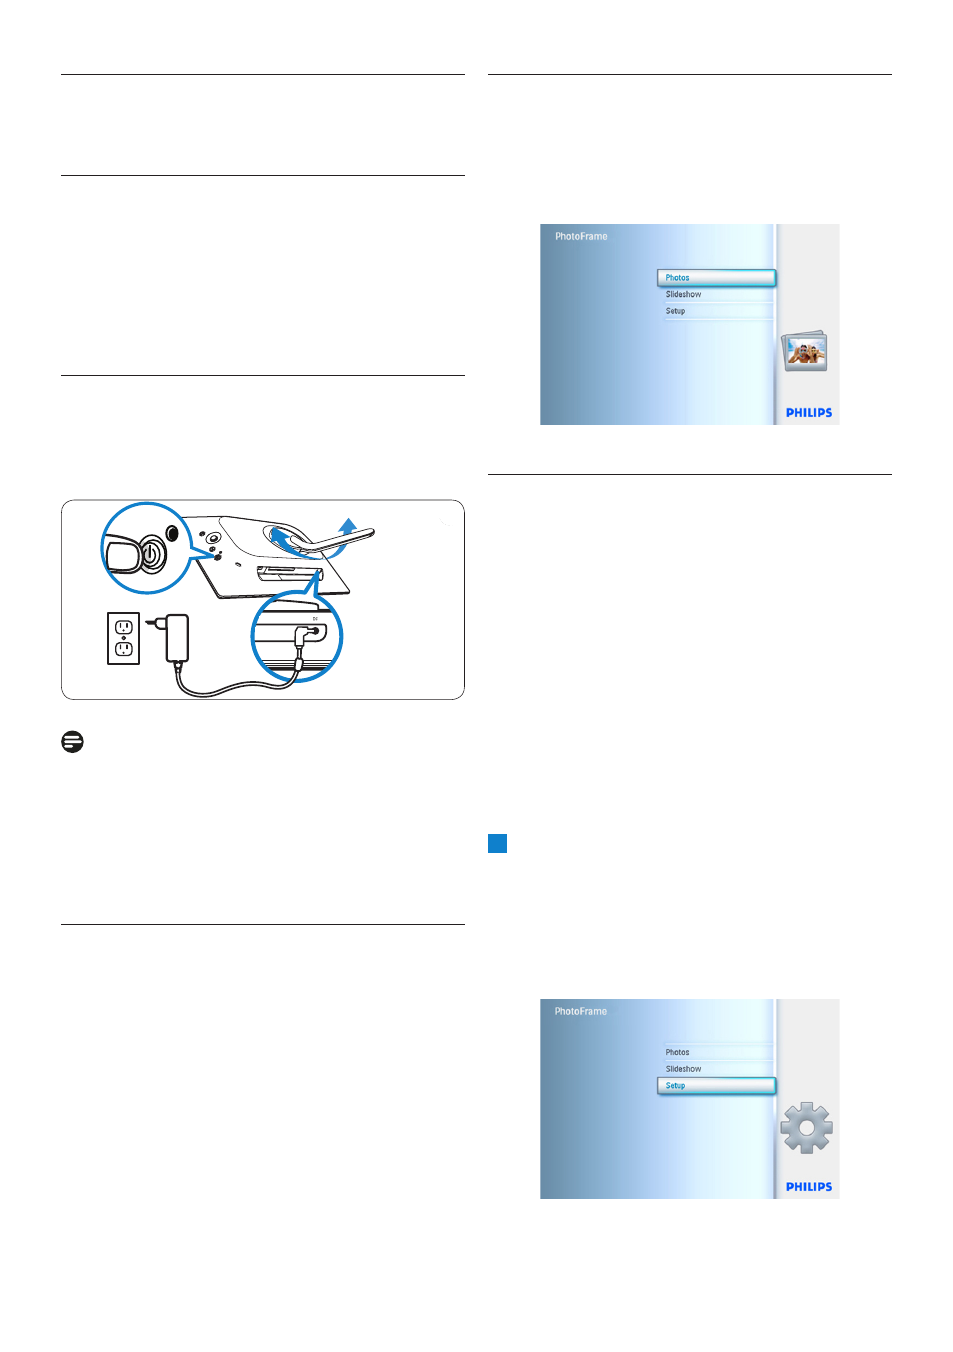
3.5.1 Access the Main Menu
The main menu can be accessed by either
pressing the menu button during a slide show
or photo or by left clicking the controller
from any menu item until you are returned to
the main menu.
3.5.2 Selecting your preferred language
1
• Press the menu button to access the
MainMenu.
• Navigate down to highlight the setup
icon.
• Navigate right or press the OK button to
access the setup menu.
8
Getting Started
- 7FF2CMI-27 10FF2CMI-27E 5FF2CMI-27 7FF2CMI-27B 7FF2CMI-27E 10FF2CME-27 10FF2M4-27B 7FF2CWO-27B 10FF2CME-27E 10FF2CMI-27B 10FF2CME-27B 7FF2CWO-27E 7FF2M4-27 5FF2CMI-27B 10.2" LCD 9.4" v.area 32 frame ratio PhotoFrame 10FF2XLE-27E 5FF2CMI-27E 10FF2CMI-27 PhotoFrame 7FF2CWO 7" LCD 6.5" v.area 32 frame ratio 7FF2M4-27E 7FF2CME-27 10FF2M4-27 7FF2CME-27E 10FF2CMW-27 10FF2XLE-27B 7FF2M4-27B 7FF2CME-27B 10FF2XLE-27