Printing photos – Brother VERSION 0 MFC-J6510DW User Manual
Page 58
Chapter 8
52
c
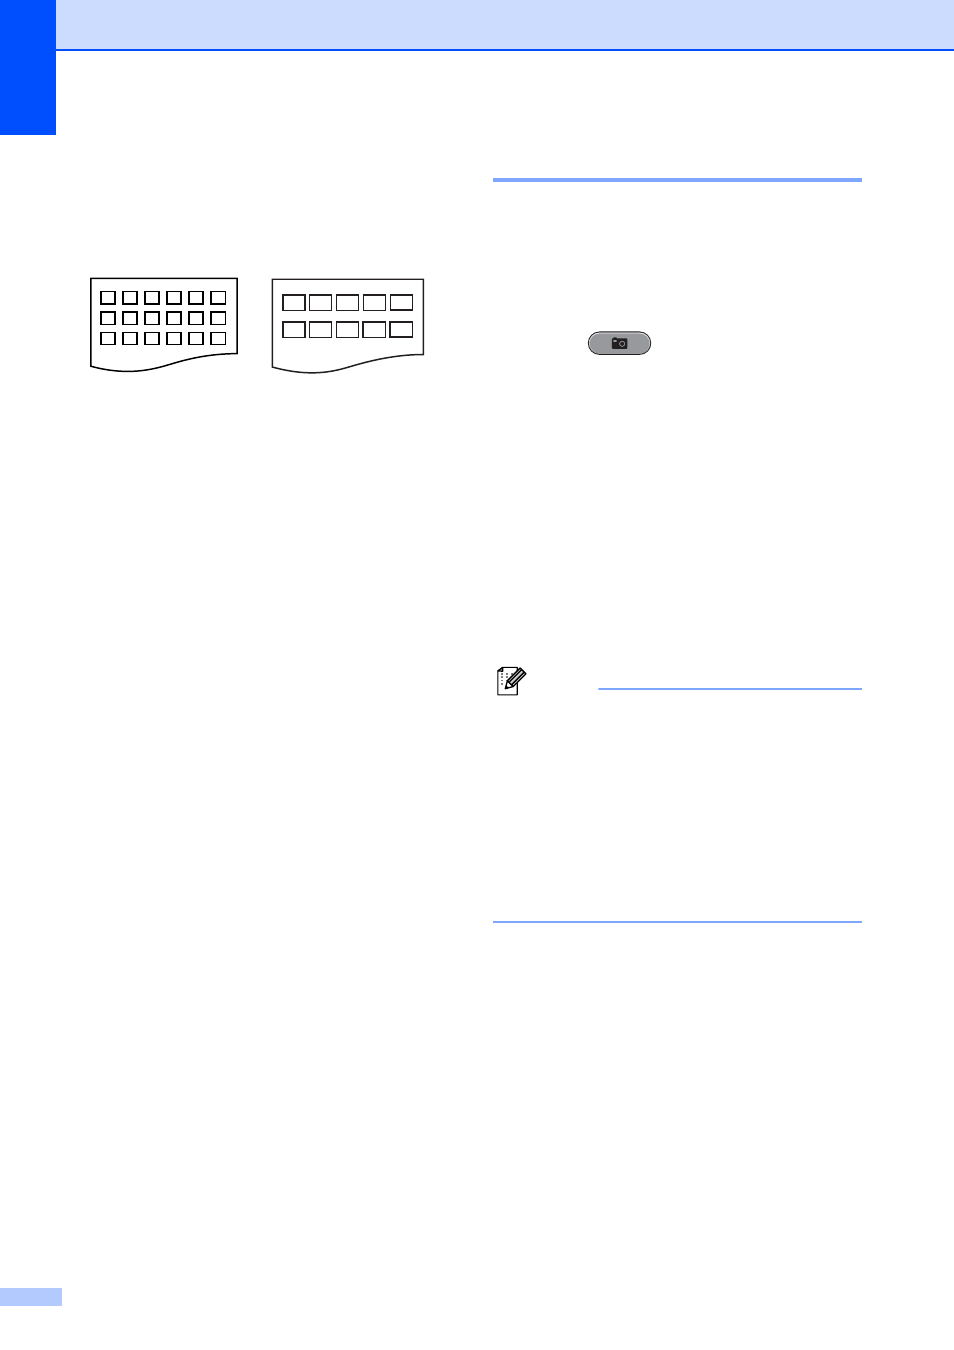
Press a or b to choose
Layout Format. Press d or c to
choose 6 Images/Line or
5 Images/Line.
Press OK.
Print time for 5 Images/Line will be
slower than 6 Images/Line, but the
quality is better.
d
Do one of the following:
Press a or b to choose
Paper Type, and press d or c to
choose the type of paper you are
using, Plain Paper,
Inkjet Paper, Brother BP71,
Brother BP61 or Other Glossy.
Press OK.
Press a or b to choose Paper Size
and press d or c to choose the paper
size you are using, Letter or A4.
Press OK.
If you do not want to change the
paper settings, go to step e.
e
Press Color Start to print.
Printing Photos
8
Before you can print an individual image, you
have to know the image number.
a
Make sure you have put the memory
card or USB Flash memory drive in the
proper slot.
Press (PHOTO CAPTURE).
b
Print the Index. (See Print Index
(Thumbnails) on page 51.)
c
Press a or b to choose Print Photos.
Press OK.
d
Enter the image number that you want to
print from the Index page (Thumbnails).
Press OK.
e
Repeat step d until you have entered
all the image numbers that you want to
print.
Note
• You can enter multiple numbers at one
time by using the l key for a comma or the
# key for a hyphen. For example, Enter 1,
l
, 3, l, 6 to print images No.1, No.3 and
No.6. Enter 1, #, 5 to print images No.1 to
No.5.
• You can enter up to 12 characters
(including commas) for the image
numbers you want to print.
f
After you have chosen all the image
numbers, press OK again.
g
Enter the number of copies you want
using the dial pad.
h
Do one of the following:
Change the print settings. (See
PhotoCapture Center™ print
settings on page 59.)
If you do not want to change any
settings, press Color Start to print.
6 Images/Line
5 Images/Line