Lenovo ThinkServer RS140 User Manual
Page 97
• Depending on the model, your server might come with 3.5-inch hard disk drives, 2.5-inch hard disk
drives, or 2.5-inch solid-state drives.
• Depending on the model, your server might look slightly different from the illustrations in this topic.
• Use any documentation that comes with the hard disk drive and follow those instructions in addition to
the instructions in this topic.
To replace a 2.5-inch hard disk drive, do the following:
1. Remove all media from the drives and turn off all attached devices and the server. Then, disconnect all
power cords from electrical outlets and disconnect all cables that are connected to the server.
2. If the server is installed in a rack cabinet, remove the server from the rack cabinet and place it on a flat,
clean, and static-protective surface.
3. Remove the server cover. See “Removing the server cover” on page 55.
4. Locate the appropriate 2.5-inch hard disk drive that you want to replace. See “Server components”
Note: If you want to remove the 2.5-inch hard disk drives that are installed under the slim-optical-drive
bracket, remove the slim-optical-drive bracket first. See “Removing and reinstalling the slim-optical-drive
bracket” on page 82.
5. Disconnect the SATA combo connector from the 2.5-inch hard disk drive that you want to replace.
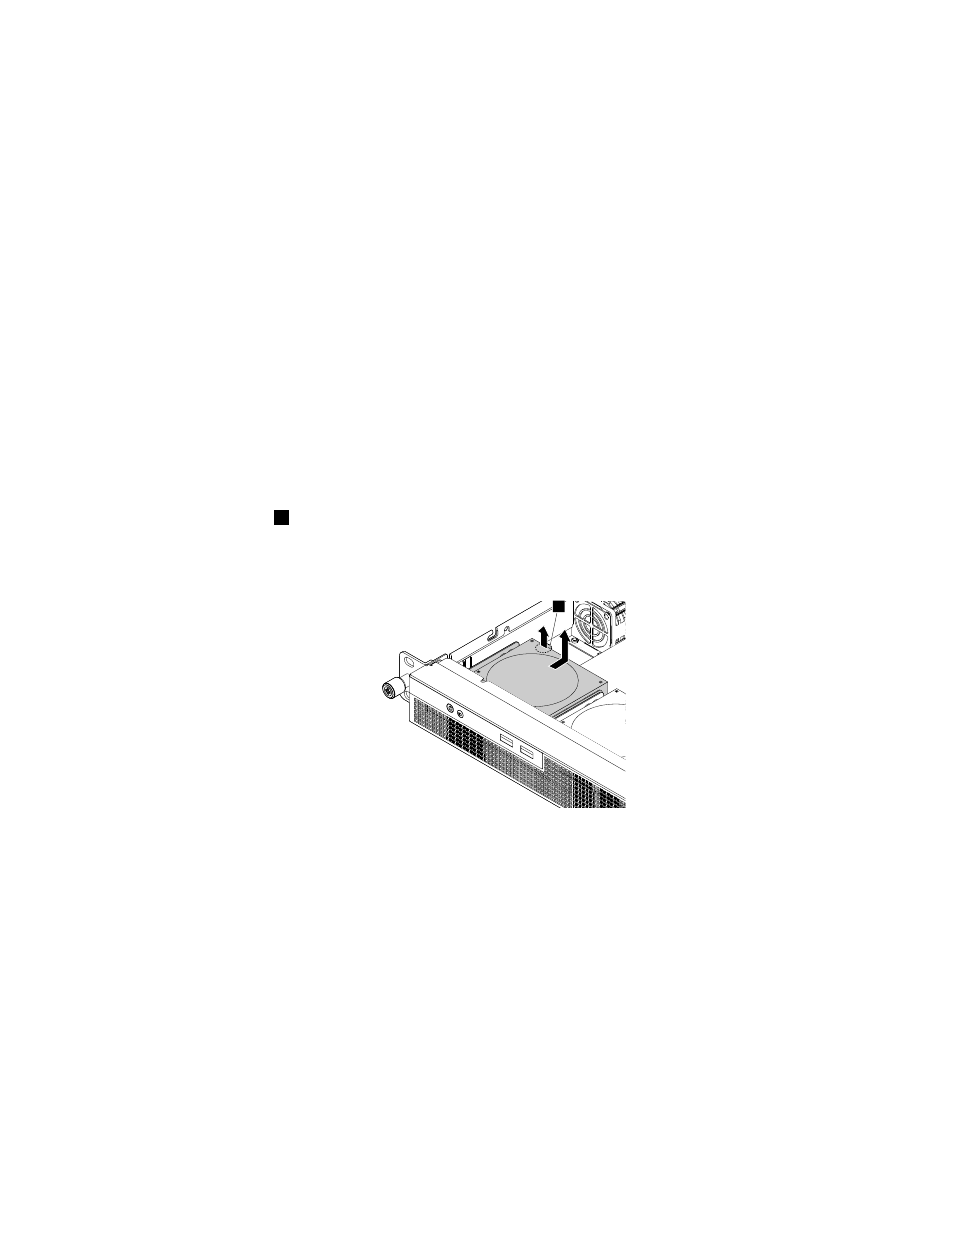
6. Lift the release pin
1
of the hard-disk-drive bracket. Then, slide the 2.5-inch hard disk drive with the
bracket to the rear of the server to release the bracket from the server. Lift the 2.5-inch hard disk
drive together with the bracket out of the chassis.
1
Figure 57. Removing the 2.5-inch hard disk drive together with the bracket
.
Installing, removing, or replacing hardware
85