Vollrath 238R User Manual
Page 23
15
2. Remove the air bleed valve by unscrewing the knob
while holding the valve stem from behind. Remove
the compression spring and push air bleed valve
through the rear of the front door.
3. Pull lock pin out of spigot handle, then remove
spigot handle (217/225). Remove the spigot from
the bottom of the front door.
4. Remove the door seal O-ring, air bleed valve o-
ring, and spigot O-rings. Section 3.15 describes
the correct procedure for O-ring removal, identifi-
cation, and care.
B. Assembly of front door
NOTE
Petrol-gel sanitary lubricant or equivalent must be
used when lubrication of parts is specified.
1. Assemble O-rings onto the spigot and extension
dry (without lubrication). Then apply a thin film of
sanitary lubricant to the outside of the O-rings
and spigot bodies.
2. Install the spigots through the bottom of the front
door. Groove in center spigot must line up with
stainless steel pin (237R).
3. Install the spigot handles onto the spigots. Be
sure red dots on spigots and dots on spigot handles
are lined up before installing lock pins (217/225).
4. Assemble the air bleed valve O-ring onto the air
bleed valves. Position the O-ring in the groove
close to the wide part. Apply a thin film of sani-
tary lubricant to the O-rings.
5. Insert the air bleed valves from the back of the
front door. Install compression springs onto air
bleed valves, then screw on knobs finger tight.
6. Apply a thin film of sanitary lubricant to the door
seal O-rings, and fit into the grooves on the rear
of the front door.
7. Before installing front door onto freezer, turn
spigots to open position. This step will eliminate
any interference between the lock pins (on door)
and spigot switch levers (217/225 only).
8. Place the front door assembly on the mounting
studs and push front door against the freezer care-
fully.
NOTE
Position the front door support on auger so legs do
not interfere with the pin on the back of the front
door assembly. Front door must push auger in
slightly when it is being tightened to prevent the rear
seal from leaking.
9. Secure front door assembly by placing the knobs
on the studs and alternately tightening opposite
corners until finger tight only. Do not overtighten.
Proper O-ring seal can be observed through the
transparent front door.
10.Move the spigot handles to the closed position.
(217/225)
11.On the model 225, you must first remove the spin-
ner guard assembly (Model 225R) by removing
the two black knobs and pulling the spinner guard
off the freezer. Remove the spinner by removing
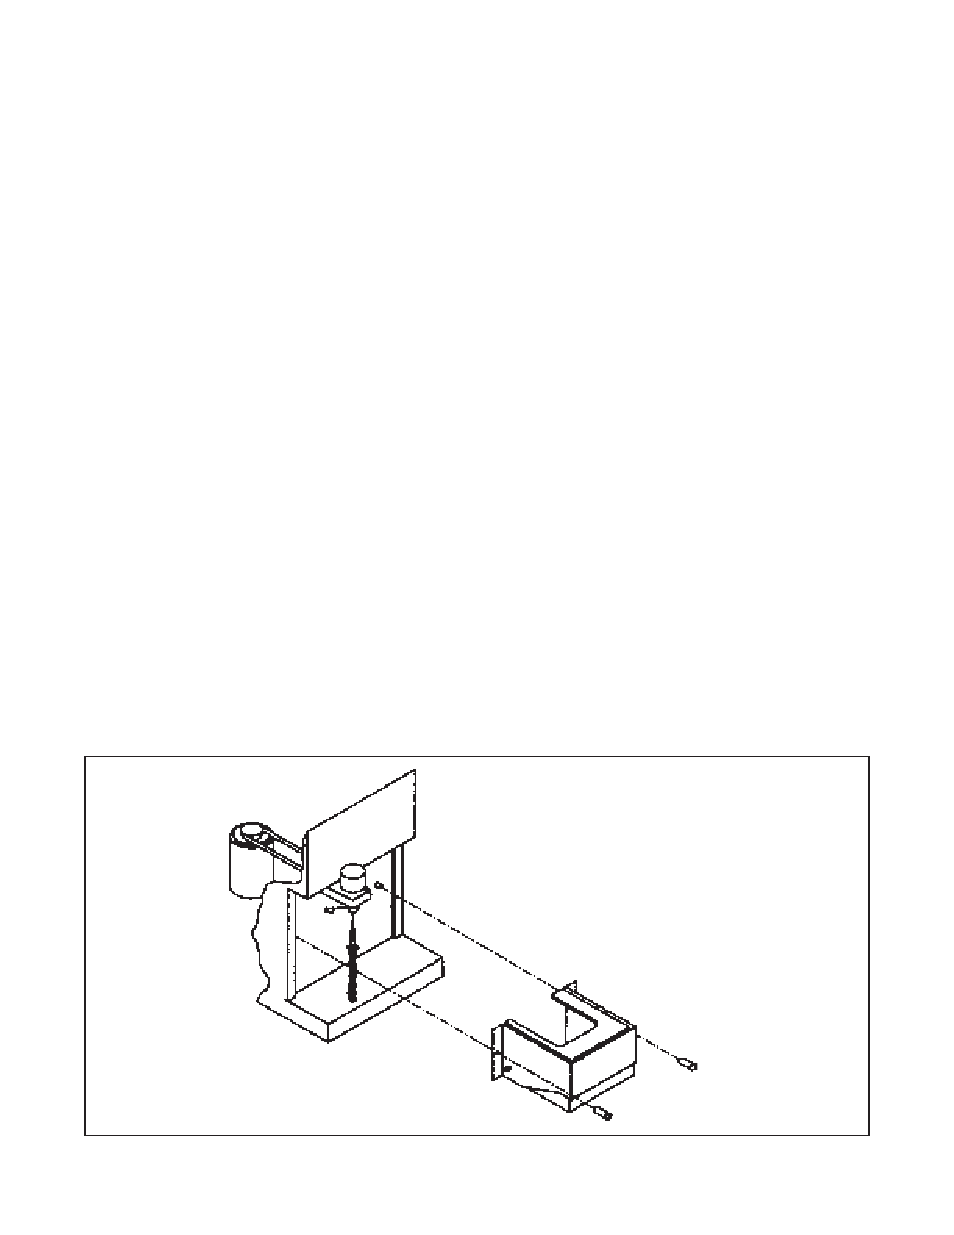
and pulling spinner down. (Fig.12)
Figure 12. Spinner Assembly