Kramer Electronics 704 User Manual
Page 26
KRAMER ELECTRONICS LTD.
23
12.
MAINTENANCE of the TWISTED PAIR INTERFACES/KRAMER TOOLS
Do not locate your Twisted Pair Interface/Kramer Tool in an environment where it is susceptible to dust,
excessive temperature and humidity. These conditions might damage the electronics, and cause erratic operation
or failure. Do not clean your Twisted-Pair Interface/Kramer Tool with abrasives or strong cleaners. Doing so
might remove or damage the finish, or allow moisture to build up. Take care not to allow dust or particles
accumulate inside unused or open connectors.
13.
TROUBLESHOOTING
NOTES
1. Please note that if the output signal is interrupted by very
strong external electromagnetic interference, it should re-
stabilize when such interference ends. If not, reset the
machine by turning the power switch off and then on.
2. If the recommended actions still do not result in satisfactory
operation, please consult your KRAMER Dealer.
13.1 Power And Indicators
Problem
Remedy
No Power
For models
TP-1xl, TP-2xl, TP-11N, TP-12N, TP-11xl, TP-12xl, perform the
following:
1.
Confirm that the switch is in the “ ON” position, and that the switch is illuminated.
2.
Confirm that power connections are secured at the machine and at the receptacle.
Make sure the receptacle is active, outputting the proper mains voltage.
3.
Remove power cord from AC outlet and from the machine and then using a flat head
screwdriver, remove fuse holder, located directly below the power connector on your
machine. Confirm that the fuse is functional by checking the completeness of the wire
connected between its two poles. If the wire is broken, replace the fuse with another,
bearing the same rating.
For
Kramer Tools perform the following:
1.
Confirm that the LED is illuminated.
2.
Confirm that the power connections are secured at the machine and at the receptacle.
Make sure the receptacle is active, outputting the appropriate voltage.
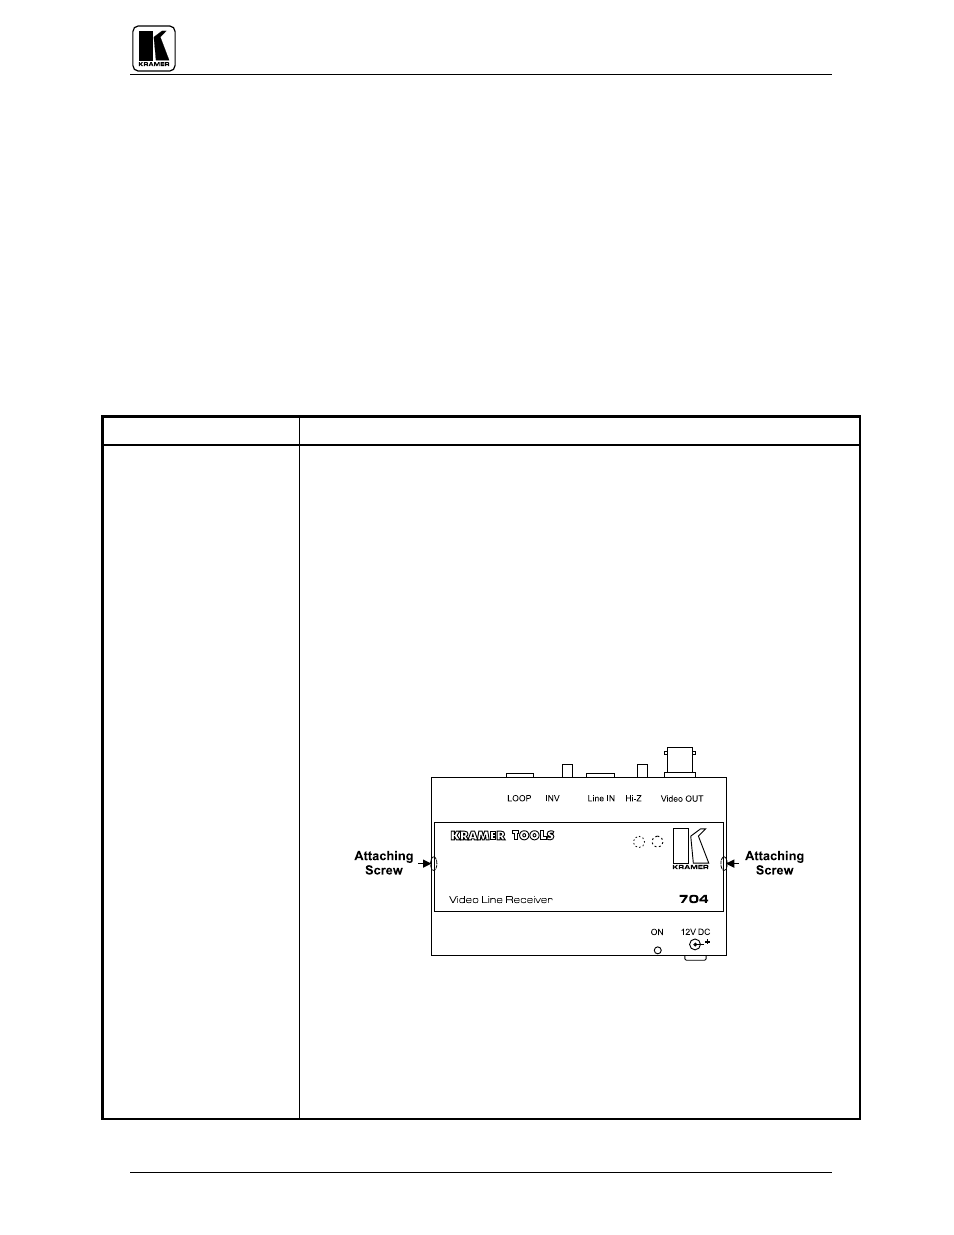
3.
Using a Philips screwdriver, remove side Philips screws attaching the machine's
cover.
4.
Locate the fuse holder inside your machine (see Figure 15 for fuse locations in
Kramer Tools). Confirm that the fuse is functional by checking the completeness of
the wire connected between its two poles. If the wire is broken, replace the fuse with
another, bearing the same rating.
NOTE
The TP-6 model does not contain a fuse!
5.
Reinstall the cover by tightening the Philips screws.