Step 6 delete unwanted images – Nikon P520 User Manual
Page 51
33
The
Basic
s of
Shootin
g
and Playback
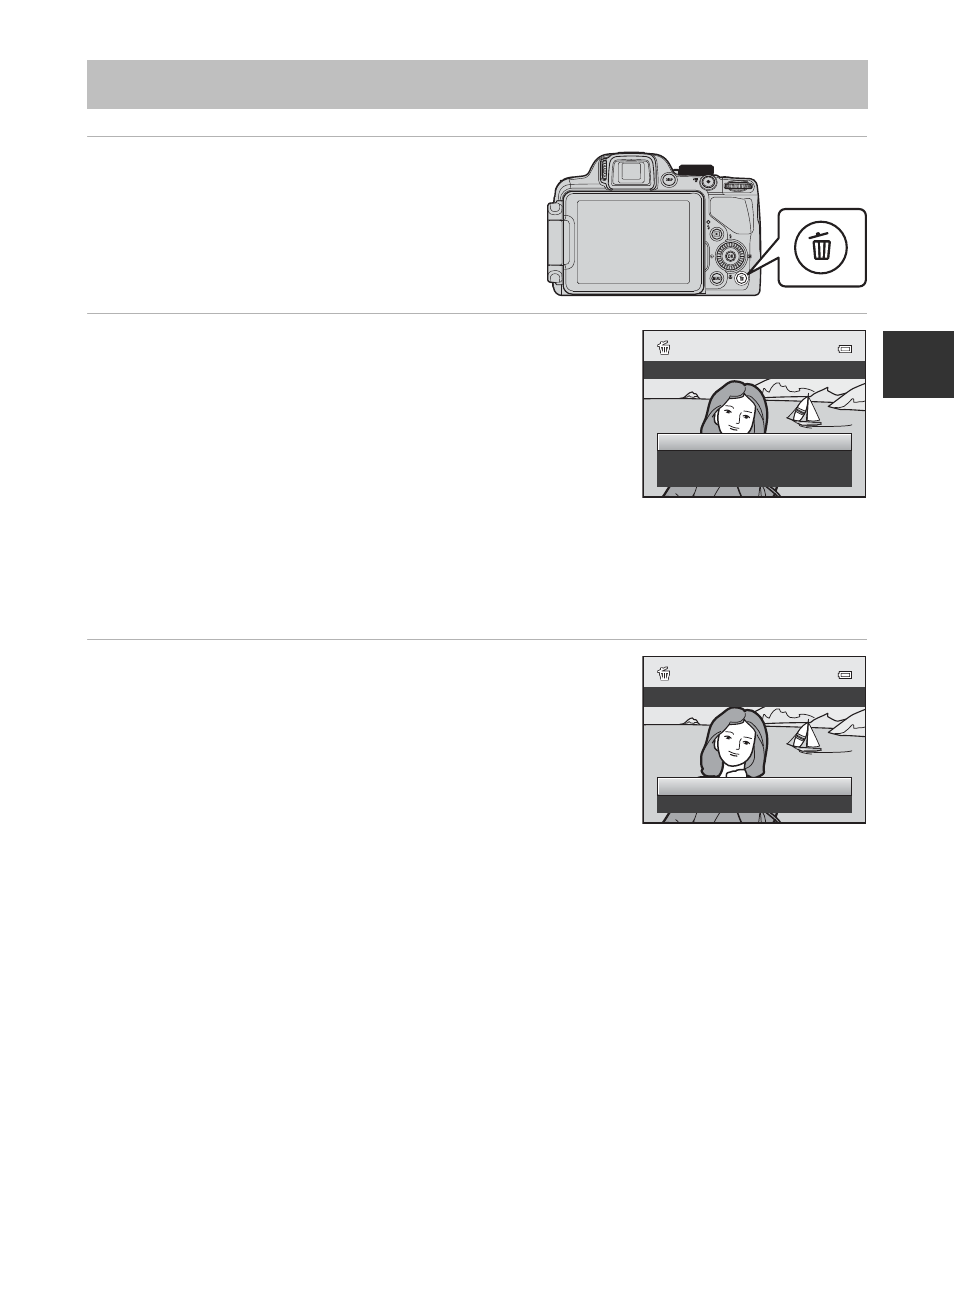
Step 6 Delete Unwanted Images
1
Press the
l button to delete the
image currently displayed on the
monitor.
2
Press the multi selector
H or I to select the
desired deletion method and press the
k
button.
• Current image: Only the current image is deleted.
If the key picture of a sequence is selected, all images in
the sequence are deleted.
• Erase selected images: Multiple images can be
selected and deleted. See “Operating the Erase Selected Images Screen” (
more information.
• All images: All images are deleted.
• To exit without deleting, press the
d button.
3
Press
H or I to select Yes and press the k
button.
• Deleted images cannot be recovered.
• To cancel, press
H or I to select No and press the k
button.
B
Notes on Deletion
• Deleted images cannot be recovered. Transfer important images to a computer before deleting
them.
• Protected images (
A84) cannot be deleted.
• When images are taken with continuous shooting, each series of images is treated as a group
(pictures in a sequence) and only the first picture in a group (key picture) is displayed in the default
setting.
When you press the
l button during key picture playback, all images in the key picture's
sequence can be deleted.
To delete each picture in a sequence, before pressing the
l button, press the k button to display
each image in the sequence individually.
C
Deleting the Last Image Captured While in Shooting Mode
When using shooting mode, press the
l button to delete the last image that was saved.
All images
Erase selected images
Current image
Delete
Erase 1 image?
No
Yes