Installing the switch in a rack – Allied Telesis AT-8088/xx (MT and SC) User Manual
Page 52
Installation
52
Installing the Switch in a Rack
Perform the following procedure to install the switch in a standard
19-inch rack. If you are not installing the switch in a rack, proceed to
Installing an Optional GBIC Module
1.
Place the unit upside down on a level, secure surface.
2.
Using a flat-head screwdriver, remove the snap-on plastic feet from
the bottom of the switch, as shown in Figure 17.
Figure 17 Removing the Feet
3.
Turn the switch over.
4.
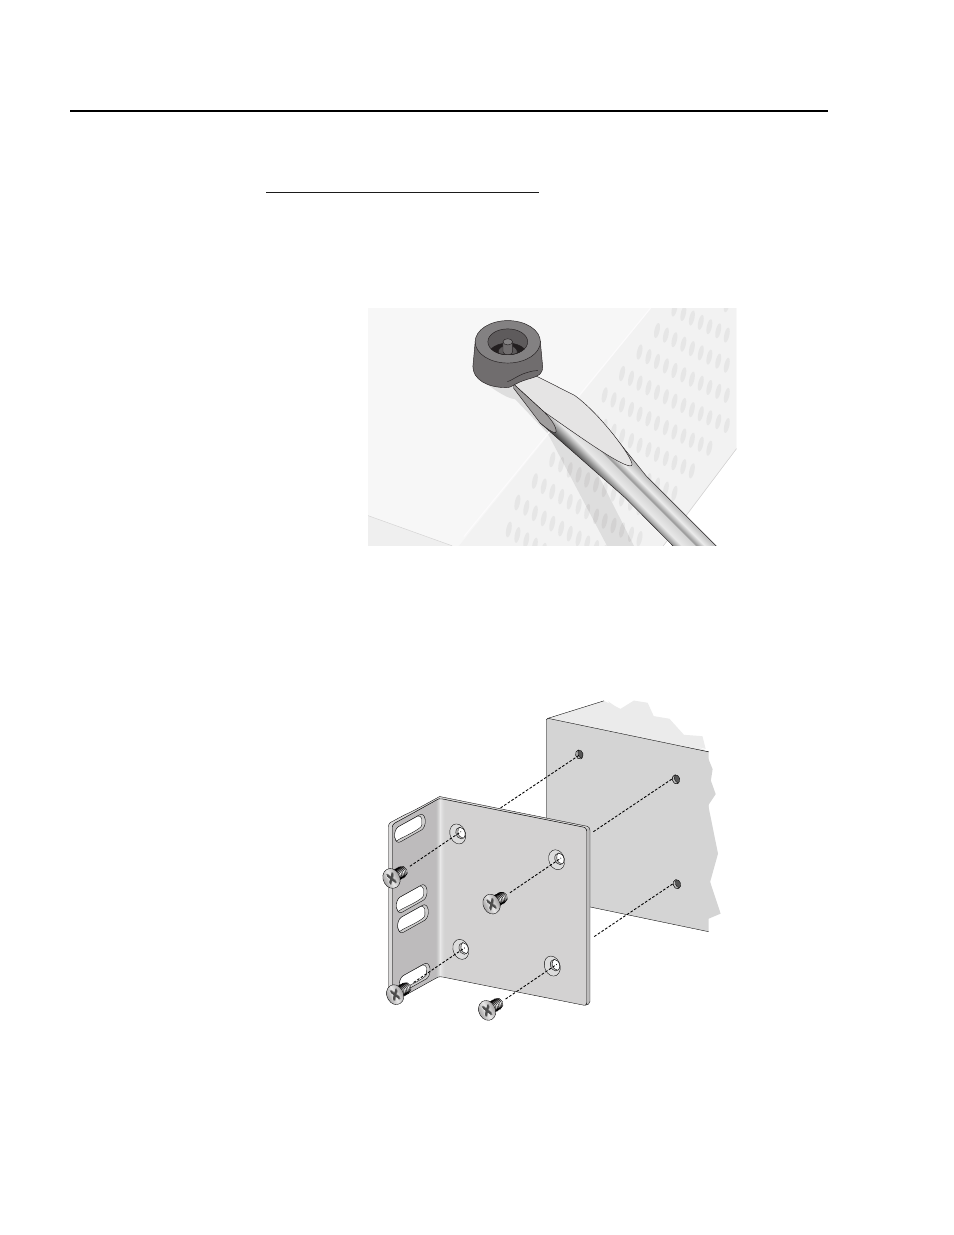
Attach a rackmounting bracket to one side of the switch using four
of the screws that came with the switch. See Figure 18.
Figure 18 Attaching Rackmounting Brackets