Installing the switch in a rack – Allied Telesis AT-GS924 User Manual
Page 27
AT-GS916 and AT-GS924 Gigabit Ethernet Switches Installation Guide
27
Installing the Switch in a Rack
Perform the following procedure to install the switch in a standard
19-inch rack. If you are not installing the switch in a rack, go to the next
procedure.
1. Place the unit upside down on a level, secure surface.
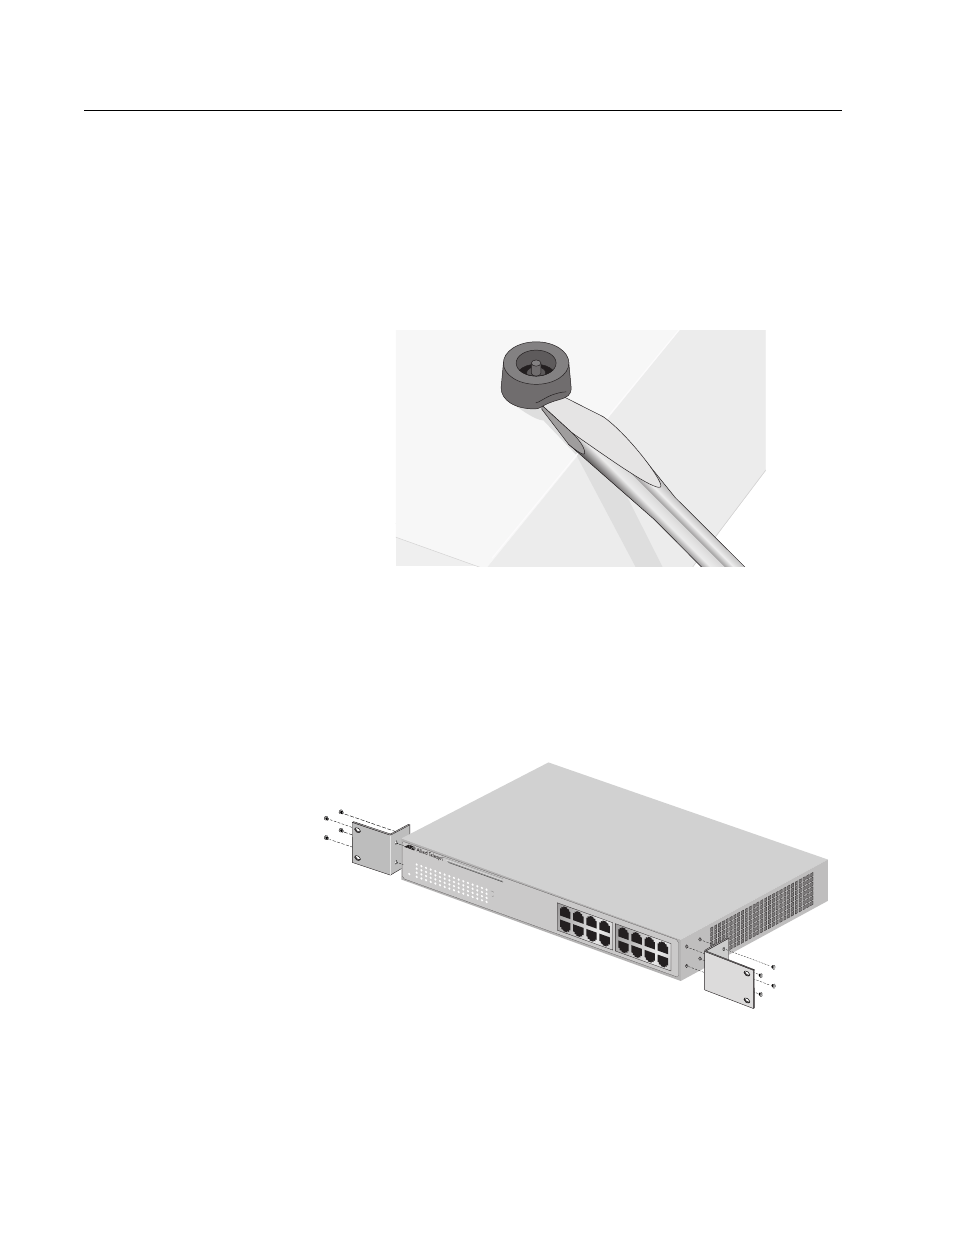
2. Using a flat-head screwdriver, remove the snap-on plastic feet from
the bottom of the switch, as shown in Figure 10.
Figure 10. Removing the Feet
3. Turn the switch over.
4. Attach the two rackmounting brackets (provided) to the sides of the
switch using the bracketmounting screws (provided), as illustrated in
Figure 11.
Figure 11 Attaching Rackmounting Brackets
AT-GS916GB
10/100/1
000
Base-
T Gigabit Ethernet Swit
ch with GBIC Uplinks
10
100
LINK/A
CT
FDX
1000
1
2
3
4
5
6
7
8
9
10
11
12
13
14
15
16
POWE
R
4
6
8
2
3
5
7
1
12
14
16
10
11
13
15
9