Figure 9: poe connection – Allied Telesis AT-TQ2403 User Manual
Page 18
18
AT-TQ2403 - IEEE 802.11abgh, Dual Radio, Enterprise Wireless Access Point - Installation Guide
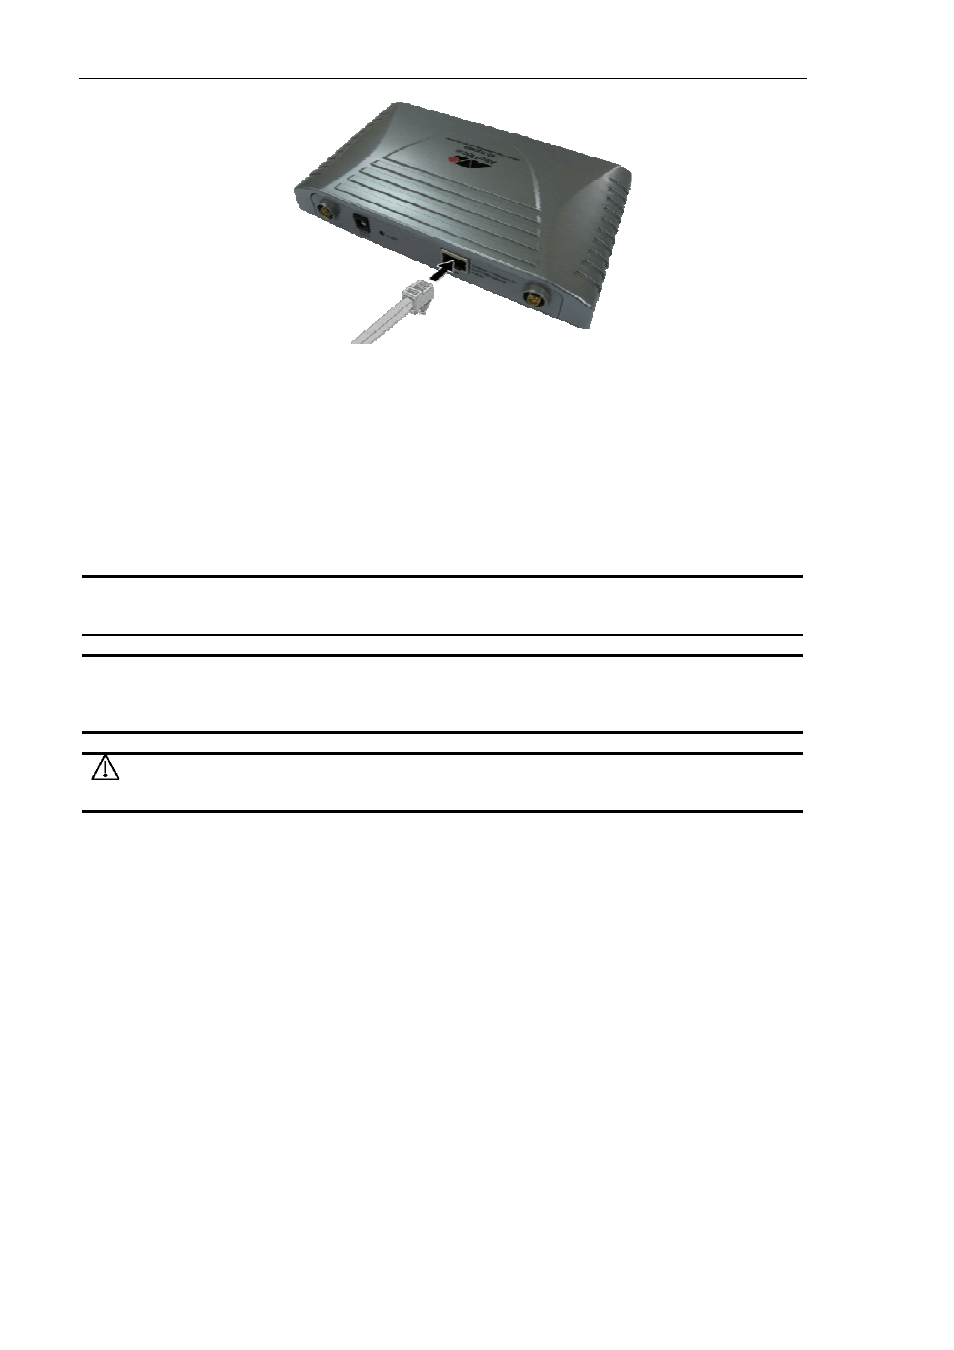
Figure 9: PoE Connection
2. Verify that the POWER LED is green. If the LED is off, refer to Chapter 3, ”Troubleshooting”.
The access point is now powered on and ready for network operation.
Running KickStart to Find Access Points on the Network
KickStart is an easy-to-use utility for discovering and identifying new AT-TQ2403 IEEE 802.11abgh, Dual
Radio, Enterprise Wireless Access Point. KickStart scans the network looking for access points, displays ID
details on those it finds, and provides access to the AT-TQ2403 configuration setting in Web Interface.
Note: KickStart recognizes and configures only AT-TQ2403 IEEE 802.11abgh, Dual Radio,
Enterprise Wireless Access Point. KickStart does not find or configure non-AT-TQ2403 IEEE
802.11abgh, Dual Radio, Enterprise Wireless Access Point and will not find any other device.
Note: KickStart finds only those access points that have IP addresses. IP addresses are
dynamically assigned to access points if you have a DHCP server running on the network. If you
deploy the access point on a network with no DHCP server, the default static IP address
(192.168.1.230) is used.
Caution: Use caution with non-DHCP enabled networks: Do not deploy more than one new
access point on a non-DHCP network because they will use the same default static IP addresses
and conflict with each other.
To start the discovery process, perform the following procedure:
1.
2.
Do one of the following to create an Ethernet connection between the access point and your
computer:
)
Connect one end of an Ethernet cable to the LAN port on the access point and the other end
to the same hub where your PC is connected.
)
Connect one end of an Ethernet cable to the LAN port on the access point and the other end
of the cable to the Ethernet port on your PC.
Insert the AT-TQ2403 IEEE 802.11abgh, Dual Radio, Enterprise Wireless Access Point CD into the
CD- ROM drive on your computer. The KickStart Welcome page is displayed, as shown in Figure 10.