Installing the switch on a desktop, Figure 14: attaching the rubber feet – Allied Telesis AT-DC2552XS User Manual
Page 44
Chapter 3: Installing the Switch and Modules
44
Installing the Switch on a Desktop
To install the switch on a desktop, perform the following procedure:
Note
To install the switch in a rack, refer to “Installing the Switch in an
Equipment Rack” on page 45.
1. Remove all equipment from the package and store the packaging
material in a safe place.
2. Turn the switch over and place it on a table.
3. Remove the adhesive backing from the rubber feet.
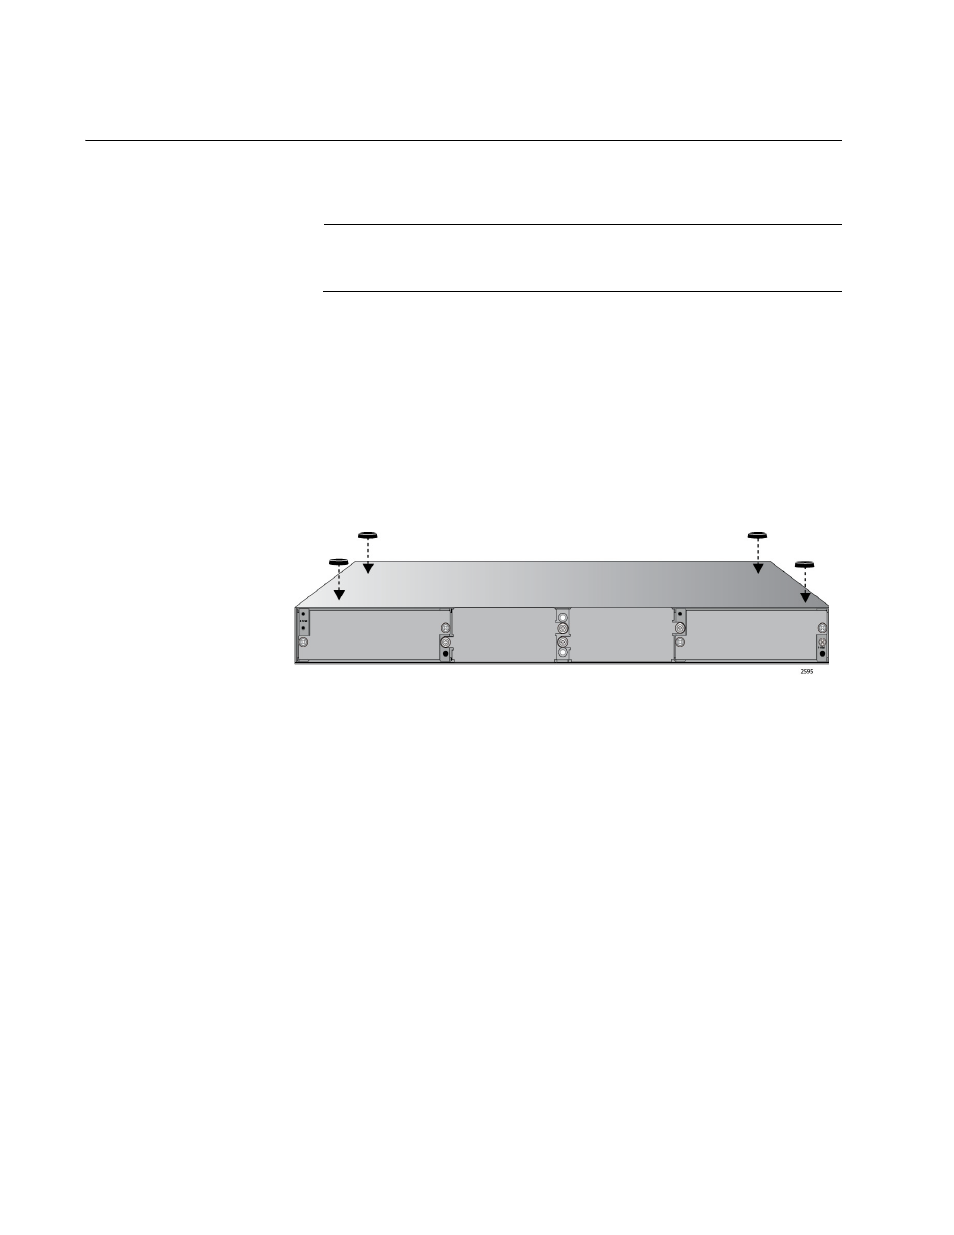
4. Four rubber feet are provided in the switch shipping container, see
Figure 11 on page 40. Attach the feet to the bottom of the switch in the
corners as shown in Figure 14.
Figure 14. Attaching the Rubber Feet
5. Turn the switch over again and place it on a flat, secure surface (such
as a desk or table) leaving ample space around the unit for ventilation.
6. The next step in the installation process is installing the power supply
module(s). Go to “Installing Power Supply Module” on page 48 for the
installation procedure.
[Bottom of Switch]