Scanning, Customizing scan to usb – Samsung CLX-4195N-XAX User Manual
Page 83
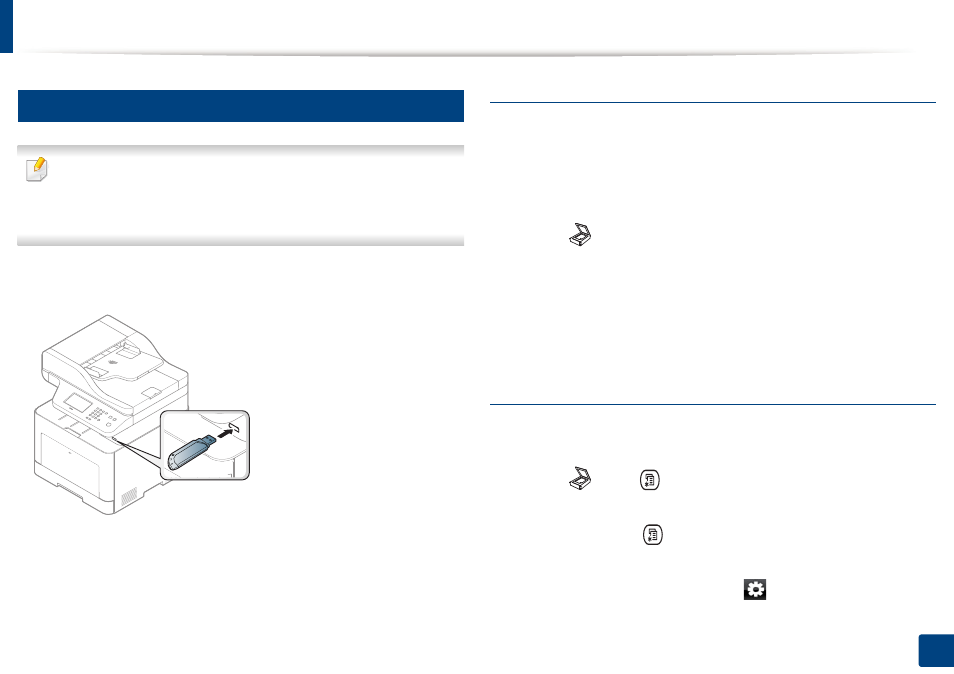
Using USB memory device
83
2. Menu Overview and Basic Setup
26
Scanning to a USB memory device
•
Accessing menus may differ from model to model (see "Accessing the
menu" on page 36
"Control panel overview" on page 26).
•
It may be necessary to press
OK
to navigate to lower-level menus for
some models.
You can scan a document and save the scanned image onto a USB memory
device.
Scanning
1
Insert a USB memory device into the USB memory port on your machine.
2
Place a single document face down on the document glass, or load the
documents face up into the document feeder (see "Loading originals" on
page 61).
3
Select (scan)
>
Scan To USB > OK on the control panel.
Or select Scan > USB > Next > Start on the touch screen.
The machine begins scanning.
After scanning is complete, you can remove the USB memory device from the
machine.
Customizing Scan to USB
You can specify image size, file format, or color mode for each scanning to USB
job.
1
Select (scan)
> (Menu) > Scan Feature > USB Feature on the
control panel.
Or select Scan to >
(Menu) > Scan Feature > USB Feature on the
control panel.
Or select Direct USB > Scan to USB >
(settings) on the touch screen.