Waypoints and routes, Operation manual flytec 6015-gps – Flytec 6015 * User Manual
Page 30
Operation Manual Flytec 6015-GPS
28
characteristics of the instrument simply and comfortably, and to memorise and save them in a file.
The management of several instrument settings is also possible, which may be transmitted
again to the 6015-GPS at anytime.
5.1.2 Waypoints and Routes
Within the same Menu it is also possible to transmit in Flychart the Waypoints and Routes to
the instrument. Flychart is also suitable to import Waypoint files from SeeYou or CompeGPS
or Garmin for transmission to the instrument.
6
Transmitting new Software-(Firmware) to the 6015-GPS
As is the case with many other present-day instruments, there is also the possibility to up-date
the
software (firmware) version. Hereby even future requirements presented by pilots may be rapidly
implemented.
The manufacturer Flytec AG
shall post from time to time program up-dates of the
6015-GPS -Firmware
on its Internet homepage
,
which can be downloaded by the user free of
charge for storage and subsequent transmission to the
6015-GPS.
In order to be able to write into the
6015-GPS flash memory with a PC, the program
„Flasher.exe Vers. 1.5 or higher“ is required,
which is available in zipped file format under the
name of “Flasher.zip”.
Moreover also the intrinsic firmware to be uploaded needs to be obtained
from the homepage.
Its name is e.g.
"6015 V1_2_05 Eng.moc" (approx. 157 KB) which is
equivalent to the English version 1.2.05.
Tip:
we recommend to store all the related files in one single subdirectory
(e.g.:\Programs\
FlytecFlasher\).
After decompressing the ZIP file a number of files are created.
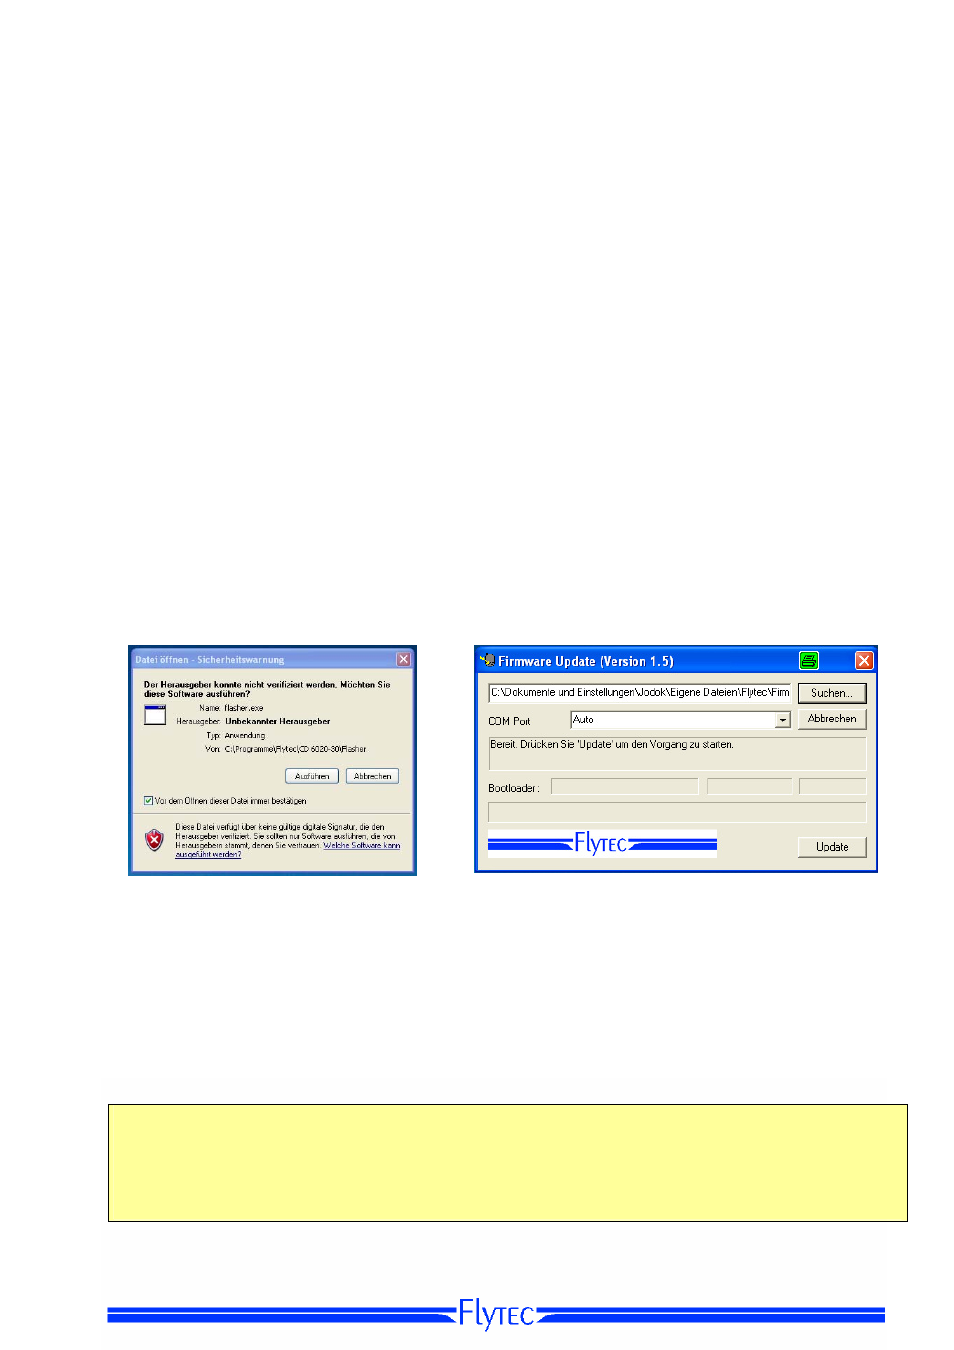
Double click on the file " Flasher.exe" starts the program.
For the safety warning press „execute“ (Ausführen), after this the program will start.
With „Search“ ("Suchen") you select the program to be transferred and ending " *.moc ",
e.g.
6015 V1_2_05 Eng.moc or
or you drag it from the Explorer by „drag & drop“ into the field.
Now connect the USB cable with the instrument.
Afterwards you can set the interface in the field
Com Port, or if it is unknown to you, set to Auto and have thereby an automatic search prompted.
The virtual COM interface should be positioned between 1 and 9.
Above this value the Flasher
can no longer recognise the interface.
Start the data transfer by clicking on
Update.
Then the version of the instruments’s Bootloader
shall appear and the relevant bit rate.
The numbers appearing in the field on the right are the response
data of the instrument.
Important: make sure that the 6015-GPS is not switched-on
when the connection cable to the PC
is plugged to the instrument.
Caution:
never leave the PC cable hooked to the instrument for a longer period when it is turned off.
Indeed this is energy consuming and the battery could be discharged unnoticed.
Tip: in Windows
the characteristic noise for USB devices should be audible when the unit is plugged.