Configuration overview and examples, Chapter 4 – ADTRAN 1200263L1-1.2A User Manual
Page 21
61200263L1-1.2A
ATLAS Router User Manual
4-1
Chapter 4
Configuration Overview and
Examples
This chapter provides several step-by-step examples to help you configure your
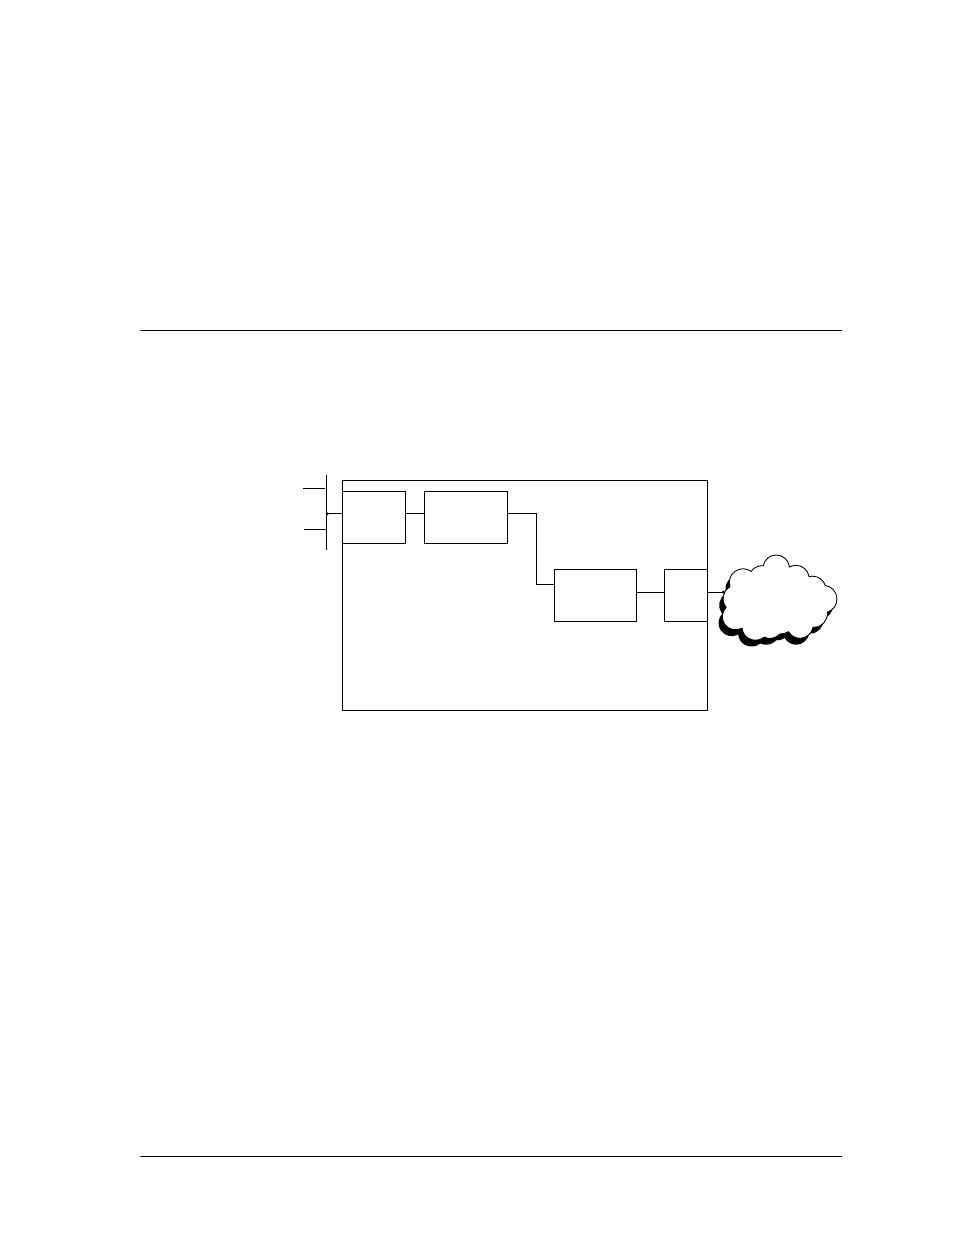
ATLAS. Figure 4-1 illustrates an ATLAS configured for the Router option.
Figure 4-1. ATLAS Configured for the Router Option
The general procedure for configuring the ATLAS depicted in Figure 4-1 is as fol-
lows:
1.
From Packet Manager/Packet Endpnts/Config, create the frame relay packet
endpoint. Refer to the Frame Relay User Manual for more information.
2.
From Packet Manager/Packet Endpnts/Config/Sublinks, create the necessary
PVCs.
3.
From Packet Manager/Packet Cncts, connect the frame relay endpoint to the
Router.
4.
From Dedicated Map, connect the frame relay packet endpoint to the appropri-
ate physical interface.
5.
From Router/IP/Interfaces, enable routing on the interface.
6.
(Optional) Configure any static routes that might be required.
Specific configuration examples included in this chapter are as follows:
•
IP Routing Network—ATLAS as the Central-Site Router . . . . . . . . . . . . pg. 4-2
Frame Relay
Network
IP
10BaseT
Router
Pkt
Endpoint 1
T1
Port
10.100.20.0