Spray controls (plus / max), Power painter / stainer plus, Power painter max – Wagner Power Painter Pro with EZ Tilt User Manual
Page 9: English, Material select lever, Electronic speed control, Low cup level indicator
English
© Wagner Spray Tech - All Rights Reserved
9
Spray Controls (Plus / Max)
The spray controls vary depending upon the
model of sprayer you have. Refer to this page
in order to learn about the controls of your
particular sprayer.
Power Painter / Stainer Plus
Material Select Lever:
The spray pattern is controlled by the Material Select
Lever on the rear of the sprayer, and by the thickness
of the material being sprayed.
If you are spraying thicker materials, turn the lever
toward the “PAINT” side of the sprayer.
If you are spraying thinner materials such as thinner
stains, turn the lever toward the “STAIN” side of the
sprayer.
note: If you are unable to acheive a good spray
pattern while using the ‘STAIN’ setting, switch the
lever over to ‘PAINT’.
PAINT
STAIN
Power Painter Max
Material Select Lever:
Refer to the information given in the previous
column.
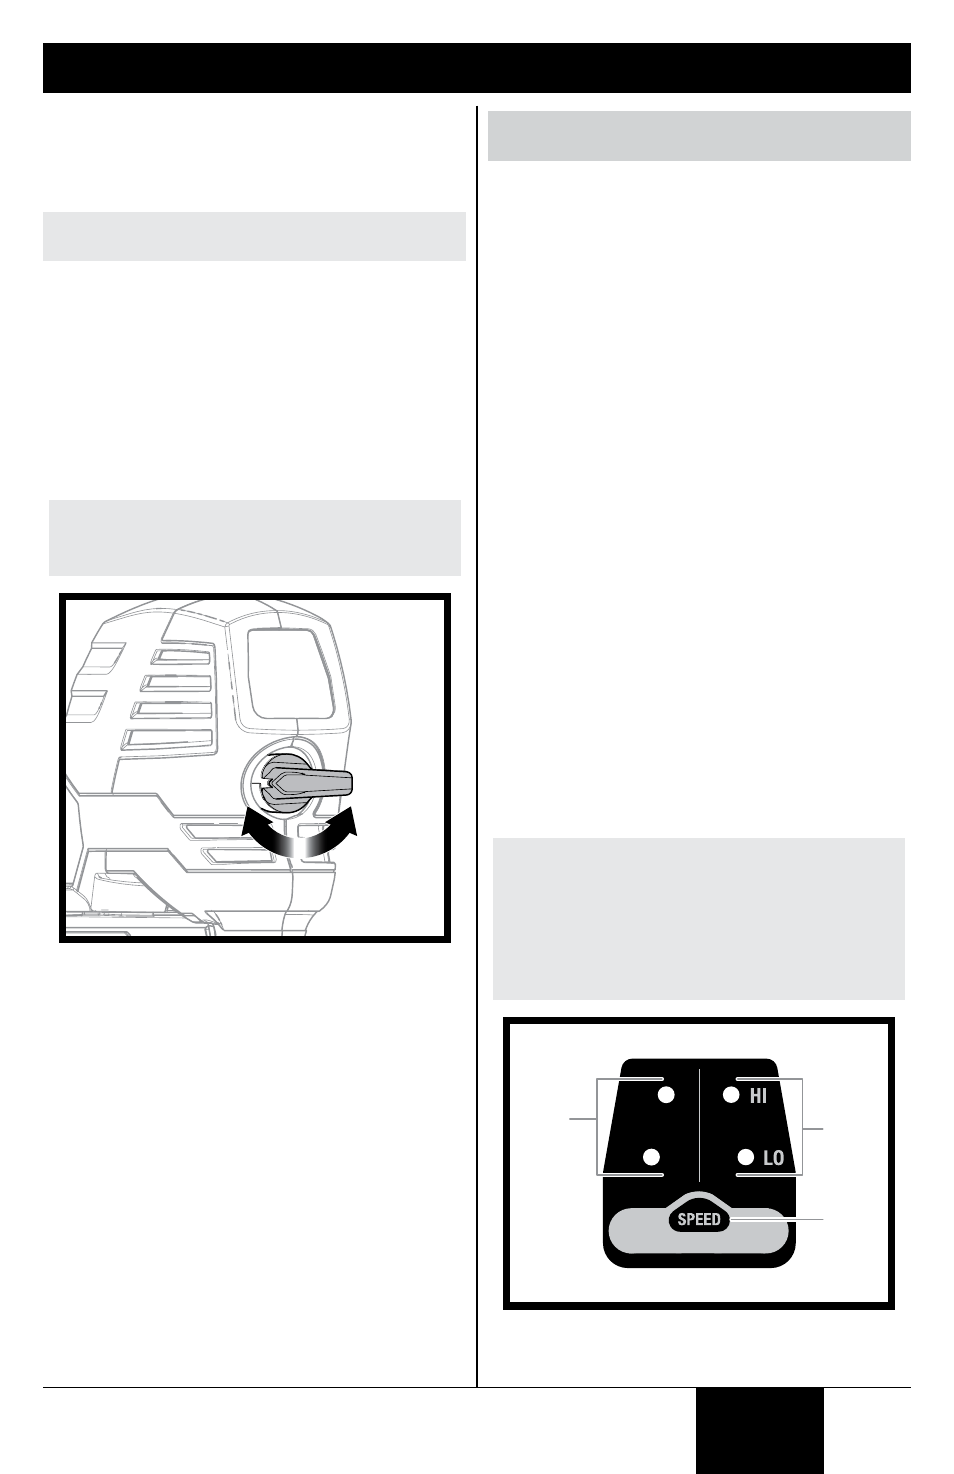
Electronic Speed Control:
The electronic speed control is displayed by the two
green lights on the right side of the control panel (a).
The Power Painter Max offers two speed levels (LO /
HI). The lower the speed level, the closer you can get
to your work and the less overspray you will have.
Lower speed levels give you greater control but
require more time to cover an area. Depending
upon the thickness of the material or conditions, the
settings may need to be adjusted.
To adjust the speed setting, press the ‘speed’ button
(b) below the speed indicator lights until your
desired speed is reached.
Low Cup Level Indicator
• Applicable only when spraying in cup mode,
cup filled to MAx FILL.
• The low cup level indicator is displayed by the
two red lights on the left of the control panel (c).
When your cup is running out of material, the low
cup level indicators will begin blinking. You should
quit spraying and refill the container (see Cup Mode
Setup instructions, page 6). avoid running the
cup dry. an empty cup will allow air to become
sucked into the sprayer, which leads to globbing
and spitting.
note: Before you resume spraying, press and
hold the ‘SPEED’ button (b) and the indicators
will reset and no longer blink. ALWAYS reset the
indicators when the cup is full and you are ready
to resume spraying. Failure to reset the low cup
level indicators will result in the indicators not
functioning properly. The low cup level lights will
reset whenever the power cord is unplugged.
LOW
LEVEL
SPEED
HOLD TO RESET LOW LEVEL
a
b
c