Installing a disk drive – HP 70 Modular Smart Array User Manual
Page 20
•
Follow industry-standard practices when handling disk drives. Internal storage media can be
damaged when drives are shaken, dropped, or roughly placed on a work surface.
•
When installing a disk drive, press firmly to make sure the drive is fully seated in the drive bay
and then close the latch handle.
•
When removing a disk drive, press the release button and pull the drive only slightly out of the
enclosure. Then, to allow time for the internal disk to stop rotating, wait approximately 10 seconds
before completely removing the drive from the enclosure.
•
The system automatically sets all device numbers.
•
Always populate disk drive bays starting with the lowest bay number. If only one disk drive is
used, install it in the bay with the lowest device number.
•
Drives must be the same capacity to provide the greatest storage space efficiency when drives
are grouped together into the same drive array.
•
Disk drives are hot-pluggable.
•
SAS and SATA disk drives may be installed in the same enclosure, but can not be included in the
same RAID logical volume.
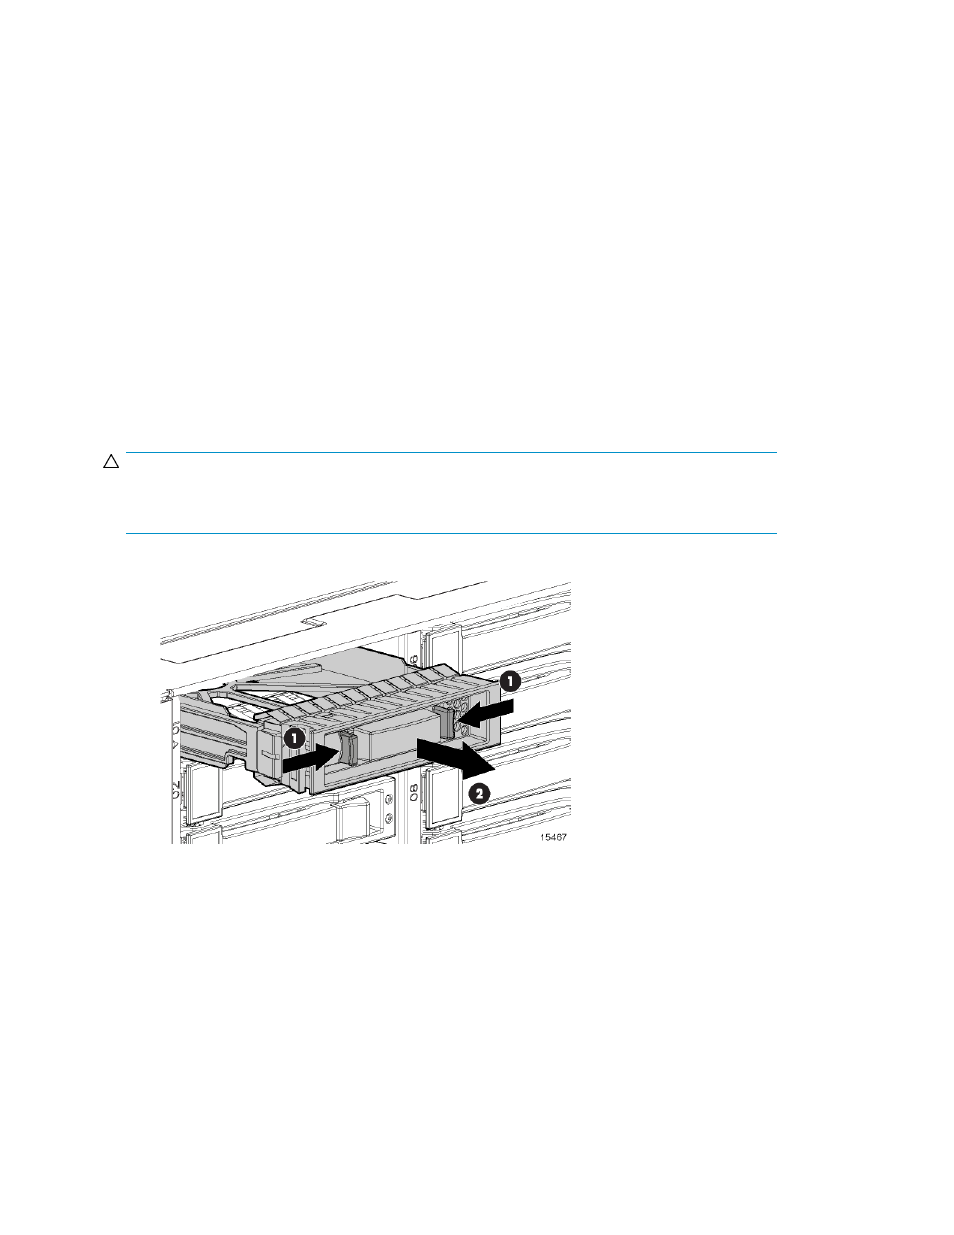
Installing a disk drive
CAUTION:
To prevent improper cooling and thermal damage, operate the enclosure only when all bays are
populated with either a component or a blank.
1.
Remove the drive blank.
Installing the enclosure
20