Pci-x expansion cage option – HP ProLiant ML350 G6 Server User Manual
Page 72
Hardware options installation 72
o
Close or install the tower bezel, as needed.
o
Slide the server back into the rack.
11.
Connect any required external cables to the expansion board. Refer to the documentation that ships
with the expansion board.
PCI-X expansion cage option
The PCI-X expansion cage option converts one PCI Express slot into two PCI-X slots for additional expansion
board capability. The PCI-X expansion cage does not support expansion boards with internal cabling
requirements.
This option provides health monitoring of the riser fans which appear as fans 5 and 6.
In addition, both expansion boards installed in the PCI-X expansion cage appear as slots 1 and 2.
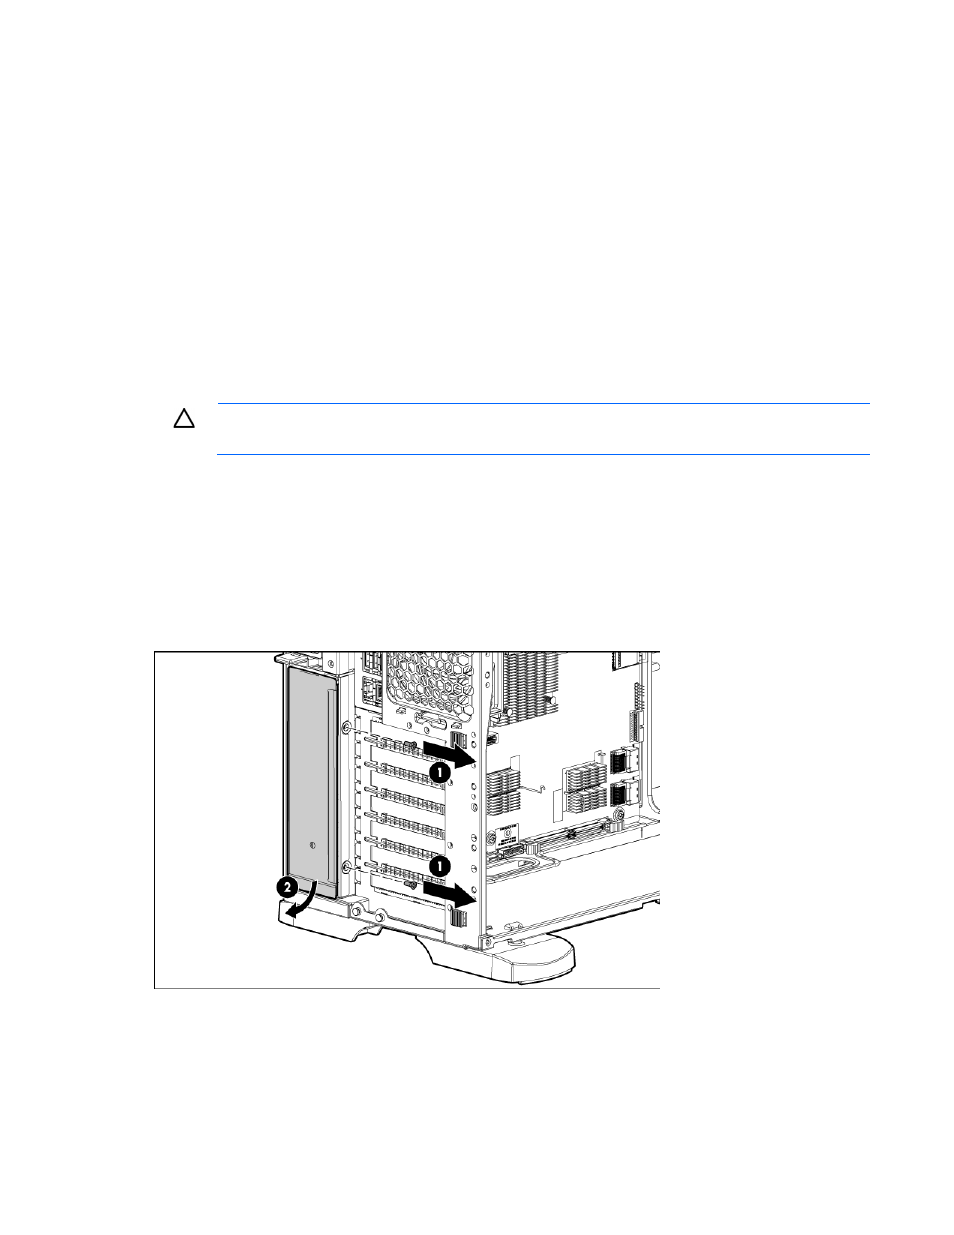
To install the component:
CAUTION:
To prevent damage to the server or expansion boards, power down the server and
remove all AC power cords before removing or installing the PCI-X expansion cage.
1.
Power down the server (on page
2.
Do one of the following:
o
Open or remove the tower bezel, as needed ("
Open or remove the tower bezel
" on page
o
Remove the server from the rack (on page
3.
Remove the access panel (on page
4.
Remove the two T-10 screws from the rear panel, and then remove the rear access panel. Retain the
screws for securing the PCI-X expansion cage.