Cop y – Canon EOS Rebel SL1 18-55mm IS STM Lens Kit User Manual
Page 143
143
3
Matching the Light SourceN
2
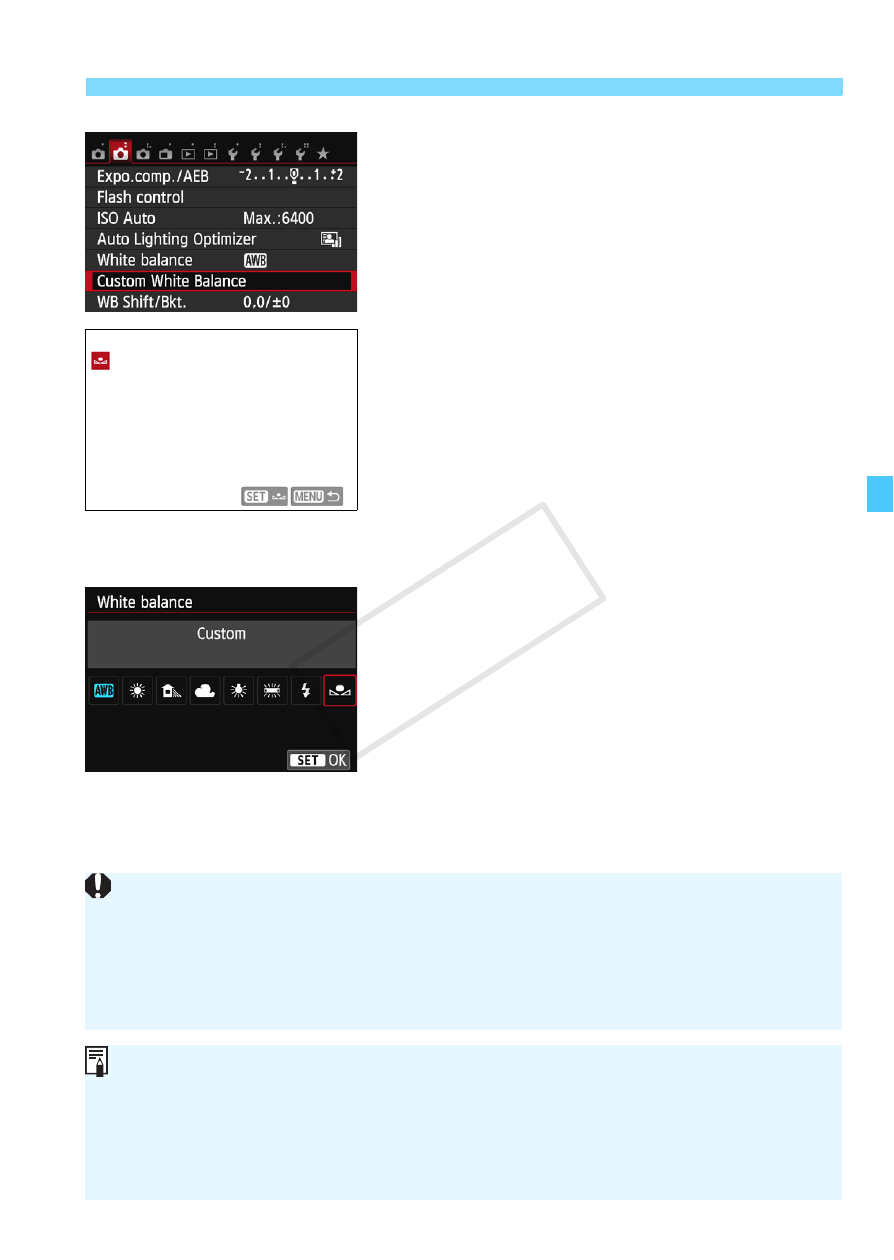
Select [Custom White Balance].
Under the [z2] tab, select [Custom
White Balance], then press <0>.
X
The custom white balance selection
screen will appear.
3
Import the white balance data.
Select the image that was captured in
step 1, then press <0>.
X
On the dialog screen that appears,
select [OK] and the data will be
imported.
When the menu reappears, press the
4
Select [O (Custom)].
Under the [z2] tab, select [White
balance], then press <0>.
Select [O (Custom)], then press
<0>.
If the exposure obtained in step 1 differs greatly from the standard
exposure, a correct white balance may not be obtained.
In step 3, the following images cannot be selected: images captured
while the Picture Style was set to [Monochrome] (p.101), images
processed with a Creative filter, and cropped images.
Instead of a white object, a gray chart or 18% gray reflector
(commercially available) can produce a more accurate white balance.
The personal white balance registered with EOS Utility (provided
software, p.366) will be registered under
the data for the registered personal white balance will be erased.
COP
Y