Axis Communications 2120 User Manual
Page 46
Adjusting the Camera Focus
AXIS 2120 User’s Manual
46
Focusing Procedure
Before you begin:
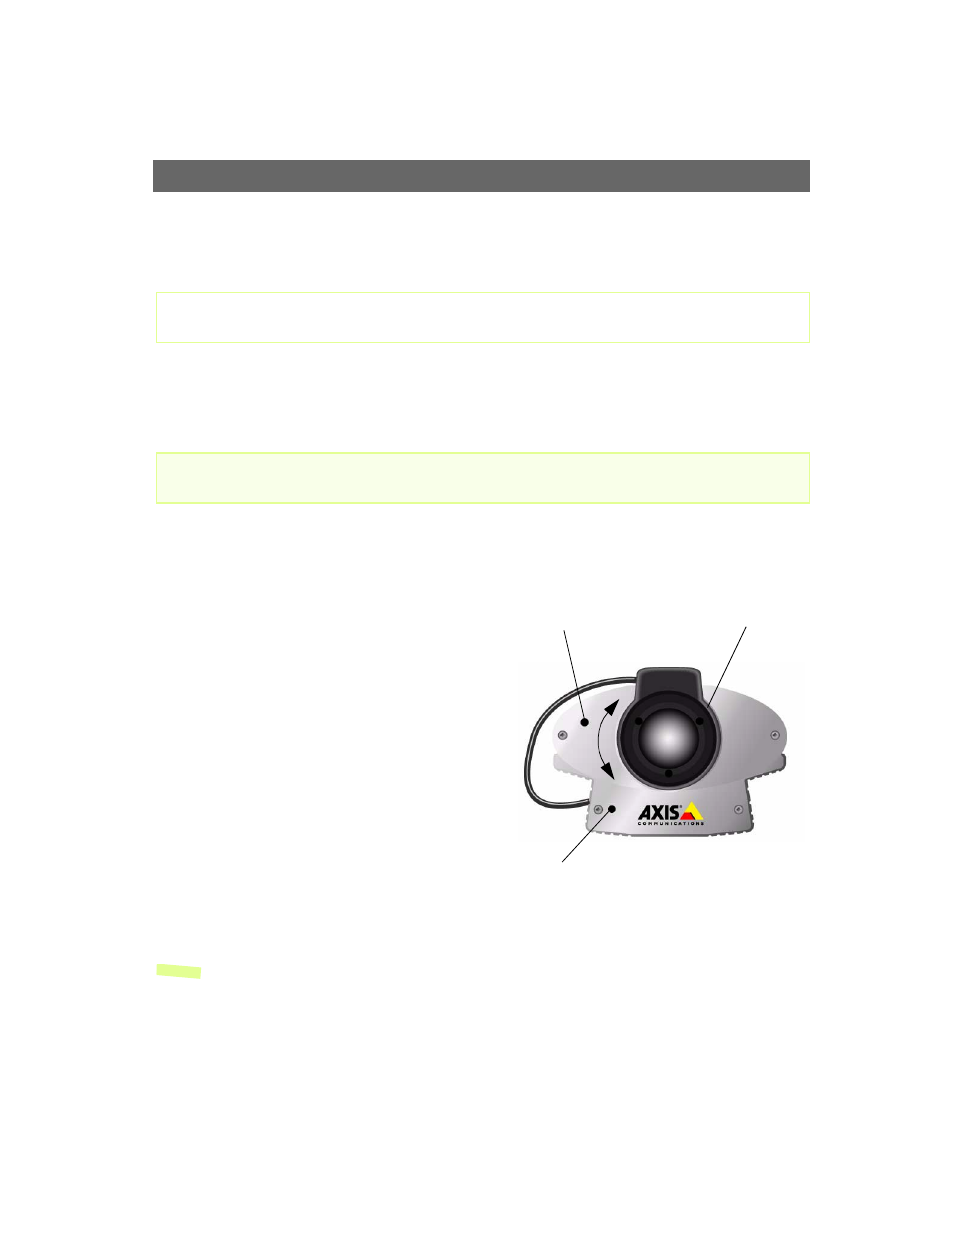
With reference to the accompanying illustrations, follow the instructions below to achieve a good
basic level of focus under stable conditions:
Important!
1. Power up the AXIS 2120 and then wait at least 10 seconds.
2. Turn the lens to its extreme Far-focus (F,
∞
)
position.
3. Enable the Focus Assistant: Using a suitably
pointed object, press and continue to hold the
Control Button - until the Status Indicator
flashes Yellow.
The Focus Assistant is now enabled with the
Status Indicator set to Focus Mode; the AXIS
2120 now initiates a focusing algorithm to
regularly calculate the quality of focus.
4. In order for the Focus Assistant to access the full
focusing range for your application environment,
now turn the lens to its extreme Near-focus (N)
position.
5. Finally, turn the lens slowly towards the
Far-focus (F,
∞
)
position - until the Status
Indicator displays Green; that is, until a Good
level of focus is achieved.
Notes:
•A Good level of focus is normally achievable throughout several planes within the focusing
range of the camera.
•The Status Indicator displays Green to indicate a Good level of focus at 80% of optimum focus.
•Since optimum focusing is dependent upon the camera’s field of view, it is important to scan the
focusing plane from the closest to the furthest perspectives before attempting any fine-tuning.
For the focusing algorithm to work efficiently, always ensure that there is minimal movement within the
camera’s field of view when focusing your camera, as described below.
Do not press the Control Button for at least10 seconds after powering up the unit as this will cause the
AXIS 2120 to return to the factory default settings.
Control Button
Status Indicator
Lens Assembly