Installing the paper guide – Brother QL-500A User Manual
Page 13
9
z
GETT
ING
S
T
ART
ED
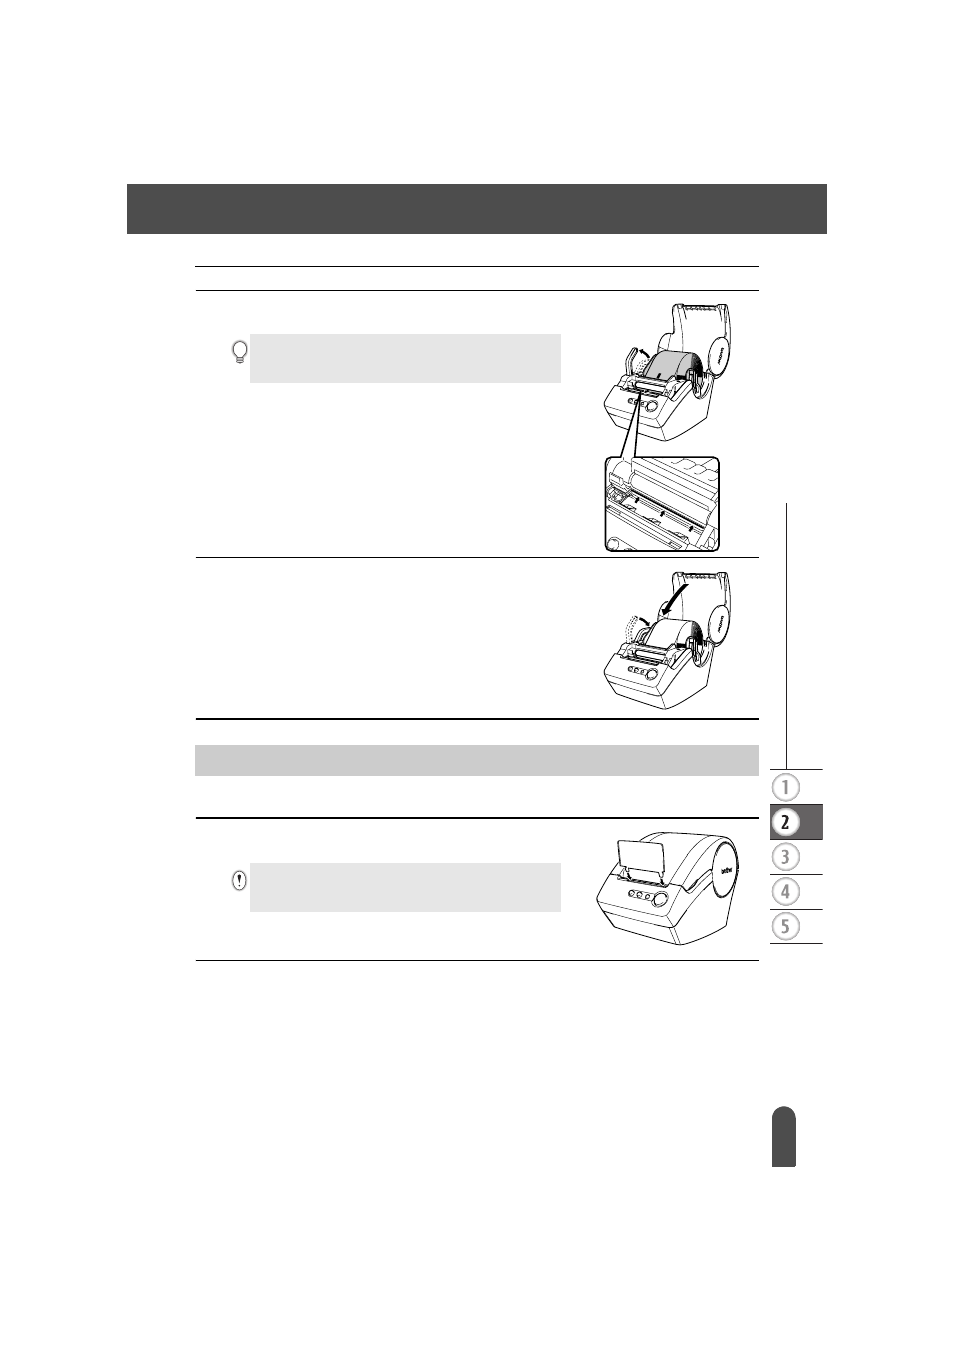
Installing the Paper Guide
3
Lift the label lever and then thread the end of the DK Roll
into the slot immediately before the cutter.
4
Lower the label lever and then close the DK Roll
compartment cover.
Your QL-500/550 comes with a paper guide that collects a strip of printed labels that have been
printed and not yet cut off from the machine.
1
Attach the paper guide to the front of the QL-500/550 as
shown in the figure.
When unable to thread the end of the DK Roll to the slot,
thread it as far as possible, lower the label lever and close the
cover, then press the FEED button to set the roll.
Installing the Paper Guide
You will need to remove the paper guide if you wish to print
and automatically cut more than 10 labels continuously
(QL-550 only).