Using the auto punch function, Step 1 starting layout & editing, Starting layout & editing – Brother PE-DESIGN Ver.5 User Manual
Page 19: Step 1
11
Contents
Before Using
Getting Started
Design Center
Layout & Editing
Programmable
Stitch Creator
Quick Reference
Alphabetic Index
In this section, we are going to create an embroidery pattern automatically. That pattern will be created
by automatic retracing of an image. This pattern will be used later as the stepping stone to creating a
more complex embroidery picture.
Please follow these instructions step by step, in the sequence given. If you have to interrupt your training
for any reason, it is recommended to save the file. You will be able to retrieve it later and resume your
work.
The complete procedure will take us through the different steps of a normal working session with Design
Center and will introduce you to its most important features.
Step 1
Starting Layout & Editing
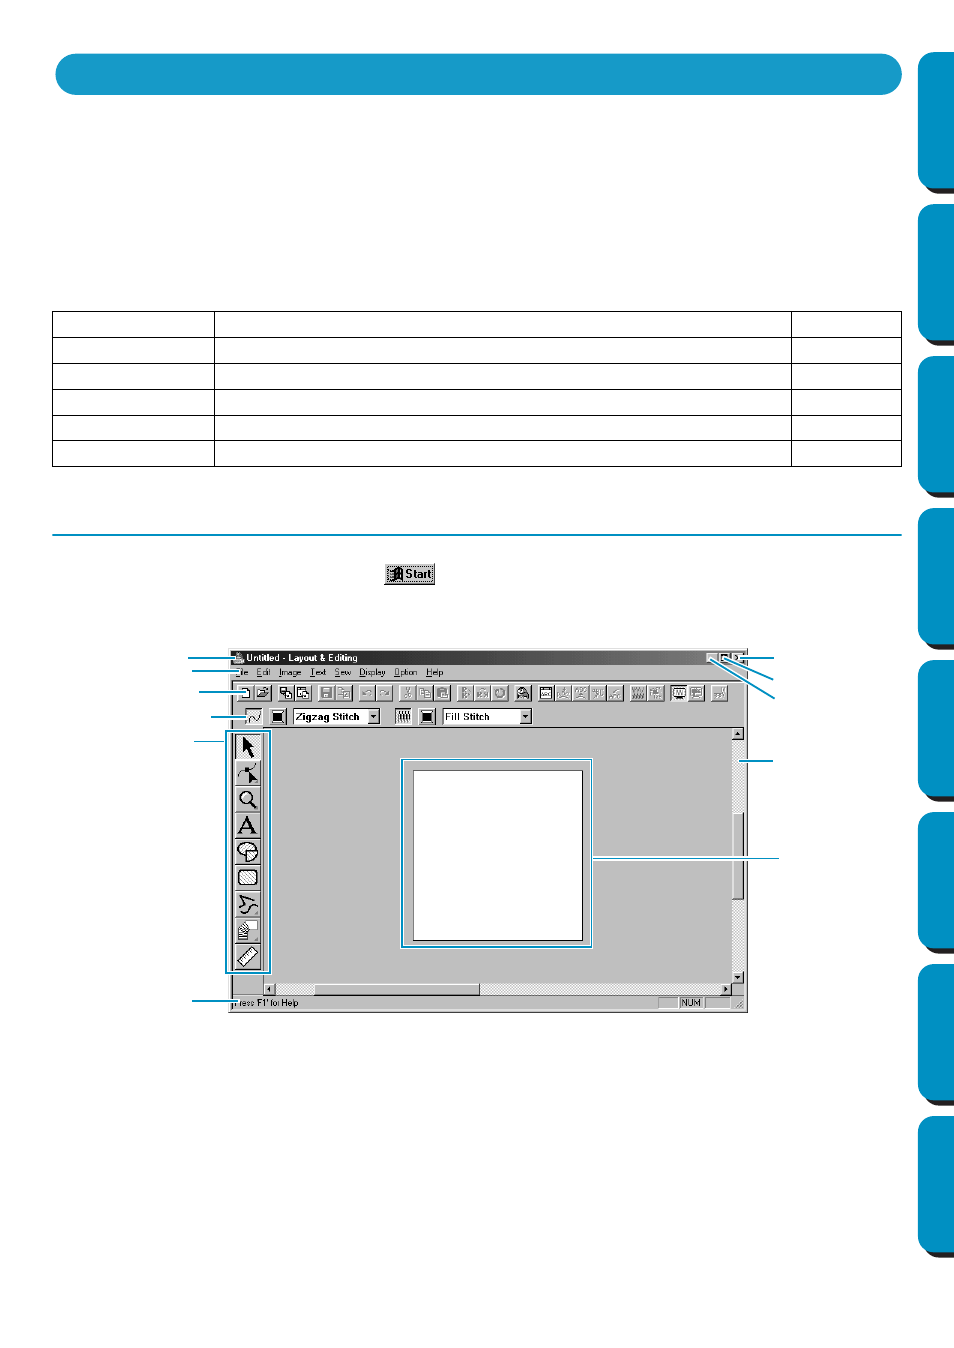
1
To start Layout & Editing, click the
button, select Programs, then Version 5.0, and then click
Layout & Editing to open the Layout & Editing window.
Step 1
Starting Layout & Editing
Step 2
Opening an Image
Step 3
Editing the Image
Step 4
Using the Wizard and Selecting the Auto Punch Function
Step 5
Automatically Extracting Pattern Outlines
Step 6
Automatically Creating an Embroidery Pattern
Using the Auto Punch Function
Menu bar
Toolbar
Sewing attributes bar
Tool box
Work area
Design Page
Status bar
Maximize button
Close button
Title bar
Minimize button