Operation – KROHNE OPTISENS OAS 2000 EN User Manual
Page 33
OPERATION
5
33
OPTISENS OAS 2000
www.krohne.com
07/2010 - MA OAS 2000 R02 en
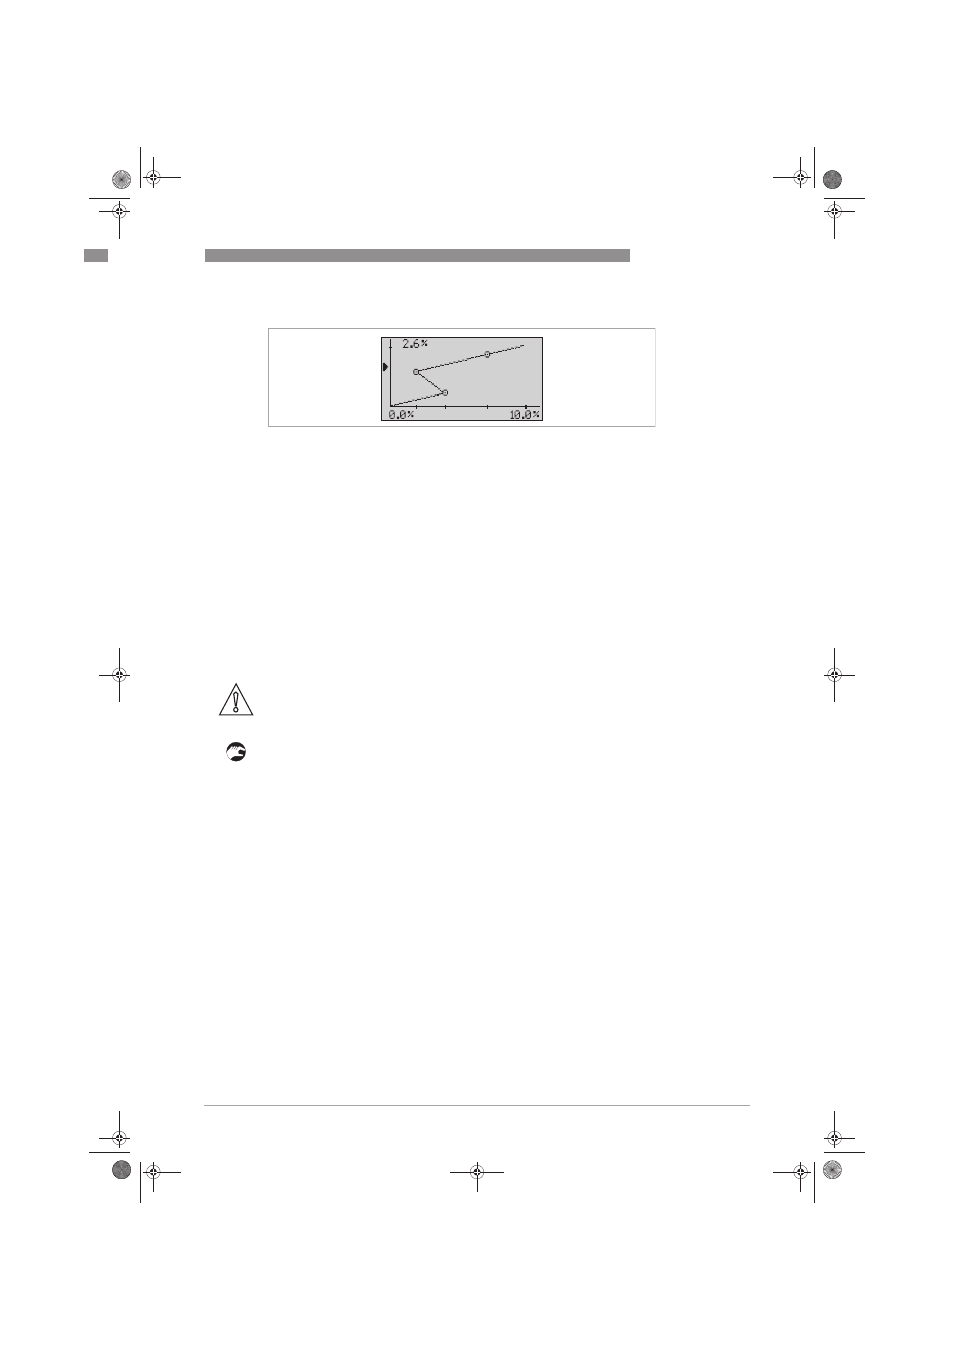
In the above figure the curve goes backwards because two samples have been exchanged when
entering the lab results. A higher Y-value must have a higher X-value. The curve must continue
upwards and to the right.
5.3.4 Automatic adjustment of the calibration
The function Adjust
Adjust
Adjust
Adjust in the Calibrate
Calibrate
Calibrate
Calibrate menu is used to automatically adjust the calibration in an
easy way using an offset value. When a sample is taken to be analysed by lab, the converter
stores the reading. When the sample has been analysed, the result is keyed in to the converter.
The converter will compare it to the stored reading and calculate a new setting for the sample
value.
Automatic adjustment (offset) only works for single point calibrations and is primarily intended
as an easy way to get started with a new sensor. Once the automatic adjustment is done and the
sensor gives a sensible reading, we recommend using a statistical adjustment to get a higher
accuracy over time (see next section).
Running an automatic adjustment
• Fill a bucket with a sample of the liquid you intend to measure.
• Submerge the sensor into the liquid.
• Select the sensor to be calibrated in the menu by using ↑ or ↓.
• Press ^ for approximately 5 seconds to enter the sensor menu.
• Select Calibrate > Adjust
Calibrate > Adjust
Calibrate > Adjust
Calibrate > Adjust and then Store
Store
Store
Store using ↑ and ↓.
• Select Take sample
Take sample
Take sample
Take sample and stir the sample in the bucket until the measuring is finished.
• Take the bucket to the lab for analysis. Note the concentration of the sample determined at
the lab.
• Select Calibrate > Adjust
Calibrate > Adjust
Calibrate > Adjust
Calibrate > Adjust and then Lab
Lab
Lab
Lab using ↑ and ↓.
• Press ^.
• Press ^ to use the stored reading or ↑ to key in a value.
• Key in the result of the lab analysis, then press ^.
i
MAC 080 will show the current value and the suggested new value for "Sample 1".
• Acknowledge the change by pressing ^ or abort using ↑ or ↓.
Figure 5-3: Incorrect calibration
CAUTION!
Even though the sensors have daylight-filters, they are sensitive to the infrared parts of the
sunlight. Always cover the sensor and the bucket before calibration.
.book Page 33 Friday, July 2, 2010 1:49 PM